Revive Your Dried Sourdough Starter: A Complete 5-Day Guide for a Strong, Active Culture
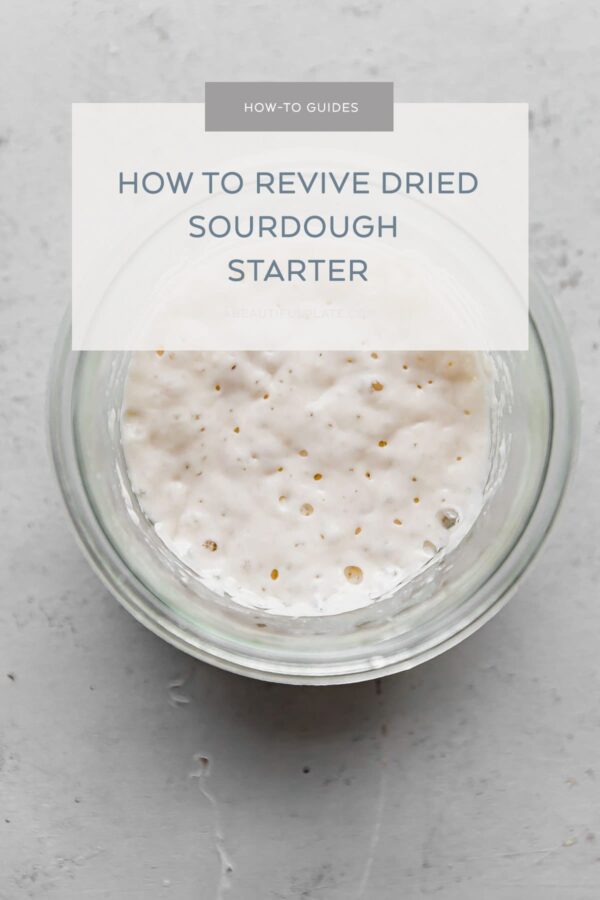
So, you’ve mastered the art of drying your sourdough starter for long-term storage or to share with fellow baking enthusiasts. Whether it was tucked away in your pantry for months or sent across the country as a thoughtful gift, the next crucial step is learning how to bring it back to life! Reviving a dormant sourdough starter is a satisfying process, enabling you to continue your baking journey with a beloved culture.
This comprehensive, step-by-step guide will walk you through the entire process of rehydrating and reactivating your dried sourdough starter. Our goal is to bring it back to its full, bubbly strength in less than a week, ensuring it’s robust and ready for all your sourdough baking needs. You’ll find detailed instructions, helpful photos, and important observation notes below, designed to make the revival process as smooth and successful as possible. A printable guide is also available at the bottom of this post for your convenience.
Why Revive Dried Sourdough?
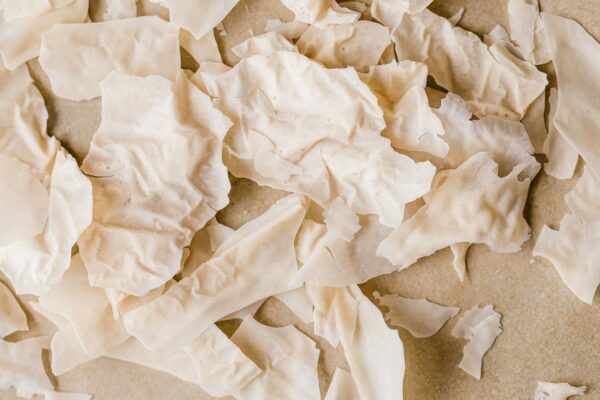
Drying your sourdough starter is an excellent way to preserve it without needing constant feeding. It’s ideal for long vacations, moving, or simply having a backup in case your active starter takes a turn for the worse. It’s also a fantastic way to share your unique starter with friends and family. The dormant microbes simply need the right conditions—food, water, and warmth—to spring back to life. This guide focuses on minimizing waste by using small quantities, making the process manageable and less intimidating for new and experienced bakers alike.
To reduce overall waste and ensure precision, this guide uses very small quantities of dried sourdough starter, flour, and water. Be sure to have a basic kitchen scale on hand before getting started. This precision is key to successfully reawakening your starter.
Once your starter is rehydrated and back to full strength, you can easily scale up your sourdough starter using the same feeding ratio as needed for your baking projects. Remember, consistency and observation are your best tools in sourdough baking. For more details on common issues and solutions, be sure to check out my sourdough starter troubleshooting guide.
Essential Tools and Ingredients for Sourdough Revival
Equipment Recommendations:
Having the right tools can make the revival process much smoother. Here’s what you’ll need:
- Glass Jar(s) with Lid(s): Clear glass allows you to easily observe your starter’s activity. I highly recommend 10 oz Weck jars for their ideal size and secure lids, which are perfect for this guide’s quantities.
- Small Spatula: A flexible spatula helps mix the starter thoroughly, ensuring no dry pockets of flour remain, which can hinder activation.
- Basic Kitchen Scale: Precision is paramount in sourdough. Weighing ingredients ensures consistent ratios, which are critical for reviving a dormant starter.
- Thermometer (Optional but Recommended): A simple kitchen thermometer can help you maintain the ideal water temperature for initial rehydration.
Ingredients You’ll Need:
The quality of your ingredients directly impacts the success of your starter. Choose wisely!
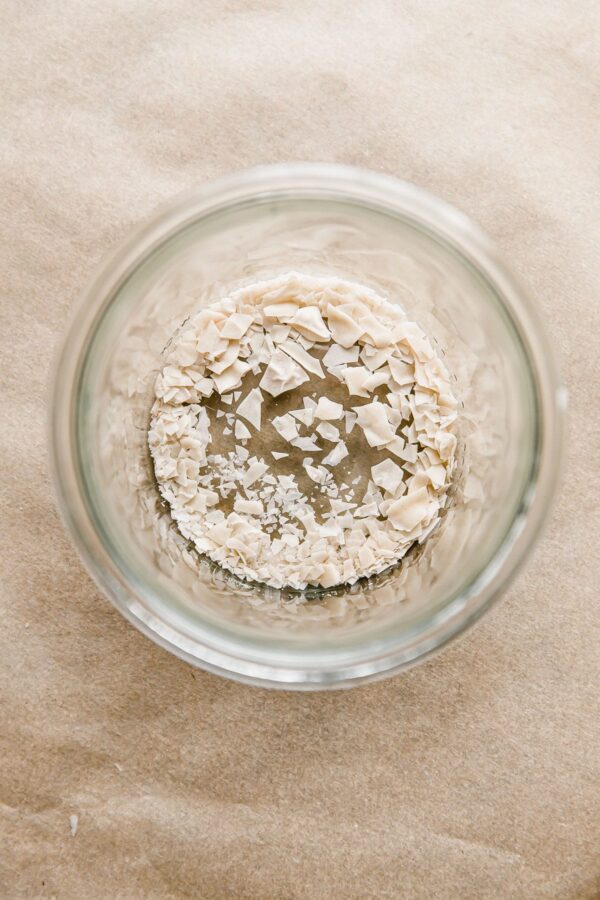
- Dried Sourdough Starter: The star of our show! Ensure it’s fully dried and crumbled for best rehydration.
- Unbleached Bread Flour: This type of flour has a higher protein content, which provides ample food for the yeast and bacteria, promoting stronger activity. I highly recommend King Arthur brand for its consistent quality.
- Filtered Water: Tap water can sometimes contain chlorine or chloramine, which can inhibit the microbial activity in your starter. Filtered water ensures a clean environment for your culture to thrive.
The Revival Process: A Day-by-Day Guide
Patience is key during this process. Your starter has been dormant, and it needs time to reawaken and rebuild its microbial population. Follow these steps carefully, paying attention to the observations each day.
Day One – Morning: Initial Rehydration and First Feeding
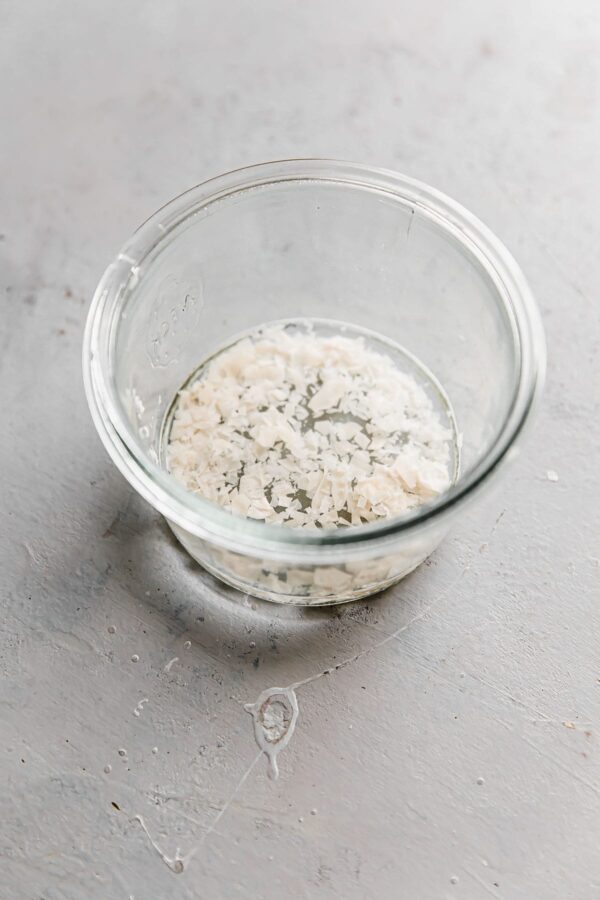
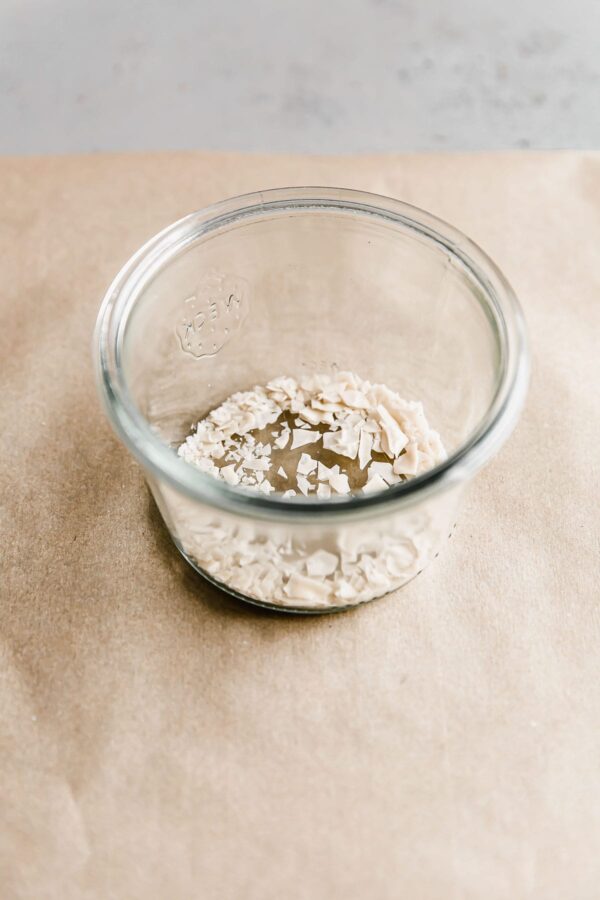
Begin by combining 5 grams of finely crumbled dried sourdough starter in a small glass jar. The finer the crumbs, the easier it will rehydrate. Add 25 grams of filtered water (ideally 100°F/38°C). The slightly warm water helps to gently awaken the dormant microbes. Stir well with a small spatula until all the dry starter is completely submerged and fully hydrated. Cover the jar with a lid (not airtight, a loose lid or a piece of cloth secured with a rubber band will work) and allow the mixture to sit for one hour at around 76°F/24°C, or simply at a warm room temperature.
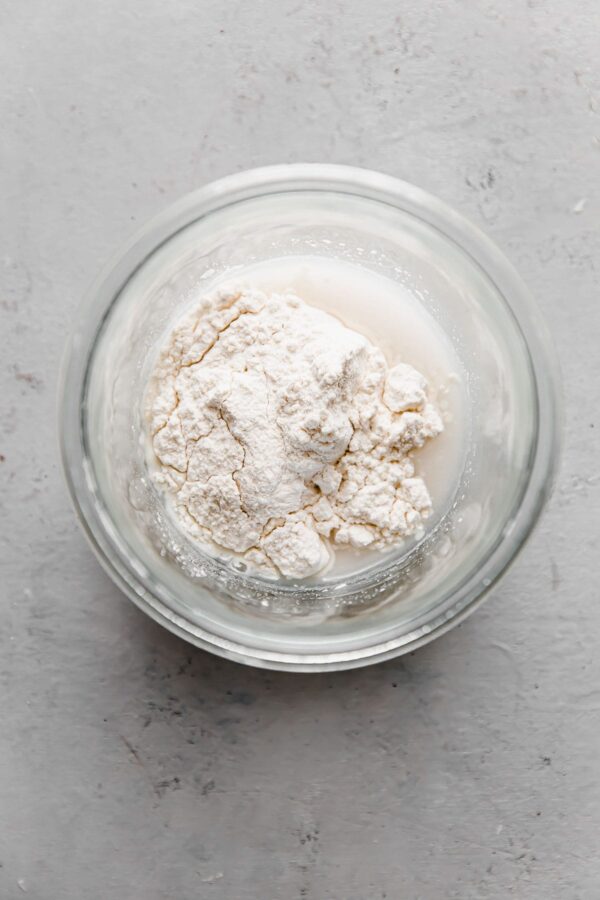
After an hour of rehydration, add 20 grams of unbleached bread flour (King Arthur brand is highly recommended for its quality) and stir thoroughly with your spatula until completely combined and smooth. Note: We’re intentionally using slightly more water than flour in this first feeding to create a thinner, more hydrated starter. This consistency allows for increased activity and easier movement for the reawakening yeast and bacteria. Cover with a lid and store the mixture at 76°F/24°C (or a consistent room temperature) for the next 24 hours. A warm spot in your kitchen or an oven with the light on can help maintain this temperature.
Day Two – Morning: Observing the First Signs of Life (or Lack Thereof)
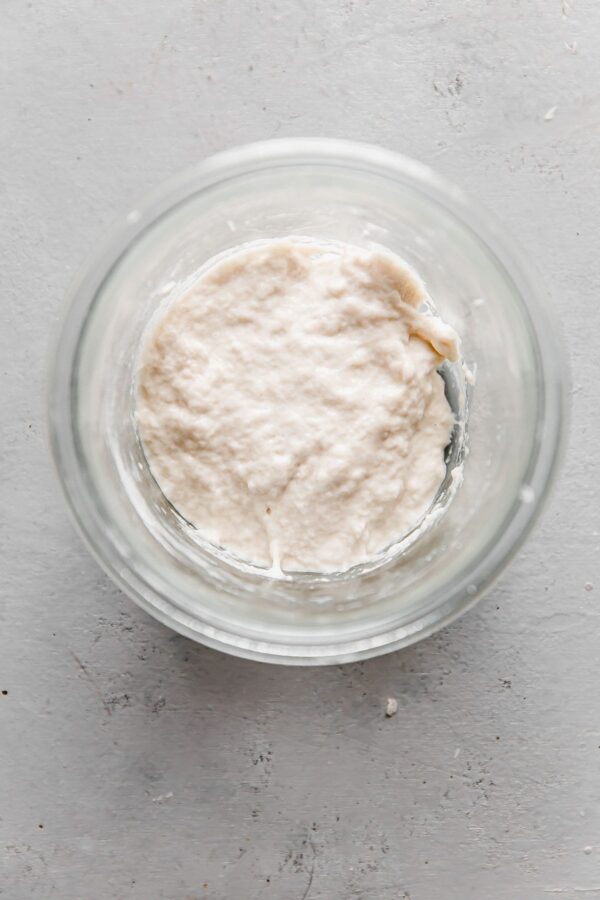
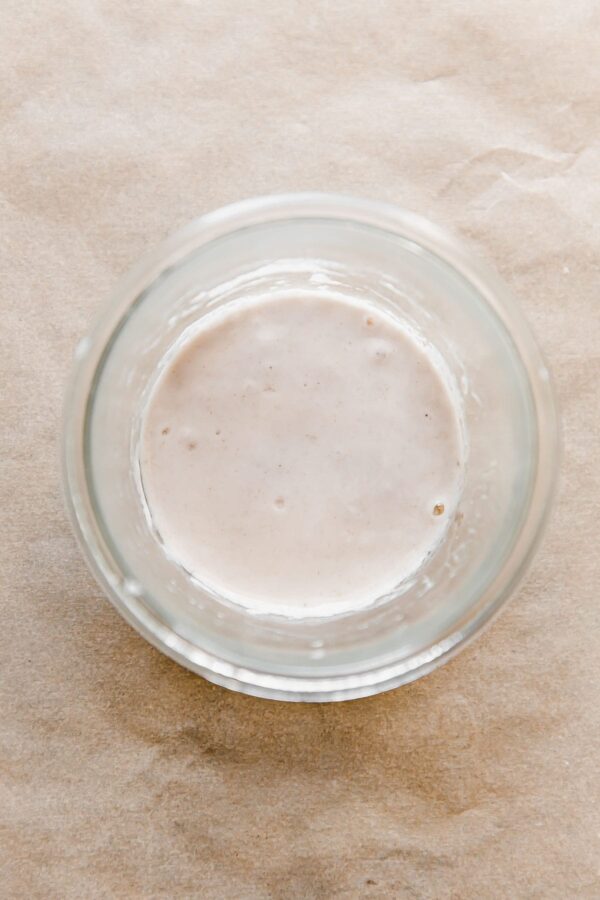
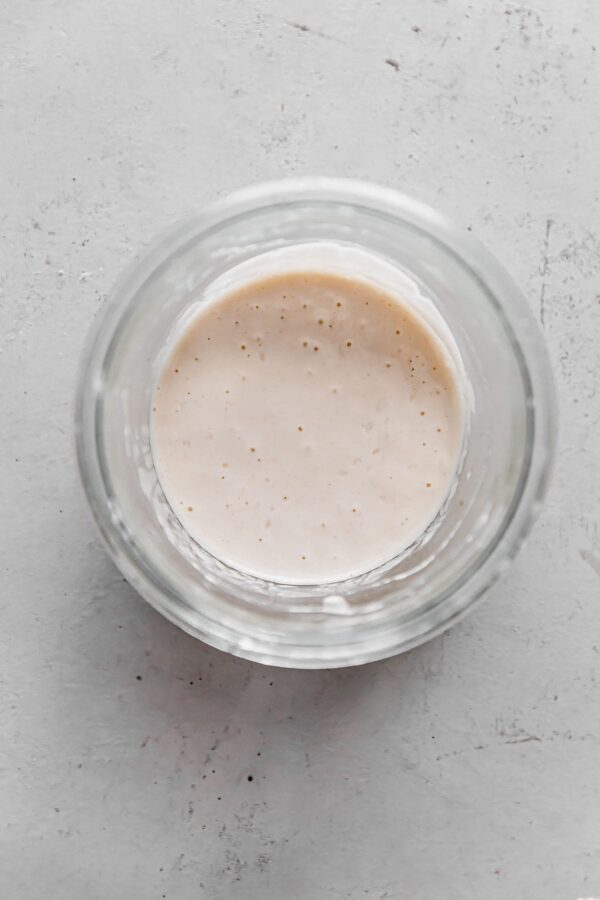
Observations: When you check your starter this morning, don’t be discouraged if it looks largely unchanged. The mixture will likely appear very smooth and show little to no signs of activity. You might observe minimal, if any, bubbles. This is completely normal; the microbes are still waking up and slowly beginning to metabolize their new food source. Patience is crucial at this stage.
For the second feeding, combine 10 grams of your existing starter mixture (discard the rest to manage quantity and prevent it from becoming too sour), 25 grams of unbleached bread flour, and 25 grams of room temperature filtered water in a clean glass jar. Mix thoroughly with a spatula until smooth. Cover with a lid and store at 76°F/24°C (or room temperature) for another 24 hours. The discard step helps to concentrate the active microbes and remove spent byproducts, giving the starter a fresh environment.
Day Three – Morning: Subtle Changes and Continued Nurturing
Observations: By day three, you might notice very subtle changes. The mixture will still look smooth but may appear slightly thinner in texture. You might observe a few tiny bubbles on the surface, or perhaps a faint, slightly sour aroma. However, don’t expect it to look “lively” yet. It’s still in the early stages of building strength.
Repeat the feeding process: combine 10 grams of starter mixture (discard the rest), 25 grams of unbleached bread flour, and 25 grams of room temperature filtered water in a clean glass jar. Stir until thoroughly combined. Cover with a lid and store at 76°F/24°C (or room temperature) for another 24 hours. The consistent feeding schedule helps to establish a regular feeding cycle for the multiplying microbes.
Day Four – Morning: Building Momentum
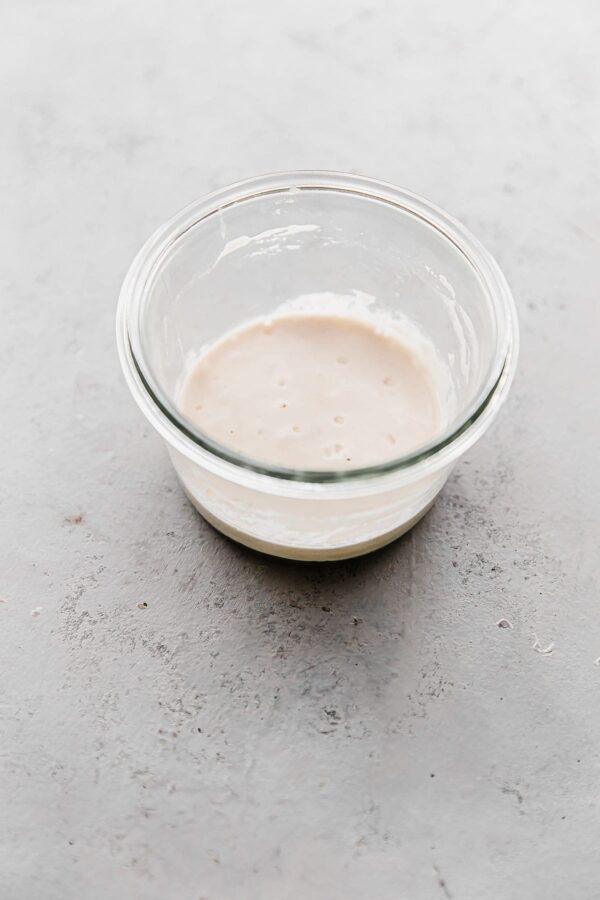
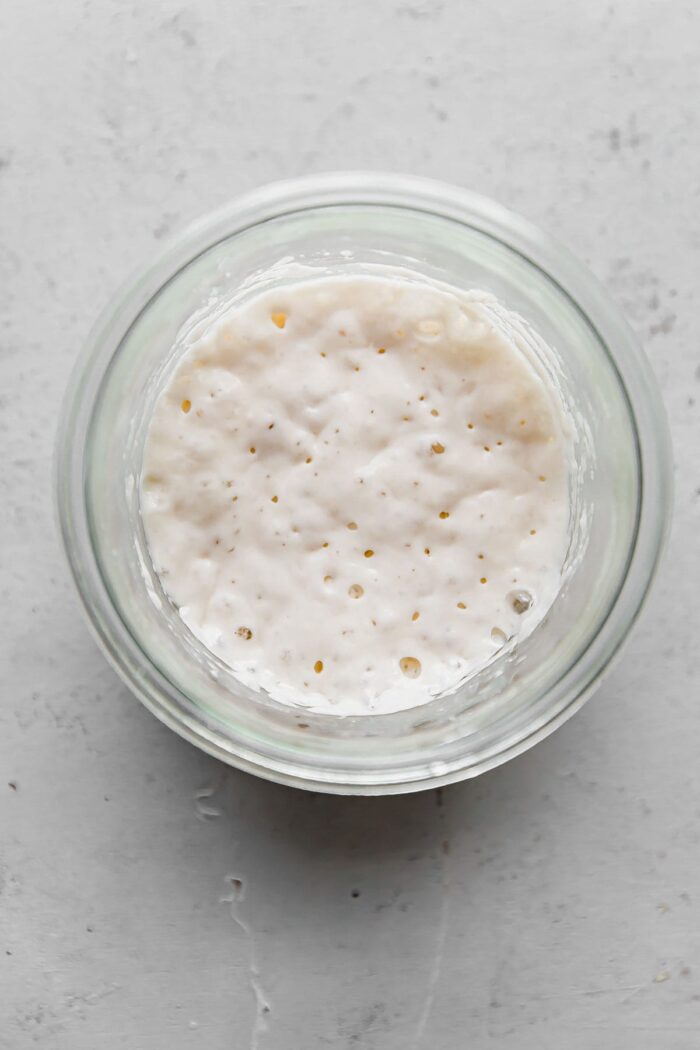
Observations: This morning, you might notice very little change from the previous day. However, look closely, and you may spot a few more small bubbles on the surface and along the sides of the jar. The texture might be slightly lighter. Stay patient and trust the process! The microbial population is steadily growing, but it often takes a burst of activity to become truly noticeable.
Proceed with another feeding: combine 10 grams of starter mixture, 25 grams of unbleached bread flour, and 25 grams of room temperature filtered water in a clean glass jar. Mix thoroughly until combined. Cover with a lid and store at 76°F/24°C (or room temperature). Now, it’s time to keep a closer eye on it. Check back in about 12 hours. This quicker check will help you catch the first significant signs of revival.
Day Four – Evening: The First Real Activity!
Observations: Roughly 12 hours after your morning feeding, you should notice a significant change! You’ll observe many small bubbles on the surface and along the sides of the jar. Crucially, the starter should show clear signs that it is slowly rising, indicating active fermentation. It might not have doubled yet, but the upward movement and the proliferation of bubbles are excellent indicators that your starter is well on its way to recovery. This is a very exciting stage!
Continue storing your starter at 76°F/24°C (or room temperature) overnight.
Day Five – Morning: Full Strength Achieved!
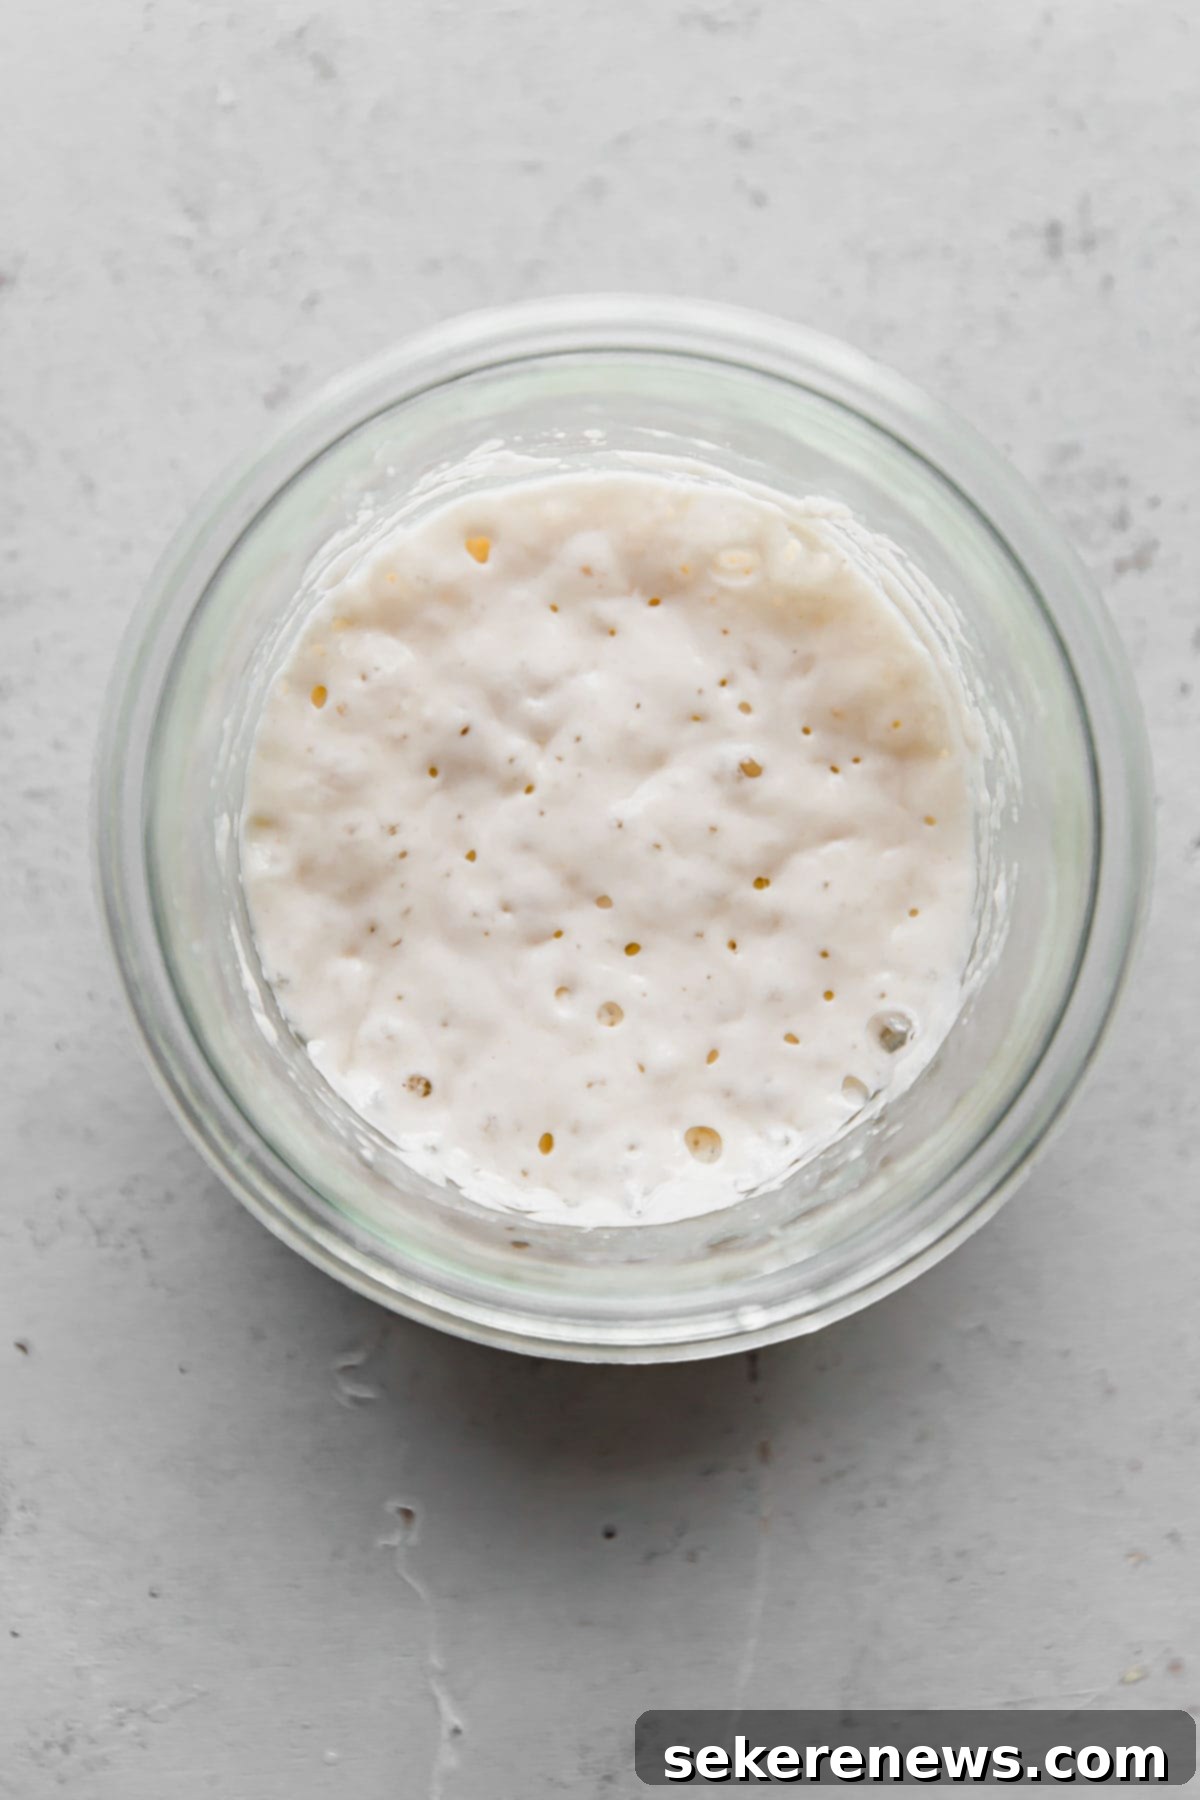
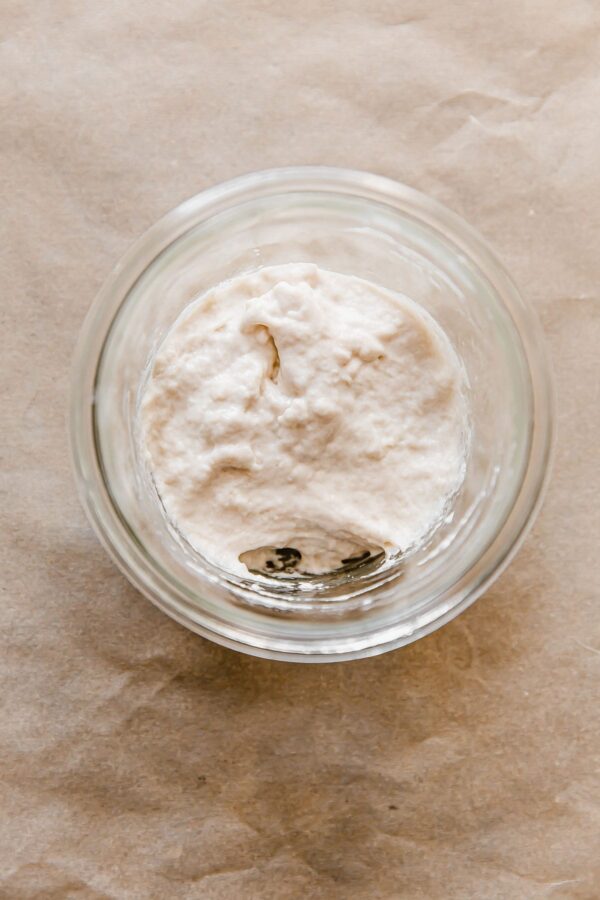
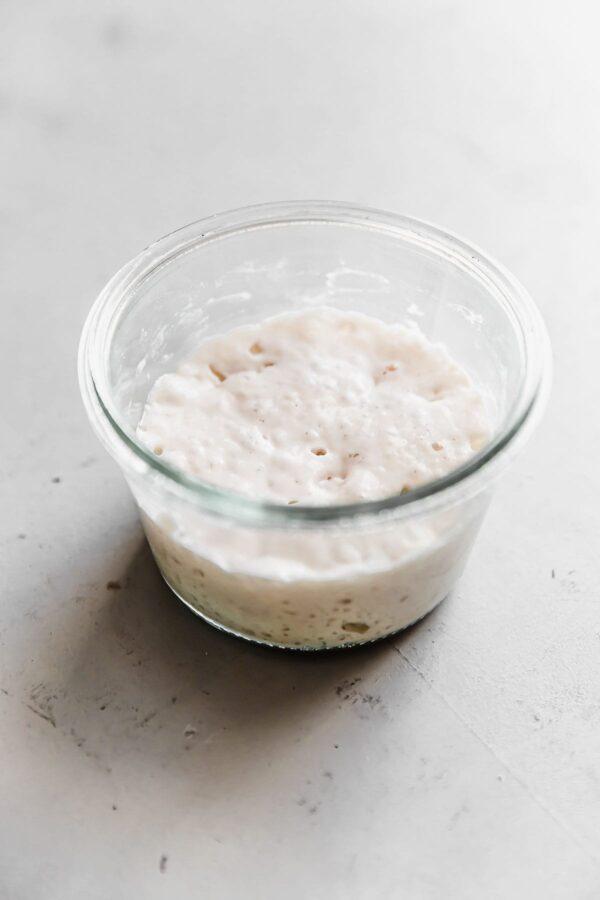
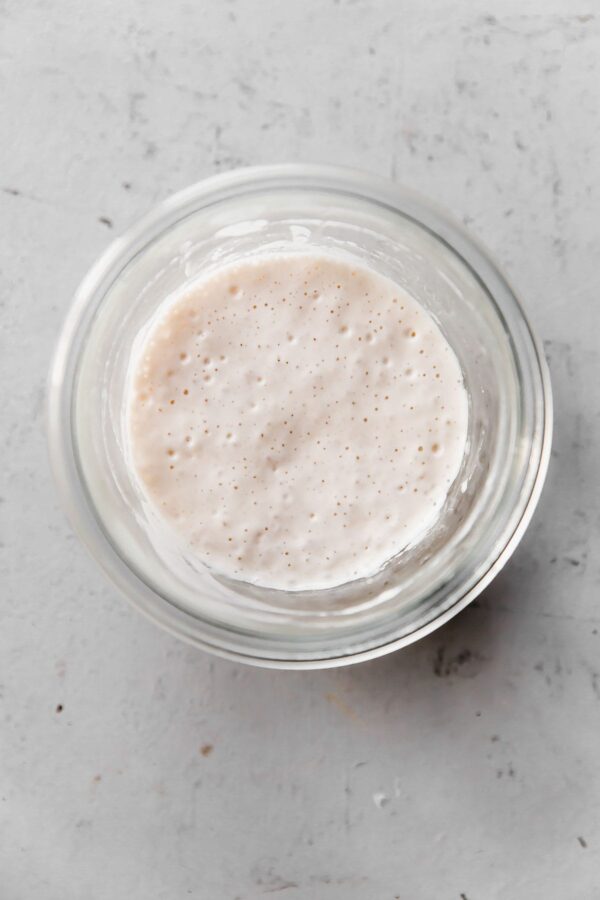
Observations: Congratulations! At this point, your starter mixture should have nearly doubled in volume, if not more, since its last feeding. You will see both small and large bubbles throughout the mixture, indicating a robust and active culture. The texture will be light and airy. Allow your starter to reach its peak activity (when it’s at its highest point before beginning to fall) before proceeding with a feeding. If everything has stayed on track, your sourdough starter is now fully revived and ready for baking! You can get back to creating delicious treats like artisan sourdough bread again.
Ongoing Maintenance: Regular Feedings
Once your starter has reached peak activity and consistently doubles within 4-8 hours after feeding, you can transition to regular daily feedings. Combine 5 to 10 grams of starter mixture, 25 grams of unbleached bread flour, and 25 grams of room temperature filtered water in a glass jar. Mix with a spatula until thoroughly combined. Cover with a lid and store the mixture at 76°F/24°C (or room temperature) until the starter reaches peak activity again. Repeat this daily. The specific ratio (1:2.5:2.5 in this guide) is a good starting point, but you’ll want to adjust feeding ratios and quantities to fit your specific environment, preferred feeding schedule, and your starter’s observed activity. A healthy, happy starter is responsive and predictable.
For more in-depth information on maintaining your sourdough starter and troubleshooting any issues, be sure to reference my sourdough starter troubleshooting guide. It covers common problems and how to keep your starter thriving.
Troubleshooting Common Revival Issues
While this guide provides a clear path, sourdough starters can be temperamental. Here are a few common issues and how to address them:
- No Activity After Day 5: If your starter is still sluggish, review your ambient temperature. Ensure it’s consistently warm (76°F/24°C). Try increasing the warmth slightly or feeding it a stronger, higher protein flour. Also, ensure your water is chlorine-free.
- Foul Smell: A healthy starter should smell tangy, yeasty, and slightly sweet. If it smells like nail polish remover or particularly unpleasant, it might be over-fermenting or has developed unwanted bacteria. Discard most of it, feed a very small amount (e.g., 5g starter to 50g flour and 50g water), and continue feeding every 12 hours.
- Mold: Any fuzzy, colored growth (black, green, pink) means your starter is contaminated. Unfortunately, there’s no saving a moldy starter; you’ll need to discard it and start fresh with a new batch of dried starter. Ensure all equipment is meticulously clean.
- Inconsistent Rise: Even after revival, your starter might have off days. This can be due to temperature fluctuations, changes in flour, or simply needing more consistent feedings to build strength. Regular, consistent feeding is the best remedy.
Additional Sourdough Resources
Building on your success with reviving your starter, dive deeper into the world of sourdough baking with these helpful resources:
- How to Dry Sourdough Starter
- Sourdough Starter Troubleshooting Guide
- Sourdough Bread Baking Troubleshooting Guide
- Artisan Sourdough Bread Recipe + Step-By-Step YouTube Video
- Favorite Sourdough Bread Tools and Resources
- How to Store, Freeze, and Refresh Bread
How to Revive Dried Sourdough Starter
Pin
Review
SaveSaved!
Ingredients
- 5 grams dried sourdough starter
- 120 grams unbleached bread flour, divided *I highly recommend King Arthur brand
- 125 grams filtered water room temperature
Instructions
-
Please reference the photos and observation notes in the article above before proceeding.
-
Day One Morning: Combine 5 grams finely crumbled dried sourdough starter in a small glass jar. Add 25 grams (100°F/38°C) filtered water. Stir until the dry starter is completely submerged in the water. Cover with a lid and allow mixture to sit for one hour at 76°F/24°C or room temperature.
-
After an hour, add 20 grams bread flour (I recommend King Arthur brand for this guide) and stir with a spatula until thoroughly combined. Note: We’re using slightly more water than flour in this first feeding – a thinner, more hydrated starter allows for increased activity for yeast and bacteria. Cover with a lid and store at 76°F/24°C (or room temperature) for 24 hours.
-
Day Two Morning: Combine 10 grams starter mixture (discard the rest), 25 grams bread flour, and 25 grams room temperature filtered water in a glass jar. Mix with a spatula until thoroughly combined. Cover with a lid and store at 76°F/24°C (or room temperature) for 24 hours.
-
Day Three Morning: Combine 10 grams starter mixture (discard the rest), 25 grams bread flour, and 25 grams room temperature filtered water in a glass jar. Mix with a spatula until thoroughly combined. Cover with a lid and store at 76°F/24°C (or room temperature) for 24 hours.
-
Day Four Morning: Combine 10 grams starter mixture, 25 grams bread flour, and 25 grams room temperature filtered water in a glass jar. Mix with a spatula until thoroughly combined. Cover with a lid and store at 76°F/24°C (or room temperature) – check back in about 12 hours time (see below).
-
Day Four Evening: Roughly 12 hours later, you’ll notice many small bubbles on the surface and sides, and the starter should shown signs that it is slowly rising. Continue storing at 76°F/24°C (or room temperature).
-
Day Five Morning: At this point, the mixture should have nearly doubled in volume and there will be small and big bubbles throughout the mixture. Allow starter to reach peak activity before proceeding with a feeding. If everything remains on track, you can get back to baking sourdough bread again.
-
Once the starter has reached peak activity, start regular daily feedings: combine 5 to 10 grams starter, 25 grams bread flour, and 25 grams room temperature filtered water in a glass jar. Mix with a spatula until thoroughly combined. Cover with a lid and store mixture at 76°F/24°C (or room temperature) until starter reaches peak activity. Repeat.
