The Best Raspberry Pistachio Cake: An Easy, Elegant Recipe with Homemade Flour
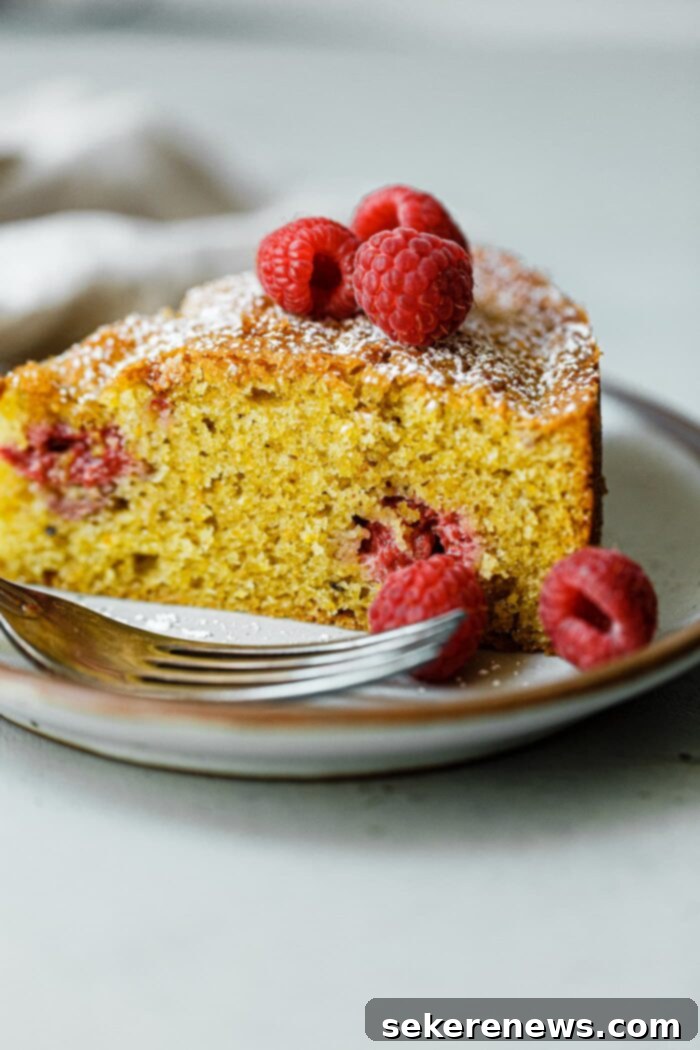
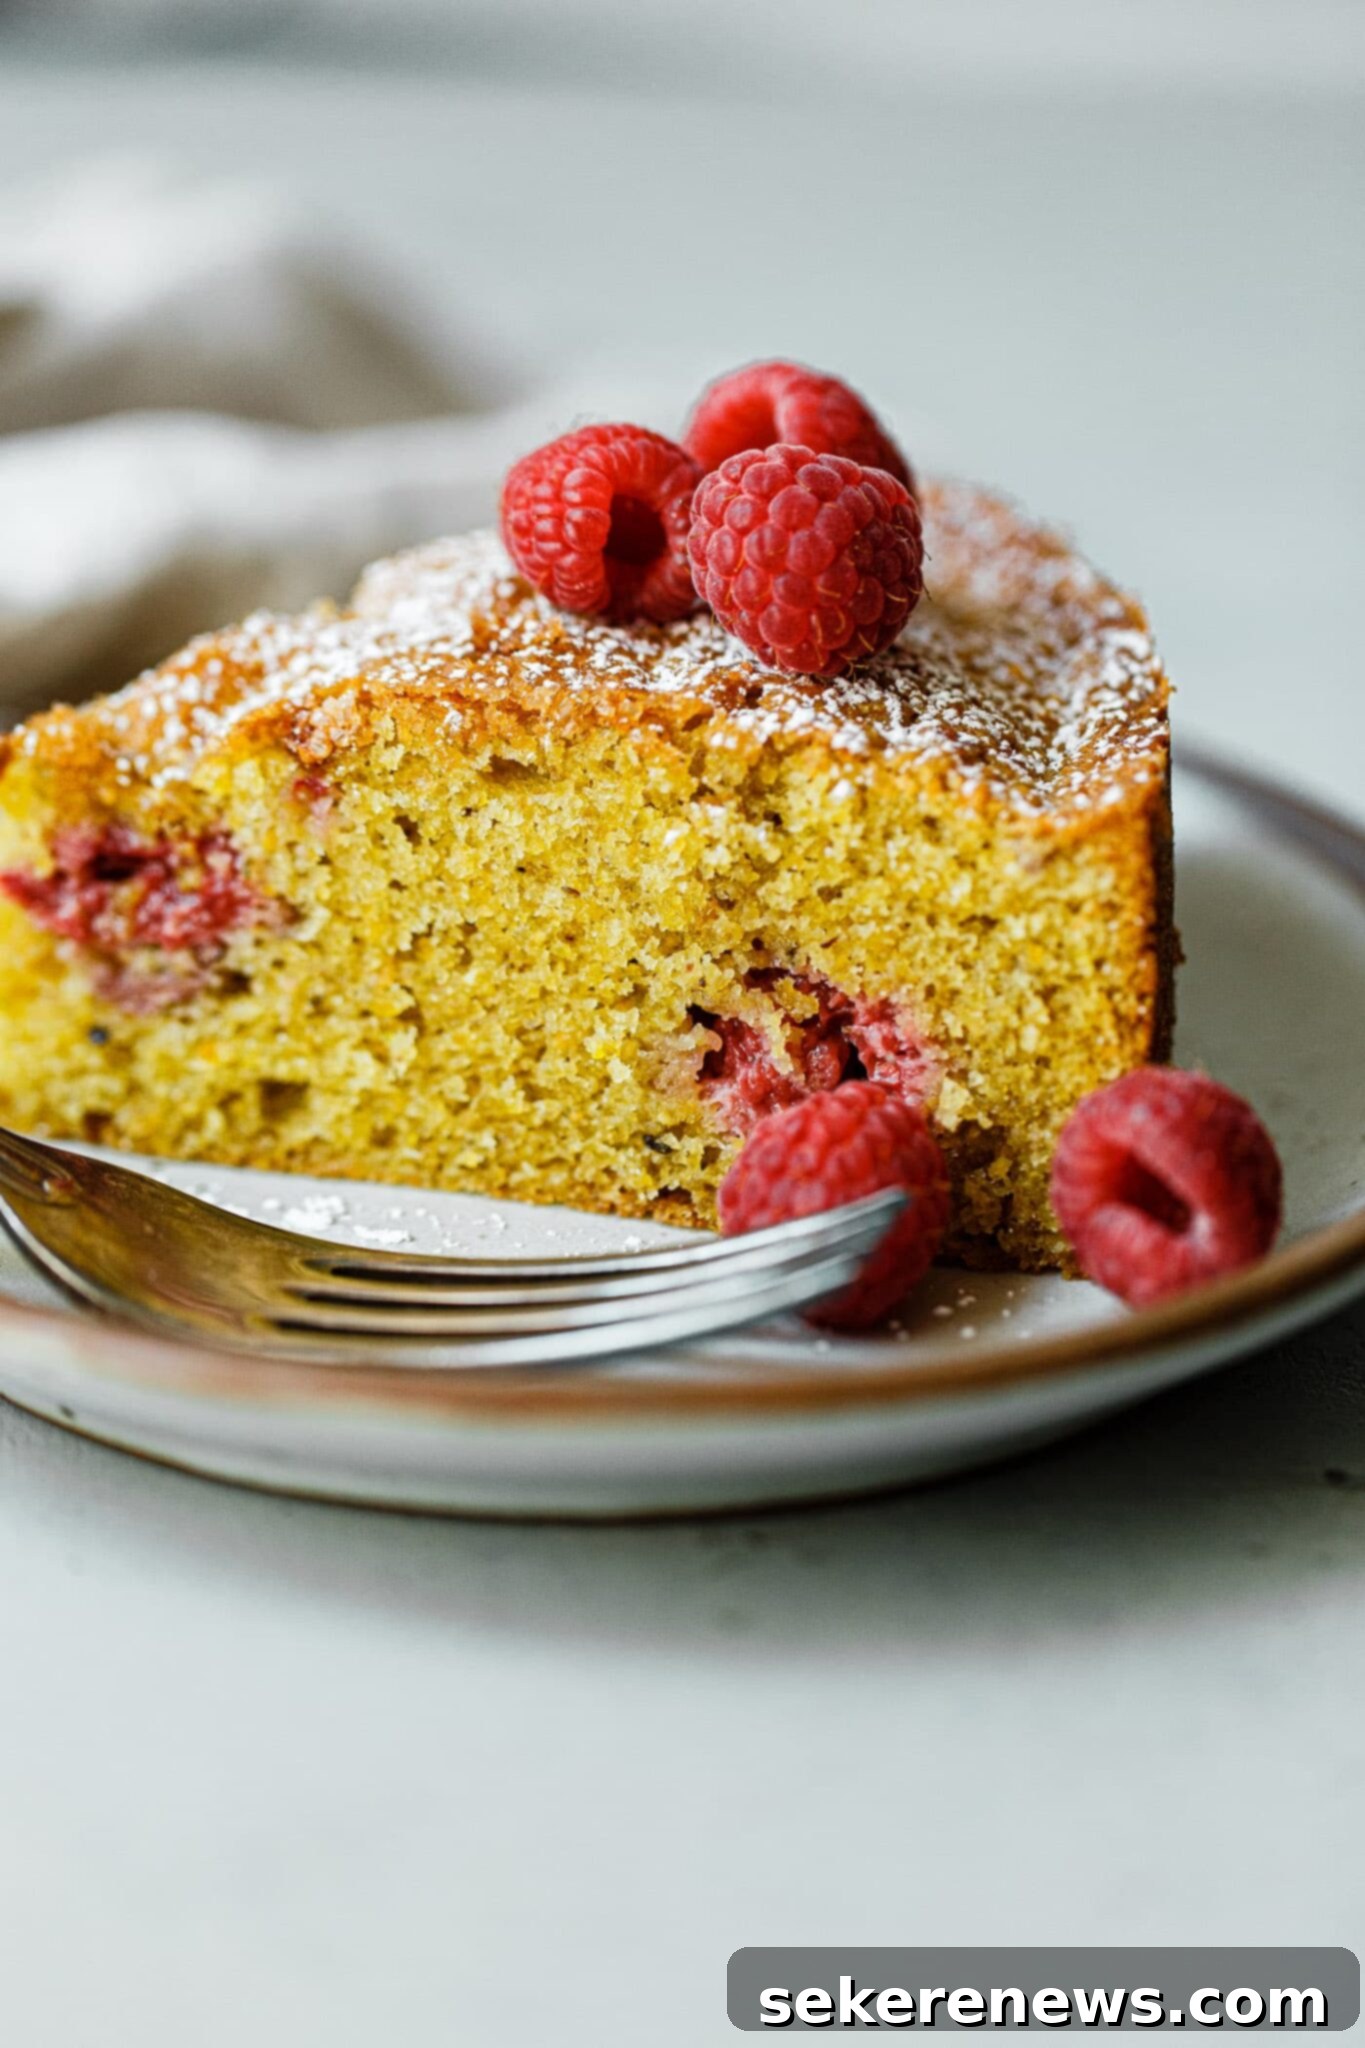
Discover the delightful balance of simplicity and elegance with this incredible Raspberry Pistachio Cake! It’s the quintessential snacking cake, perfect for any time of day, delivering a sophisticated flavor profile with minimal effort. Imagine the rich, buttery texture and delicate crumb, reminiscent of classic French financier cakes, all in an easy-to-bake, single-layer treat. This recipe promises to be a new favorite in your baking repertoire, combining the nutty depth of homemade pistachio flour with the bright, tart burst of fresh raspberries.
Inspired by our beloved Blueberry Almond Tea Cake, this recipe takes a similar approach to simple, yet impactful baking. The beauty of a one-layer cake lies in its effortless charm. There’s no need for elaborate frosting or complex assembly, making it ideal for those who love homemade desserts but prefer a fuss-free process. This truly embodies what relaxed, joyful summer baking is all about: enjoying fresh, seasonal ingredients transformed into something truly special.
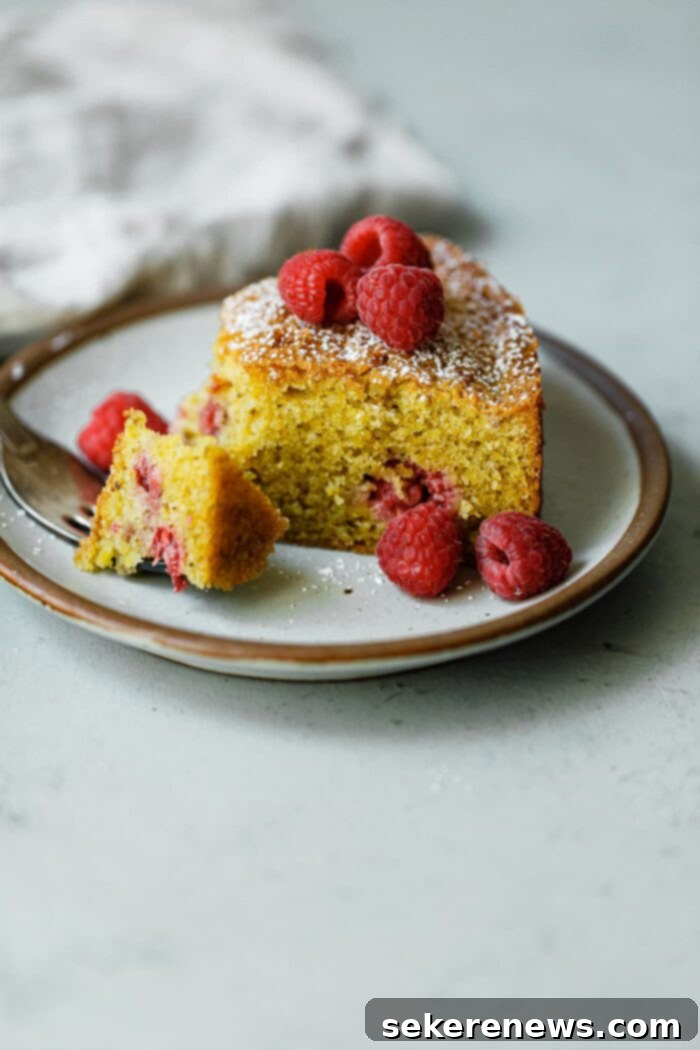
Whether you’re serving it for an afternoon tea, a casual gathering, or simply indulging your sweet tooth, this Raspberry Pistachio Cake delivers on both flavor and presentation. The vibrant red of the raspberries against the subtle green of the pistachios creates a visually appealing dessert that tastes as good as it looks. Get ready to impress yourself and your loved ones with this effortlessly chic cake!
Why This Raspberry Pistachio Cake Will Be Your New Favorite
- Effortless Ease: This isn’t just a cake; it’s a celebration of simple baking. The beauty of this recipe lies in its straightforward approach: a single layer, minimal fuss, and an elegant outcome. The batter comes together incredibly quickly, making it a perfect last-minute dessert or a relaxing weekend baking project. You’ll only need a standard 8-inch cake pan and a stand mixer (or hand mixer) for creaming the butter and sugar. Even novice bakers will find this recipe approachable and rewarding.
- Exquisite Flavor Harmony: Prepare your taste buds for a symphony of flavors! This cake is wonderfully buttery, intensely flavorful, and deliciously rich. The star combination of nutty pistachios and tangy, vibrant raspberries is a timeless pairing that always delivers. If you’ve enjoyed our Pistachio Thumbprint Cookies or Raspberry Pistachio Scones, you already know the magic of this duo. For the ultimate experience, serve it slightly warm from the oven, allowing the buttery notes and fresh fruit to truly shine.
- Perfectly Tender Texture: Crafted using the classic creaming method, where softened butter and sugar are beaten together, this cake achieves an incredibly moist and tender crumb. The secret ingredient? Rich homemade pistachio flour, which contributes not only to the deep nutty flavor but also to the cake’s luxurious texture. A final touch of turbinado or demerara sugar sprinkled over the batter before baking creates a delightful, slightly crackly, and beautifully shiny top, adding an extra layer of textural intrigue.
- Unbeatable Versatility: While we adore the classic combination of raspberries, this cake is a versatile canvas for your creativity! Feel free to adapt the berries based on what’s in season and your personal preference. Pitted, halved cherries or juicy blackberries make fantastic alternatives. Don’t limit yourself to fresh fruit; you can easily use frozen berries to enjoy this delectable cake any time of year. It’s a fantastic choice for a casual afternoon treat or a simple snacking cake. Yet, with a dusting of powdered sugar, a scattering of extra berries, and a dollop of freshly whipped cream, it transforms into an elegant dessert perfect for a special occasion.
How to Make Homemade Pistachio Flour for Superior Flavor and Texture
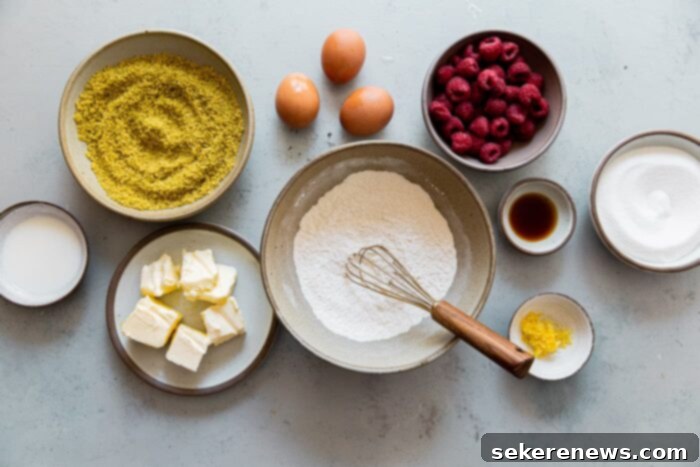
Using homemade pistachio flour is a game-changer for this cake, lending an incredible depth of flavor and a beautiful, subtle green hue to your baked goods. While store-bought nut flours are convenient, freshly ground pistachios offer an unparalleled richness and aroma that truly elevates the final product. The process is surprisingly simple and takes mere seconds!
To make your own pistachio flour, you’ll need shelled (and ideally, raw) pistachio nuts and a reliable food processor. While roasted pistachios can work in a pinch, raw pistachios provide the purest, most vibrant flavor and color. For optimal accuracy in baking, especially when working with nut flours, we always recommend utilizing a baking scale to measure your ingredients by weight rather than volume.
For convenience and affordability, look for shelled pistachios at stores like Trader Joe’s. They often offer high-quality nuts at a reasonable price, saving you the time and effort of shelling them yourself.
Simple Steps to Homemade Pistachio Flour:
Add your desired quantity of shelled pistachios to a large food processor fitted with a blade attachment. Pulse repeatedly in short bursts until the pistachios are finely ground, achieving a texture similar to almond flour. It’s crucial to be mindful and avoid over-processing. If you pulse for too long, the nuts will begin to release their oils, causing the mixture to clump together and transform into nut butter. We are aiming for a delicate flour, not a spread, so short, controlled pulses are key!
Clever Trick: How to Prevent Berries from Sinking in Your Cake
One of the most common frustrations when baking with juicy, dense berries is their notorious tendency to sink to the bottom of the batter during baking. Many bakers believe that tossing berries in a small amount of flour beforehand helps, but extensive testing (like that by Serious Eats) has actually shown this method makes little to no difference.
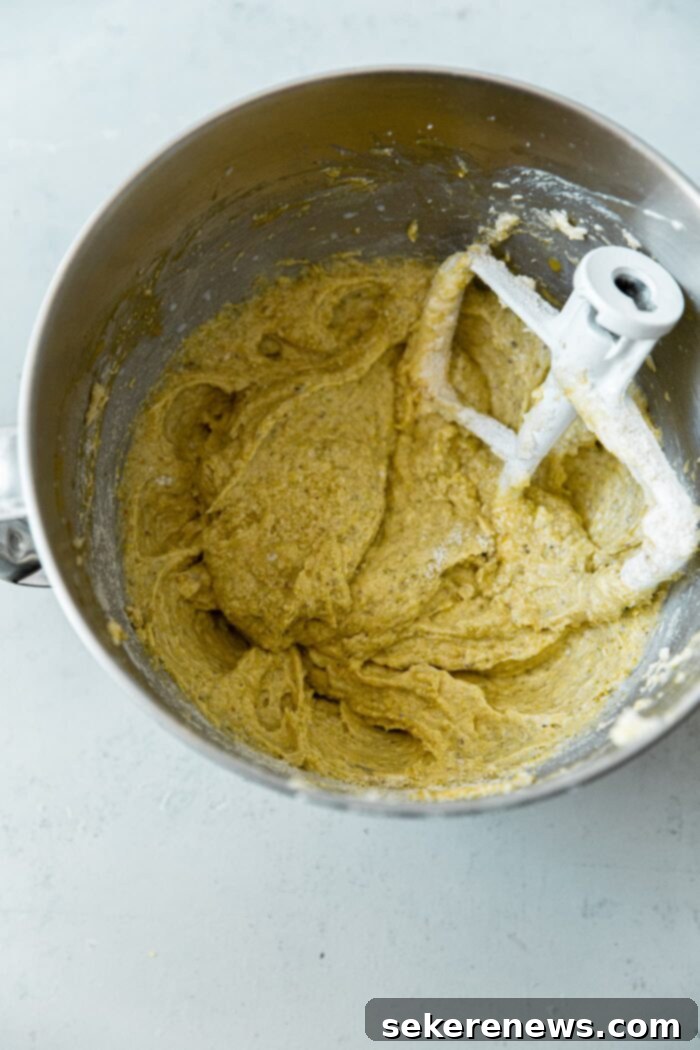
Instead, we’re employing a much more effective and ingenious tip to combat the “sinking berry” phenomenon: a two-stage batter technique. Here’s how it works: you’ll first add a portion of plain batter (without any added raspberries) to the bottom of your prepared cake pan. Then, the fresh raspberries are gently folded into the remaining batter, which is then carefully spooned directly on top of the first layer in the pan. This creates a supportive base for the berries.
This simple yet brilliant method ensures that your raspberries remain beautifully suspended throughout the cake, providing a burst of fruity flavor in every bite, rather than congregating at the bottom. Give this technique a try with this Raspberry Pistachio Cake, or even with your favorite muffin recipes, and prepare to be amazed by the even distribution of fruit!
Exciting Flavor Variation Ideas for Your Pistachio Cake
This cake is not only delicious as is, but also incredibly versatile, serving as a perfect base for numerous flavor adaptations! Don’t hesitate to get creative and tailor it to your preferences or what you have on hand.
- Nut Flour Swaps: While pistachio flour offers a unique taste, you can easily substitute it with other nut flours. Hazelnut flour will impart a deeper, earthier nuttiness, while readily available almond flour provides a classic, delicate flavor similar to a frangipane.
- Berry Alternatives: Beyond raspberries, explore other berry varieties that are in season. Consider plump blueberries, sweet strawberries, or tart blackberries. Even pitted and halved cherries would be a delightful addition, especially during their peak season.
- Aromatic Enhancements: If you’re using almond or hazelnut flour, consider adding a touch of corresponding almond or hazelnut extract to enhance the nutty notes, in addition to the vanilla extract. For a bright, citrusy twist, try swapping the lemon zest for orange zest, or use both for a layered aroma.
- Garnish Get-Creative: Elevate the presentation and texture with various garnishes. A sprinkling of finely crushed pistachios or thinly sliced almonds adds a beautiful contrast and crunch. A light drizzle of a simple lemon glaze (powdered sugar mixed with a little lemon juice) could also add an extra zing.
This Raspberry Pistachio Cake is truly a wonderful canvas for culinary exploration!

Raspberry Pistachio Cake
Pin
Review
SaveSaved!
This cake is ideal as a lovely afternoon tea accompaniment or a satisfying snacking cake. For a more formal presentation, simply dress it up with a delicate dusting of powdered sugar, a generous scattering of fresh raspberries, and a dollop of lightly sweetened whipped cream – perfect for any special occasion. While undeniably best served slightly warm from the oven or on the day it’s baked, any delicious leftovers can be tightly wrapped in plastic wrap and stored at room temperature for 2 to 3 days, ensuring you can savor its goodness a little longer.
Equipment
-
Magimix Food Processor (essential for making fresh pistachio flour)
-
KitchenAid 5 Qt. Artisan Stand Mixer (or a good quality hand mixer)
-
8-Inch Cake Pan (ensure it’s at least 2 inches deep)
-
Baking Scale (for precise ingredient measurements)
-
Parchment Paper
-
Wire Rack
Ingredients
- ¾ cup (100g) shelled raw pistachios ground finely into flour (see recipe instructions above for how to make it)
- 1 cup (120g) unbleached all purpose flour
- 1¼ teaspoon baking powder
- ½ teaspoon kosher salt
- ¾ cup (150g) granulated sugar
- 1 teaspoon fresh lemon zest
- 6 ounces (170g) unsalted butter softened, at room temperature
- 1½ teaspoons pure vanilla extract
- 3 large eggs at room temperature
- 2 tablespoons (30 mL) whole or low-fat milk
- 6 ounces (170g) fresh raspberries or frozen (do not thaw if using frozen)
- 1 tablespoon (13g) turbinado or demerara sugar for a crunchy topping
For Serving:
- powdered sugar for dusting (optional)
- fresh raspberries (optional) for garnish
- lightly sweetened whipped cream (optional)
Instructions
-
Prepare your pan and preheat oven: Preheat your oven to 325°F (160°C) and position a rack in the center. This moderate temperature ensures the cake bakes evenly and develops a moist crumb. Generously grease an 8-inch cake pan (at least 2-inches deep) with baking spray or softened butter. For easy release, line the bottom with a round of parchment paper (if you need a quick guide, here’s an easy tutorial!). Grease the parchment paper again for double protection, then set the pan aside.

-
Craft the Homemade Pistachio Flour: Place the shelled raw pistachios into a large food processor. Using the blade attachment, pulse repeatedly in short bursts until the pistachios are finely ground and resemble the texture of almond flour. It’s crucial to exercise caution here: avoid over-processing, as the oils from the pistachios can release quickly, leading to a clumpy, butter-like consistency, which is not what we want for this cake.

-
Combine Dry Ingredients: Transfer your freshly made pistachio flour to a medium mixing bowl. Add the all-purpose flour, baking powder, and kosher salt. Whisk these dry ingredients thoroughly together for about 30 seconds to ensure they are well combined and evenly distributed. This step prevents pockets of leavening agents in your cake and promotes a consistent texture. Set this bowl aside.
-
Cream Wet Ingredients: In the bowl of a stand mixer, combine the granulated sugar and fresh lemon zest. Using your fingertips, rub the lemon zest into the sugar for about 1-2 minutes until the sugar becomes wonderfully fragrant and slightly moist. This technique helps to release the essential oils from the zest, infusing the sugar with intense lemon flavor. Add the softened unsalted butter to this mixture. Using the paddle attachment, cream the butter and sugar mixture over medium-high speed (setting 6 on a KitchenAid) until it is visibly light in color and wonderfully fluffy, which typically takes about 3 to 4 minutes. Add the pure vanilla extract and beat until it’s fully incorporated. Remember to scrape down the sides and bottom of the bowl halfway through this process (and periodically throughout the recipe) to ensure all ingredients are evenly mixed. Reduce the mixer speed to medium (setting 4) and slowly add the large eggs, one at a time, beating well after each addition until just incorporated. The mixture might appear slightly “broken” or curdled at this stage, which is perfectly normal.

-
Combine and Layer Batter: With the mixer on low speed, slowly add the reserved dry flour mixture in two additions, alternating with the milk. Mix until the batter just comes together and no streaks of dry ingredients remain. Be careful not to overmix, as this can lead to a tough cake. Scrape down the sides and bottom of the bowl with a rubber spatula and gently mix the batter a final time by hand to ensure all ingredients are evenly incorporated. Transfer roughly half of this beautiful batter to your greased, parchment-paper-lined cake pan, spreading it evenly with an offset spatula. Now, gently fold the fresh raspberries into the remaining batter in the mixer bowl. The berries may break slightly as you mix, which is perfectly fine and will create lovely swirls of fruit throughout the cake. Transfer this raspberry-infused batter to the cake pan, carefully adding it directly on top of the first plain layer. Smooth the top of the batter with a small offset spatula. Finally, sprinkle evenly with the turbinado (or Demerara) sugar, which will create a delightful, slightly crackly crust during baking.
Why This Method Works: This two-stage layering technique, where a portion of plain batter forms the base before the berry-laden batter is added, is a genius trick to prevent those heavier raspberries from sinking to the very bottom of your cake during baking, ensuring even distribution and a lovely presentation!

-
Bake to Perfection: Bake the cake for 55 to 60 minutes, or until it turns a beautiful golden brown on top and a wooden skewer or toothpick inserted into the center comes out clean. The clean toothpick indicates that the cake is fully cooked through. Once baked, allow the cake to cool in its pan on a wire rack for 10 to 15 minutes. This cooling period helps the cake firm up slightly, making it easier to handle. Then, carefully run a thin knife along the sides of the cake pan to gently release the cake, and then invert it onto the wire rack. Flip it again, allowing the cake to cool right-side up on the rack until it reaches your desired serving temperature.
-
Serve and Enjoy: Serve your magnificent Raspberry Pistachio Cake slightly warm or at room temperature. For an extra touch of elegance and sweetness, dust it lightly with confectioner’s sugar as desired, and garnish with additional fresh raspberries, if you wish. This simple presentation truly lets the cake’s natural beauty and flavors shine!
-
Storage Tips: While this cake is an absolute dream when served slightly warm from the oven or on the very day it’s baked, any leftovers can be preserved for later enjoyment. Simply wrap the cooled cake tightly in plastic wrap to prevent it from drying out, and store it at room temperature for 2 to 3 days.
Flavor Variation Ideas:
- This cake is incredibly adaptable! Feel free to substitute the pistachio flour with other favorite nut flours, such as hazelnut flour or the more readily available almond flour, for a different nutty base.
- Experiment with other berry varieties based on seasonality or preference. Blueberries, sliced strawberries, or blackberries would all be delicious.
- If using other nut flours, you can add a touch of almond or hazelnut extract to complement the flavor, in addition to the vanilla extract.
- For a citrusy twist, use orange zest in lieu of or in addition to lemon zest.
- Garnish with finely crushed pistachios, sliced almonds, or even a light dusting of cocoa powder for added contrast and texture. It’s a truly wonderful canvas with which to get creative and make it your own!
We hope you love this Raspberry Pistachio Cake as much as we do! It’s truly a testament to how simple ingredients, when combined with a little care, can create an extraordinary dessert. Whether you’re a seasoned baker or just starting out, this recipe offers a rewarding experience from start to finish. Don’t forget to share your creations and tell us your favorite variations!
