Festive Pistachio Thumbprint Cookies with Raspberry Jam: Your Ultimate Holiday Baking Guide
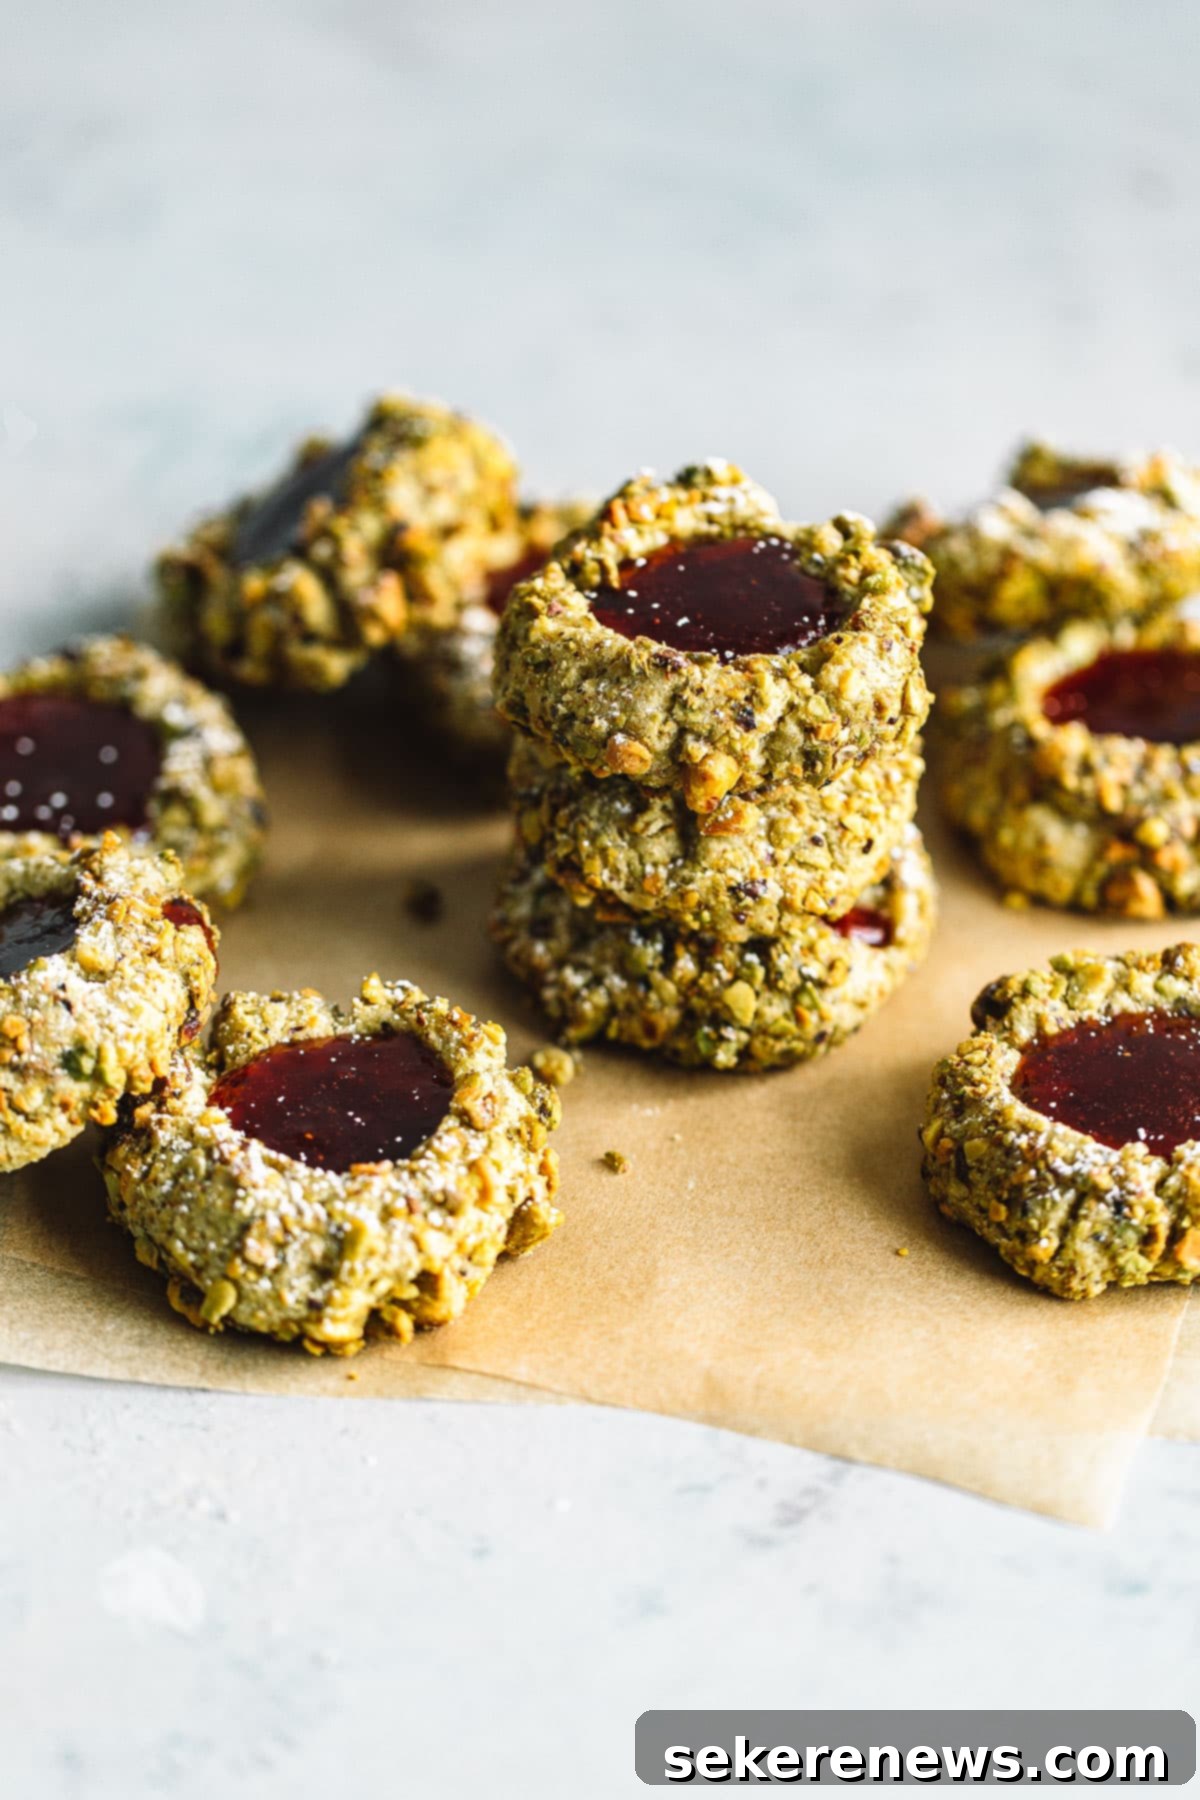
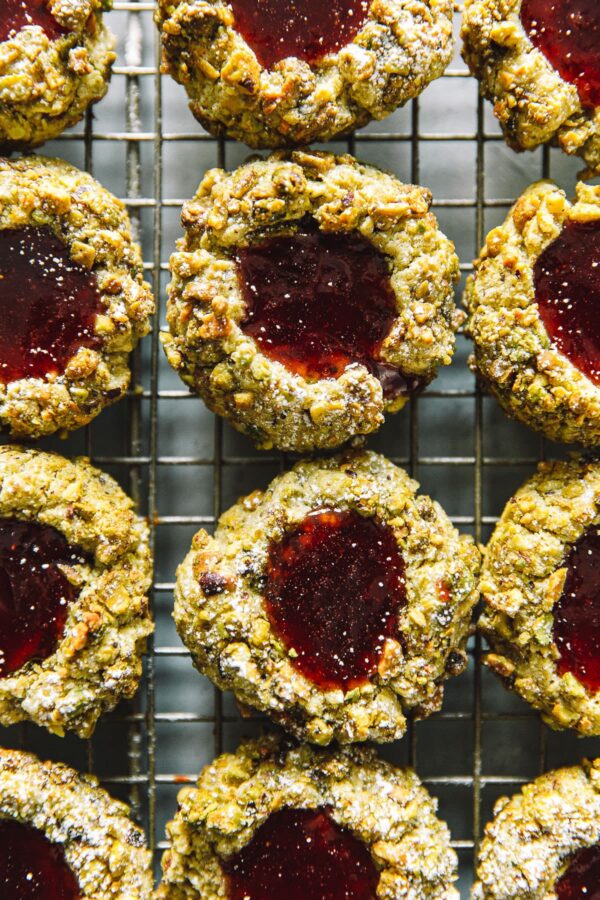
Indulge in a delightful twist on a classic holiday favorite with these irresistible Pistachio Thumbprint Cookies. Each bite offers a harmonious blend of buttery, crisp cookie, the subtle nuttiness of homemade pistachio flour, and a vibrant burst of sweet-tart raspberry jam. Perfect for festive gatherings or a cozy evening by the fire, these cookies are designed to impress and easy to make.
The holiday season is truly upon us, and with it comes the undeniable urge to bake! Our home has been filled with the joyous aromas of cinnamon, vanilla, and freshly baked goods as we’ve embraced the spirit of Christmas. From decorating the tree and reminiscing over cherished ornaments to whipping up a storm in the kitchen, these weeks are a delightful blur of festive activities.
My baking repertoire this year has been particularly exciting, featuring everything from classic fruit cake to a vibrant orange bundt cake with chocolate glaze, and even rich triple chocolate cookies. Today, however, we’re spotlighting a truly special creation: these exquisite Pistachio Thumbprint Cookies with Raspberry Jam.
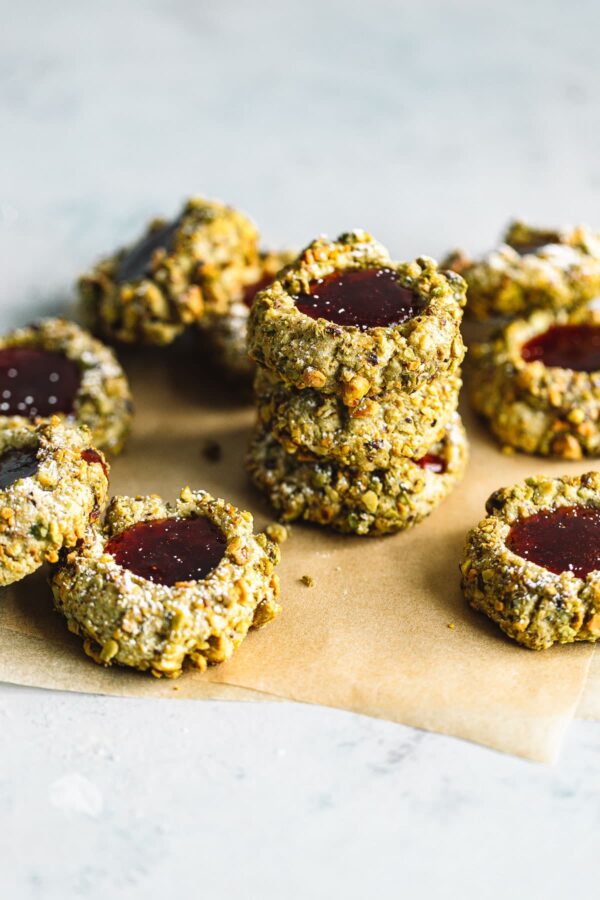
This recipe is an enhanced version of a beloved classic I first shared over five years ago, which originally featured a tart blackcurrant jam. While that variation holds a special place in my heart (and remains an excellent option if you can find the jam!), I’ve updated it for broader appeal. The new recipe now includes precise metric weights for accuracy and utilizes readily available raspberry jam as the filling. The striking contrast of the bright green pistachios against the ruby-red jam is simply gorgeous, making these cookies an ideal addition to any holiday dessert spread.
What are Thumbprint Cookies? A Timeless Classic Explained
Thumbprint cookies, known in Sweden as “Hallongrotta” (meaning “raspberry cave”), are a beloved and enduring Christmas cookie tradition. These delightful treats typically feature a rich, buttery shortbread-like dough, which is then indented in the center before baking, creating a small “cave” for a sweet jam filling. The name “thumbprint” comes from the traditional method of using one’s thumb to create this indentation, though a wooden spoon handle often provides a cleaner, more uniform well.
Originating from Scandinavian kitchens, thumbprint cookies have traveled the world, adapting to various flavors and regional preferences. Their simple yet elegant nature makes them a staple in holiday baking, offering a perfect balance of crumbly texture and fruity sweetness. The charm of these cookies lies in their visual appeal – a golden cookie with a jewel-toned center – and their delightful texture that melts in your mouth.
For the filling, I always recommend using a high-quality jam that is more fruit-forward and lower in added sugar. This ensures the natural fruit flavor shines through, providing a beautiful contrast to the buttery cookie. In this specific recipe, the classic shortbread dough is taken to a new level with the addition of pistachios, elevating the flavor and visual appeal even further.
Why You’ll Love These Pistachio Thumbprint Cookies: A Delectable Holiday Treat
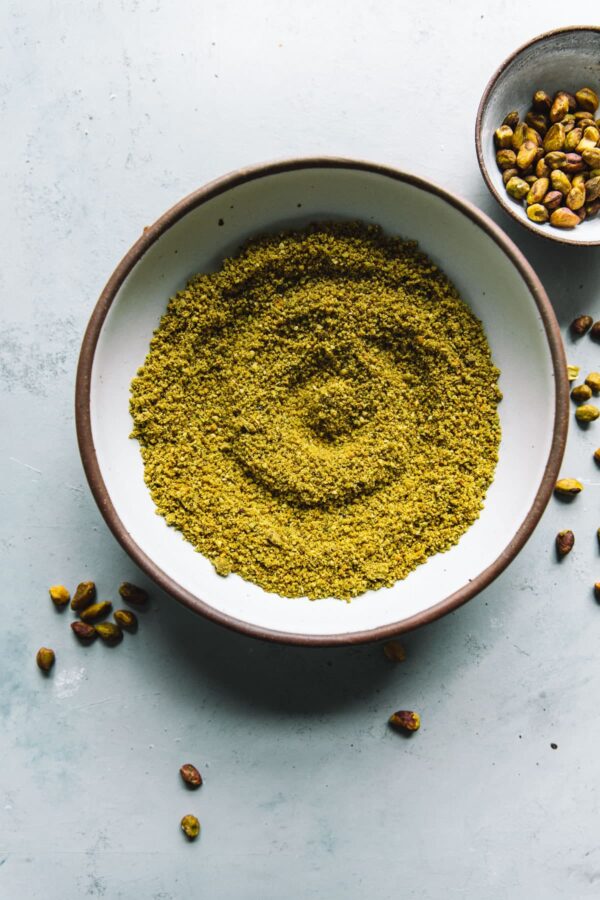
Much like our popular Hazelnut Thumbprint Cookies from last year, these pistachio versions offer an elevated and sophisticated twist on the traditional recipe. What makes them truly special is the inclusion of homemade pistachio flour, which is surprisingly simple to make and comes together in mere seconds using a food processor. This homemade flour infuses the cookies with an unparalleled fresh, nutty flavor that store-bought alternatives often lack, making them feel truly gourmet and perfect for the festive season.
Beyond the unique flavor of the pistachio flour within the dough, we add another layer of texture and taste. Each cookie dough ball is delicately dipped in frothy egg whites, then generously rolled in finely chopped pistachios. This step, while adding a moment to the preparation, creates a beautifully textured exterior that is both visually appealing and adds a delightful crunch with every bite. The exterior coating also intensifies the pistachio flavor, complementing the subtle notes in the dough.
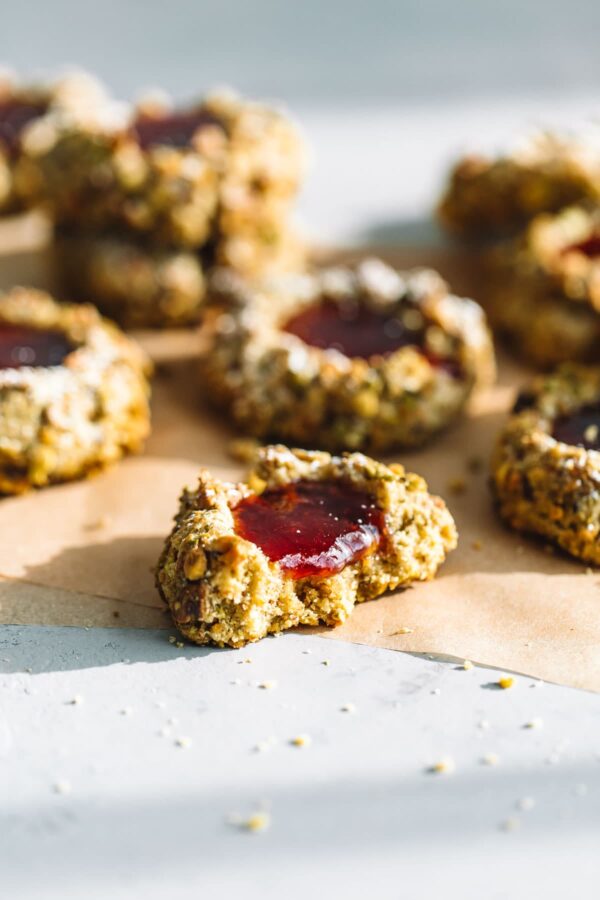
Despite these extra touches, these gorgeous pistachio cookies are incredibly quick to prepare, often ready from start to finish in under an hour. They deliver an exquisite balance of flavors and textures: a tender, buttery crumb, a delightful crunch from the chopped pistachio coating, a rich, earthy pistachio flavor throughout, and of course, that signature sweet and tangy jammy center. They are truly a treat that embodies the joy and indulgence of the holidays.
The Allure of Pistachios in Baking
Pistachios are more than just a pretty green nut; they bring a distinct flavor profile and textural dimension to baked goods. Their mild, earthy, slightly sweet, and aromatic notes make them incredibly versatile. In these thumbprint cookies, pistachios contribute to both the dough and the coating, ensuring a consistent and delightful flavor experience. They also offer a beautiful natural green hue that is particularly appealing during festive seasons, contrasting wonderfully with red jams. Beyond flavor and color, pistachios are packed with healthy fats, fiber, and protein, adding a touch of wholesome goodness to your holiday treats.
Crafting Homemade Pistachio Flour for Superior Flavor
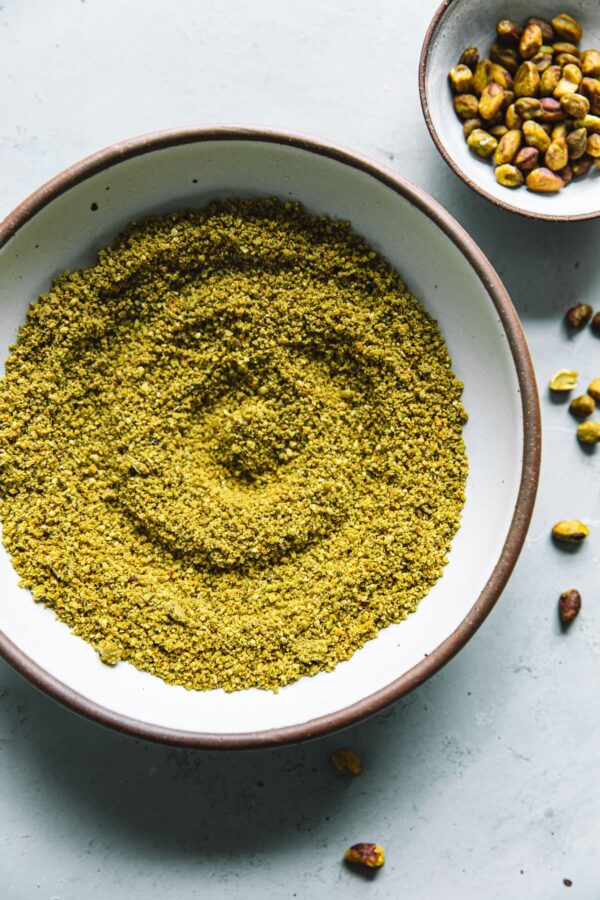
The secret to these cookies’ incredible flavor lies in the homemade pistachio flour. Making your own nut flour ensures maximum freshness and allows you to control the grind. While pre-made pistachio flour is available, it often loses some of its vibrant flavor and color over time. By quickly processing whole shelled pistachios with a touch of all-purpose flour (to prevent clumping), you create a fragrant, finely textured flour that integrates perfectly into the cookie dough, delivering an authentic pistachio essence that truly elevates this recipe.
How to Make Pistachio Thumbprint Cookies: Step-by-Step Guide
Creating these stunning pistachio thumbprint cookies is a rewarding process. Follow these detailed steps to ensure perfectly tender, flavorful cookies every time.
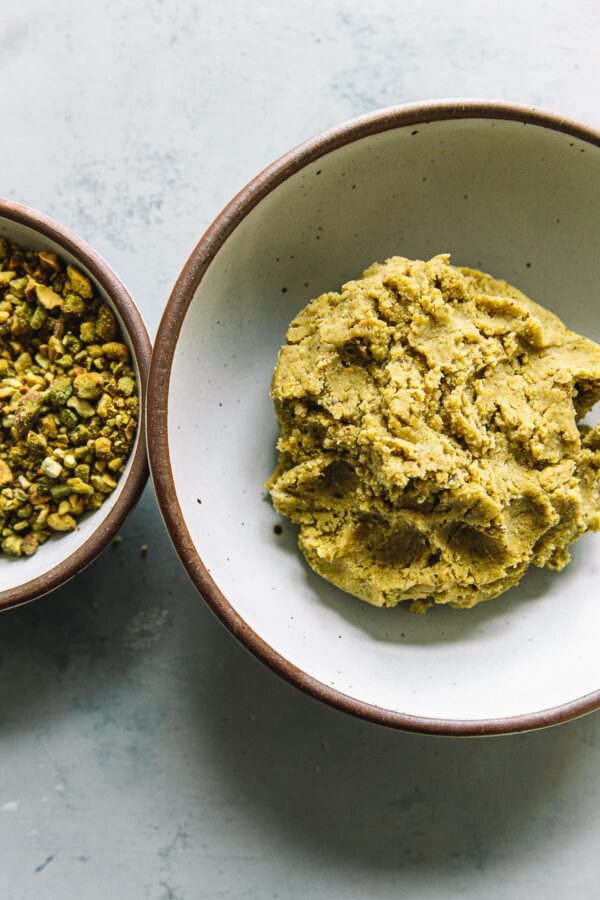
1. Prepare the Pistachios: Begin by pulsing half of your shelled pistachios in a small food processor. Aim for a medium-coarse texture, which will be used for the exterior coating. Transfer these to a bowl and set aside.
2. Make Pistachio Flour: For the finer pistachio flour, combine the remaining shelled pistachios with two teaspoons (6 grams) of all-purpose flour in the same food processor bowl. The added flour is crucial as it helps prevent the nuts from clumping and turning into butter. Pulse continuously until you achieve a fine, meal-like texture, similar to almond flour.
3. Combine Dry Ingredients: In a medium bowl, whisk together the freshly made pistachio flour, 120 grams (1 cup) of all-purpose flour, and a pinch of salt. This ensures all the dry ingredients are evenly distributed.
4. Cream Butter and Sugar: In the bowl of a stand mixer fitted with a paddle attachment, combine the softened unsalted butter and granulated sugar. Beat on medium-high speed for 3 to 4 minutes until the mixture is light, pale, and fluffy. This creaming process incorporates air, contributing to the cookies’ tender texture. Stir in the vanilla extract until just combined.
5. Form the Dough: Reduce the mixer speed to low and gradually add the whisked dry flour mixture. Mix until the dough just comes together. Be careful not to overmix, as this can lead to tough cookies.
Note: If your dough appears a bit dry or crumbly, a small splash (half a teaspoon to a teaspoon) of milk or water can help it come together without affecting the final texture.
6. Prepare for Coating: In a separate small bowl, whisk the large egg white until it becomes light and frothy. This will act as a binder for the chopped pistachios.
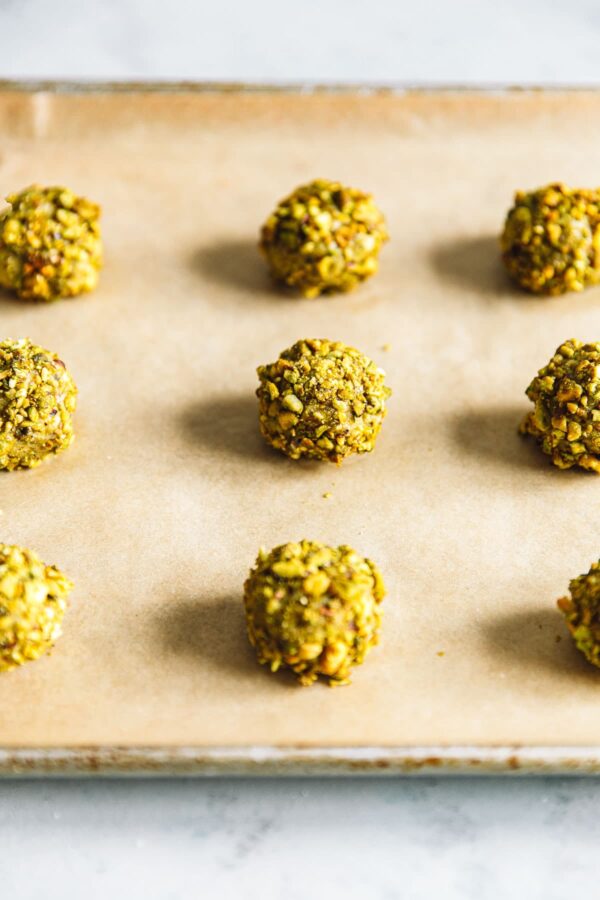
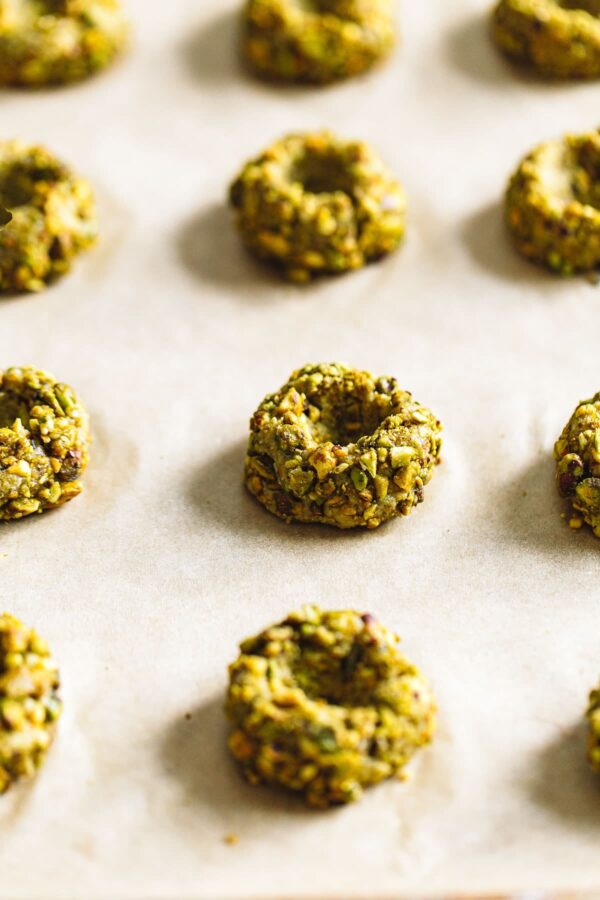
7. Roll and Coat: Gently roll the cookie dough into 1-inch diameter balls (about 1 tablespoon each). Working one at a time, dip each dough ball lightly into the frothy egg white mixture, then roll it evenly in the reserved coarsely chopped pistachios, ensuring a generous coating.
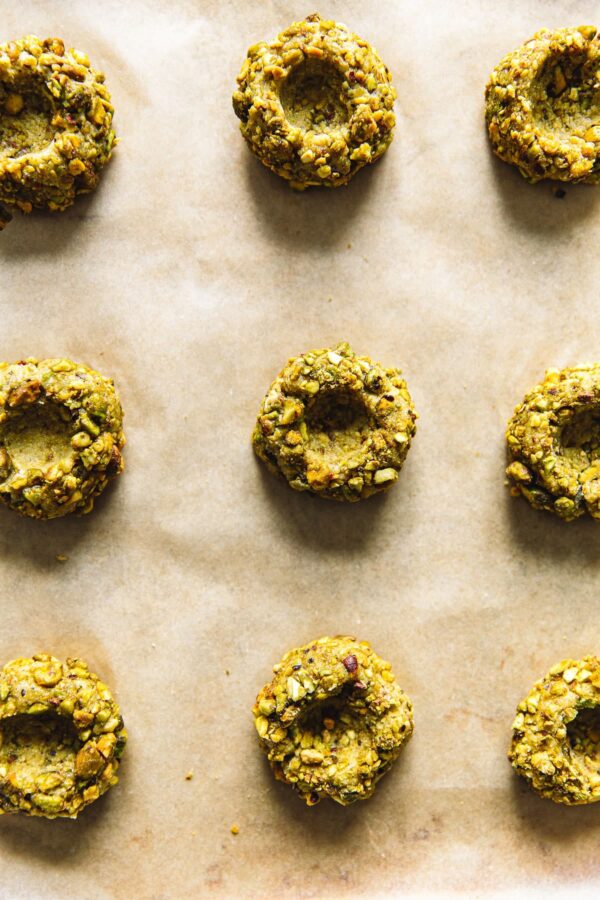
8. Create Indents: Place the coated cookie balls on a parchment-lined baking pan, spacing them about two inches apart. With one hand holding the dough ball steady, use the handle end of a wooden spoon (or your thumb, traditionally) to create a clear indent in the center of each cookie, pressing down gently but firmly almost to the bottom of the cookie. If the edges crack, simply smooth them with your fingertips.
9. Bake and Cool: Bake the cookies in a preheated oven at 350°F (175°C) for 15-18 minutes, or until the edges are lightly golden. If the indentations puff up during baking, gently press them down again with the back of a wooden spoon or your fingertip immediately after removing them from the oven. Allow the cookies to cool on the baking sheet for several minutes before transferring them to a wire cooling rack to cool completely. Once cool, lightly dust with confectioner’s sugar for an elegant finish.
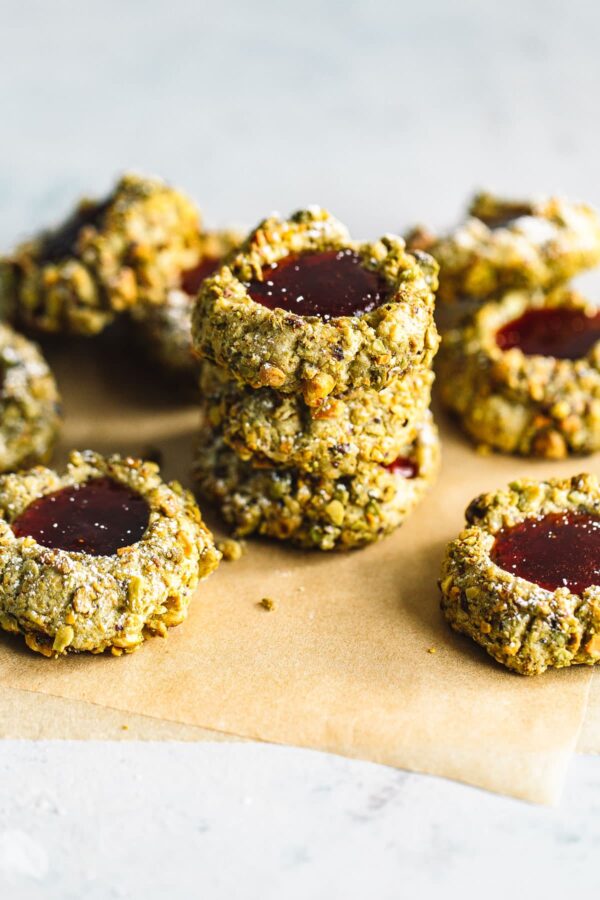
10. Fill with Jam: While the cookies cool, gently heat your chosen jam (raspberry or blackcurrant) in a small saucepan until it comes to a boil. This makes the jam more fluid and easier to spoon. Spoon about ½ to 1 teaspoon of the warm jam into the center of each cooled cookie. Allow the jam to cool and set completely before serving or storing. This crucial step ensures the jam firm up and stays in place.
Mastering Your Jam Filling for Thumbprint Cookies
The jam filling is the crowning jewel of any thumbprint cookie. While this recipe specifically highlights vibrant raspberry or the more traditional blackcurrant, the choice of jam can significantly alter the cookie’s character. Look for fruit preserves with a high fruit content and less added sugar to ensure a bright, authentic fruit flavor. Heating the jam before filling is a small but important step; it makes the jam more pourable, allowing it to settle smoothly into the indentations without overflowing. This also helps it set beautifully once cooled, creating that perfect glistening center. Experiment with other flavors like apricot, cherry, or even lemon curd for different seasonal twists.
Storage and Make-Ahead Tips
These Pistachio Thumbprint Cookies are resilient and store beautifully, making them an excellent choice for holiday gift-giving or preparing in advance. Once completely cooled and the jam has set, store them in an airtight container at room temperature for up to 4 days. For optimal freshness and to prevent them from sticking, arrange them in layers separated by parchment paper or wax paper.
You can also prepare the cookie dough ahead of time. Form the dough balls, coat them in pistachios, and then freeze them on a baking sheet until solid. Transfer the frozen balls to a freezer-safe bag and store for up to 3 months. When ready to bake, thaw them slightly at room temperature for about 15-20 minutes before making the thumbprints and baking as usual, adding a few extra minutes to the baking time if needed.
Creative Variations for Your Thumbprint Cookies
One of the joys of thumbprint cookies is their adaptability. While pistachios and raspberry jam are a sublime combination, feel free to unleash your creativity!
- Nut Substitutions: Instead of pistachios, consider almond flour and chopped almonds, or hazelnut flour and hazelnuts for a richer, more robust flavor. Pecans and walnuts could also offer interesting textures.
- Jam Flavors: Beyond raspberry and blackcurrant, explore apricot, strawberry, cherry, fig, or even a spicy chili-mango jam for an unexpected kick.
- Chocolate Center: For chocolate lovers, a dollop of melted dark chocolate or a mini chocolate ganache center after baking would be divine.
- Citrus Zest: Add lemon or orange zest to the cookie dough for an extra layer of brightness, which pairs wonderfully with many jams.
- Spice It Up: A pinch of cardamom or cinnamon in the cookie dough can add a warm, festive note, especially if using an apple or pear jam.
These cookies are a canvas for your culinary imagination, allowing you to tailor them to any occasion or preference.
Pistachio Thumbprint Cookies with Jam
Pin
Review
Save
Saved!
18
Cookies
10 minutes
20 minutes
45 minutes
1 hour
15 minutes
Equipment
-
Half Sheet Pan
-
Natural Parchment Paper
-
Cooling Rack, Fits Half Sheet Pan
Ingredients
-
1⅓
cups (200 grams)
shelled pistachios, raw or dry roasted
divided -
1
cup (120 grams)
plus 2 teaspoons (6 grams) unbleached all-purpose flour
divided -
½
teaspoon
kosher salt
-
4
ounces (8 tablespoons; 115g)
unsalted butter
room temperature -
¼
cup (50 grams)
granulated sugar -
¾
teaspoon
vanilla extract -
1
large egg white -
powdered sugar
for dusting -
⅔
cup (210 grams)
raspberry or blackcurrant preserves
Instructions
-
Note: It can be very easy to over-measure flour, resulting in a drier, crumblier dough, if you use volume measurements for thumbprint cookies. I strongly recommend using a scale and the metric measurements provided below for this recipe. If you don’t have a scale, be sure to read my guide on how to properly measure flour before starting.
-
Preheat the oven to 350°F (175°C) with racks in the upper and lower thirds of the oven. Line two half sheet pans with parchment paper (or a silicone baking sheet) and set aside.
-
Place ⅔ cup shelled pistachios in the bowl of small to medium food processor bowl, and pulse until coarsely chopped. Set aside in a bowl. Combine the remaining ⅔ cup shelled pistachios and the 2 teaspoons of all-purpose flour in the empty food processor bowl, and pulse repeatedly until finely ground.
-
Whisk together the pistachio flour, remaining 1 cup all-purpose flour and salt in a medium bowl and set aside.
-
Combine the softened butter and granulated sugar in the bowl of a stand mixer fitted with a paddle attachment. Beat the butter and sugar on medium-high speed until light and fluffy, 3 to 4 minutes. Add the vanilla extract and mix thoroughly. Reduce the speed to low and slowly add the flour mixture, scraping down the sides of the bowl once or twice until the dough comes together. Note: If the dough still appears crumbly or too dry, you can add a small splash of milk or water to help bring it together.
-
In a separate bowl, whisk the egg white until lightly frothy. Using your fingertips, roll the cookie dough into roughly 1-inch diameter balls (about 1 tablespoonful). If you make them slightly larger, the yield will be closer to 16-18 cookies. Dip each ball lightly into the egg white, and then roll in the crushed pistachios until evenly coated. Place the balls 2 inches apart on the baking sheets (roughly 12 cookies per sheet). Holding the cookie balls steady with one hand, create an indent in the center of each cookie with the end of a wooden spoon, pushing down until just before you reach the baking sheet. Re-shape each cookie into a circle with your fingertips as necessary.
-
Bake the cookies, rotating the sheets halfway through the baking time, until the bottoms of the cookies are lightly golden, about 15 to 18 minutes. Allow the cookies to cool on the baking sheets for 3 to 4 minutes before transferring them to a cooling rack to cool. Using a fine-meshed sieve, dust the cookies very lightly with powdered sugar.
-
In a small saucepan, heat the raspberry jam (or blackcurrant, if using) until it reaches a boil. Remove the jam from the heat and spoon ½ to 1 teaspoon of jam into the center of each cookie. Allow the jam to cool and set completely before serving or storing.
-
Leftover thumbprint cookies can be stored in an airtight container, layered between sheets of parchment or wax paper, at room temperature for up to 1 week.
Tips for Success:
- Feel free to mix these cookies up with your favorite jam, nut, or even go as far as to add a chocolate filling.
- Leftover thumbprint cookies can be stored in an airtight container, between layers of parchment, at room temperature for up to 4 days.
Serving:
1
serving
,
Calories:
93
kcal
,
Carbohydrates:
19
g
,
Protein:
2
g
,
Fat:
1
g
,
Saturated Fat:
1
g
,
Cholesterol:
12
mg
,
Sodium:
69
mg
,
Sugar:
7
g
Laura / A Beautiful Plate
Cookies and Bars
American
These Pistachio Thumbprint Cookies with Raspberry Jam are more than just a dessert; they are a celebration of holiday baking, tradition, and delicious flavors. Whether you’re making them for a special gathering, a thoughtful homemade gift, or simply to enjoy with a warm cup of tea, their vibrant color and exquisite taste are sure to bring joy. Happy baking, and enjoy these festive treats!
