Mastering Flour Measurement: Your Guide to Perfect Baking Results
A fundamental guide on how to measure flour properly and why the method you choose significantly impacts your baking results, ensuring consistent success every time.

As we delve into the heart of baking season, let’s address a critical, yet often overlooked, aspect of culinary success: how to accurately measure flour! For many home bakers, inconsistent results are a frustrating reality, leading to everything from dense cakes to crumbly cookies. The truth is, the way you measure flour is one of the single most influential factors in the outcome of your baked goods. Understanding and applying the correct techniques can transform your baking from hit-or-miss to consistently perfect.
If you’ve ever wondered why your recipes don’t always turn out like the pictures, or why one batch of cookies is perfect while the next is a disaster, the culprit might just be your flour measurement technique. When measuring flour by volume (using traditional measuring cups), it’s incredibly easy to inadvertently add too much. This seemingly minor error has a profound ripple effect throughout your recipe, altering the delicate balance of ingredients and ultimately compromising the texture and flavor of your creations.
Consider the impact of adding an extra 1/4 cup, or even 2/3 cup, of all-purpose flour to your cherished raspberry roll cake, delicate almond sugar cookies, or fluffy cranberry orange scones. The result would be immediately noticeable and almost certainly disappointing. Instead of light, tender, and moist, your baked goods would likely become dry, dense, heavy, and potentially tough. This often leads to a cycle of frustration, where bakers blame the recipe or their own skills, when in fact, a simple adjustment in measurement technique is all that’s needed to unlock consistent, delicious results.

Common Mistakes When Measuring Flour By Volume and Their Impact
It is remarkably easy to over-measure flour when relying solely on volume measurements, such as standard measuring cups. These inaccuracies are not just minor deviations; they can be substantial, especially when recipes call for larger quantities of flour, magnifying the error and its impact on the final product.
The Wrong Ways to Measure Flour: Avoid These Common Pitfalls
- Scooping Directly into the Bag: The most prevalent mistake is plunging your measuring cup directly into the flour bag or storage container. This action compacts the flour significantly, forcing more flour into the cup than intended. Flour naturally settles and compacts over time, so direct scooping picks up an artificially dense amount.
- Tapping or Packing Flour: Another common error is tapping the measuring cup on the counter or actively pressing the flour down to fill it. Similar to direct scooping, this compresses the flour, eliminating air and leading to an excessive amount of flour by weight.
*These incorrect methods consistently yield inaccurate and inconsistent flour amounts. The added flour creates a denser batter or dough, resulting in baked goods that are tough, dry, crumbly, and lack the desired lightness and tenderness.
Other Factors Influencing Volume Measurement Accuracy:
- Measuring Cup Quality: The brand and inherent accuracy of your measuring cups can also play a role. Not all measuring cups are created equal. Inexpensive sets can sometimes have slight variations in their stated volume.
- Choosing the Right Tools: If you prefer to stick with volume measurements, I strongly recommend investing in a good-quality, standardized set of dry measuring cups. Avoid using mugs, decorative measuring cups, or liquid measuring cups for dry ingredients, as they are not calibrated for precise dry ingredient measurement and will lead to inconsistent results.
- Flour Type and Humidity: Even factors like the type of flour (all-purpose vs. cake flour) and the ambient humidity in your kitchen can slightly affect how densely flour packs, further illustrating the challenges of volume measurement.

How to Properly Measure Flour by Volume: The “Fluff, Spoon, and Level” Method
While professional bakers often advocate for metric weights, there is indeed a precise and proper technique for measuring flour by volume that minimizes inaccuracies. This method is universally known as the “Fluff, Spoon, and Level” method, and it’s the gold standard recommended by most professional recipe developers, esteemed cookbooks, and reputable food websites. When executed correctly, this technique will yield the closest possible equivalent (typically within +/- 5 grams) to a scaled cup of all-purpose flour, which is widely accepted as 120 grams.
To put the importance of this method into perspective, remember that when flour is measured incorrectly (as discussed in the “wrong ways” section above), a single cup of flour can easily be over-measured by as much as 1/4 to 1/3 cup. Imagine a recipe calling for 2 to 3 cups of flour; this could mean adding an egregious 1/2 cup to 1 full cup of extra flour to your recipe, leading to a drastically altered and often inferior end product.
The Correct Way to Measure Flour by Volume (Fluff, Spoon, and Level Method):
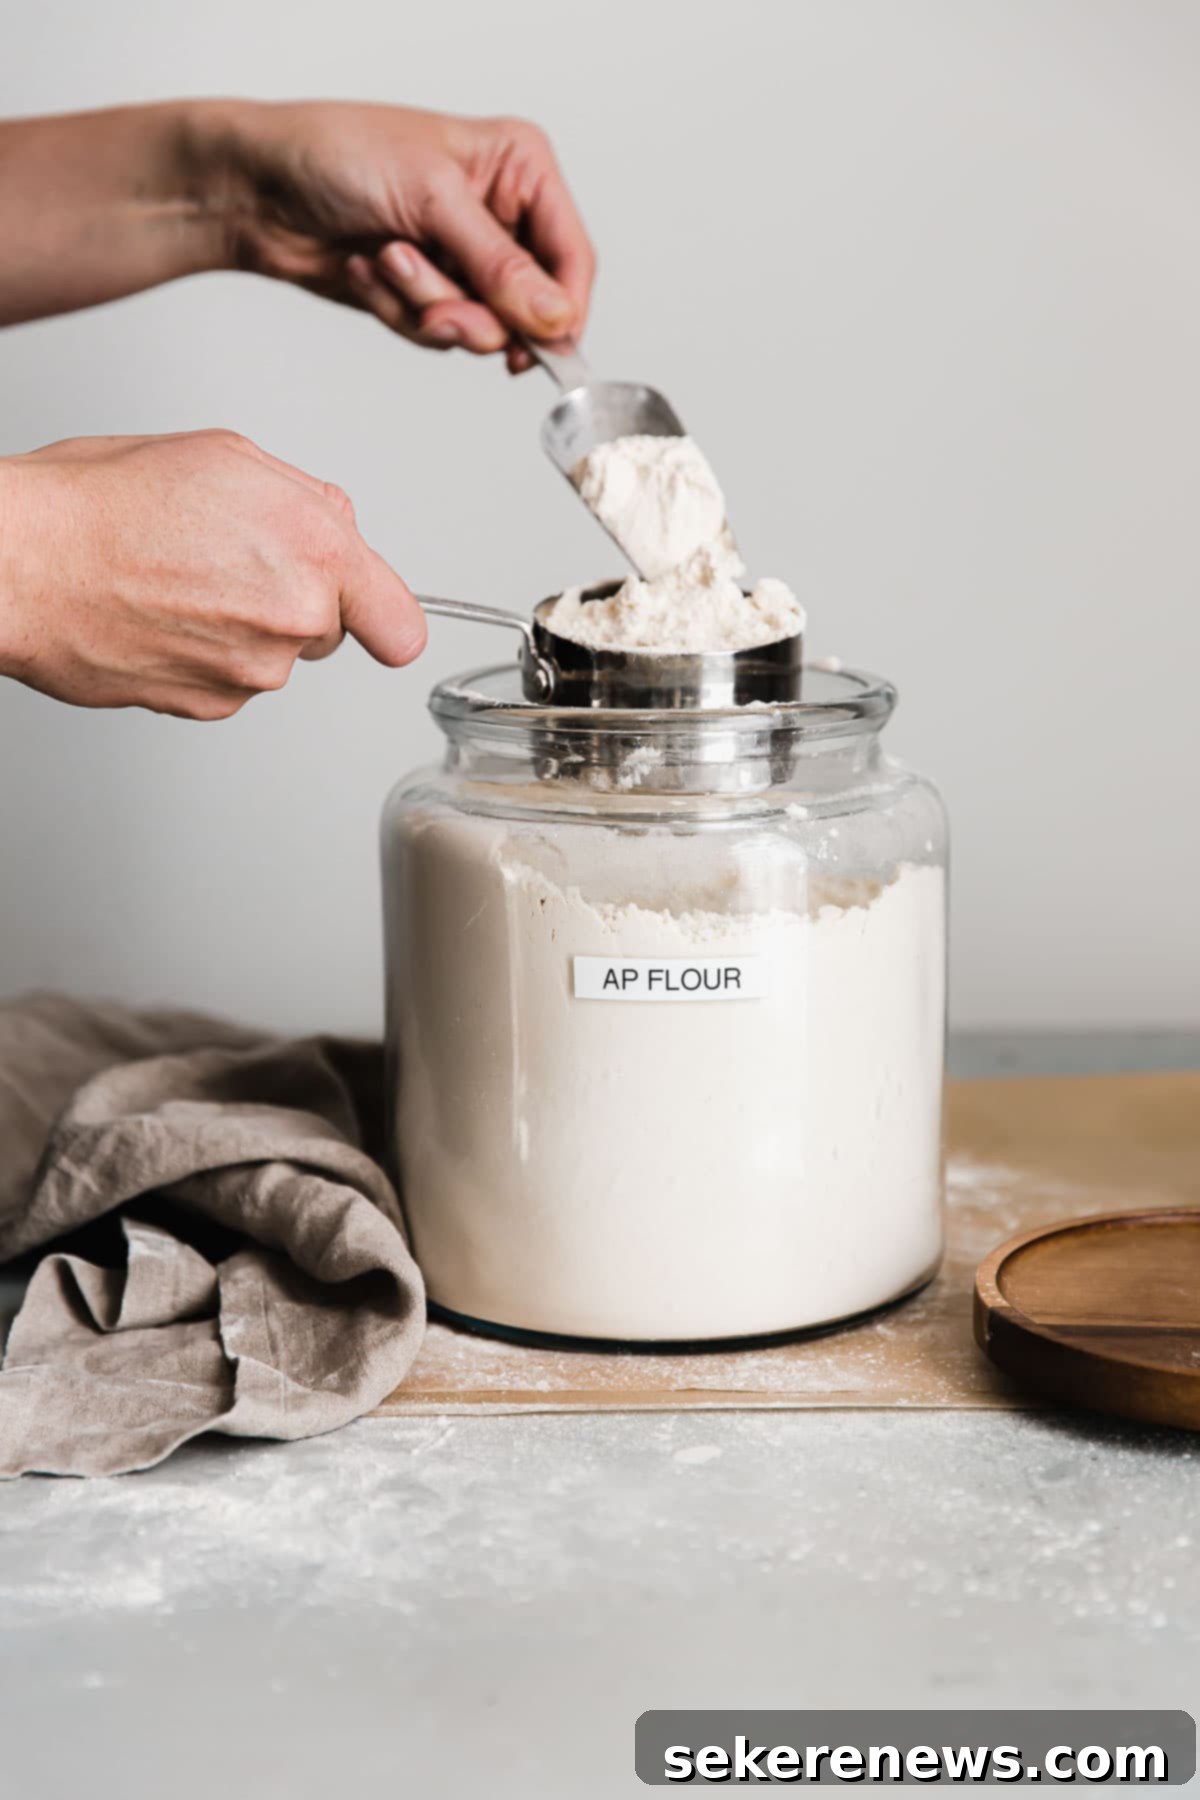
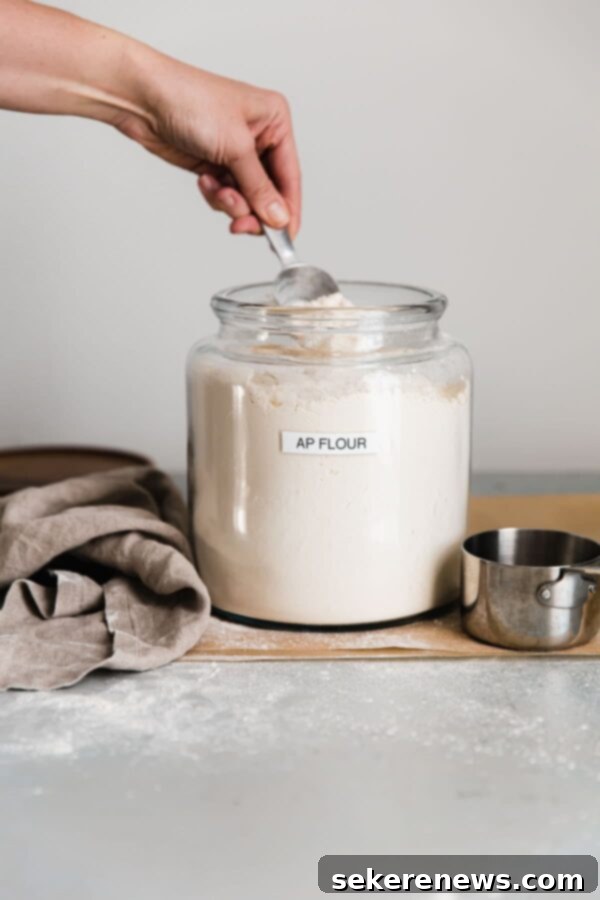
- 1. Fluff the Flour: Begin by thoroughly aerating your flour. Using a spoon or a light scoop, gently stir and fluff the flour within its container. This breaks up any compaction that has occurred from settling and incorporates air, making the flour light and airy. It should feel loose, not heavy or densely packed.
- 2. Spoon into Measuring Cup: Once fluffed, use the spoon to gently spoon the aerated flour into your dry measuring cup. Do not scoop the cup directly into the flour, as this negates the fluffing step. Continue spooning until the flour mounds slightly above the rim of the measuring cup.
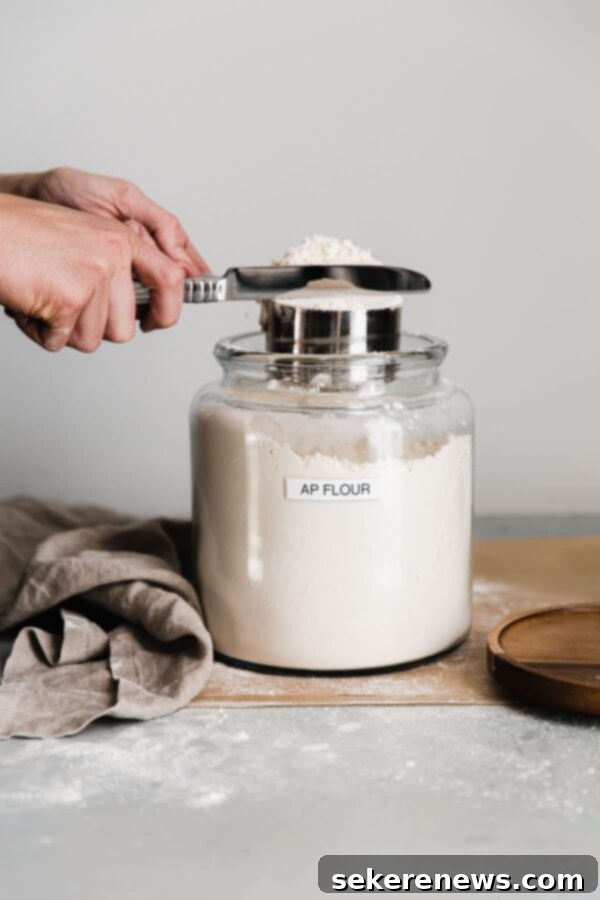
- 3. Level Evenly: Finally, use the back of a straight-edged knife or a similar flat utensil (like a bench scraper) to level off the excess flour, sweeping it across the top of the measuring cup. Ensure the top surface is flat and flush with the rim of the cup. Do not tap the cup or pack the flour down during this step.
- For more detailed visual guidance, refer to the step-by-step process photos below or watch this helpful video lesson.
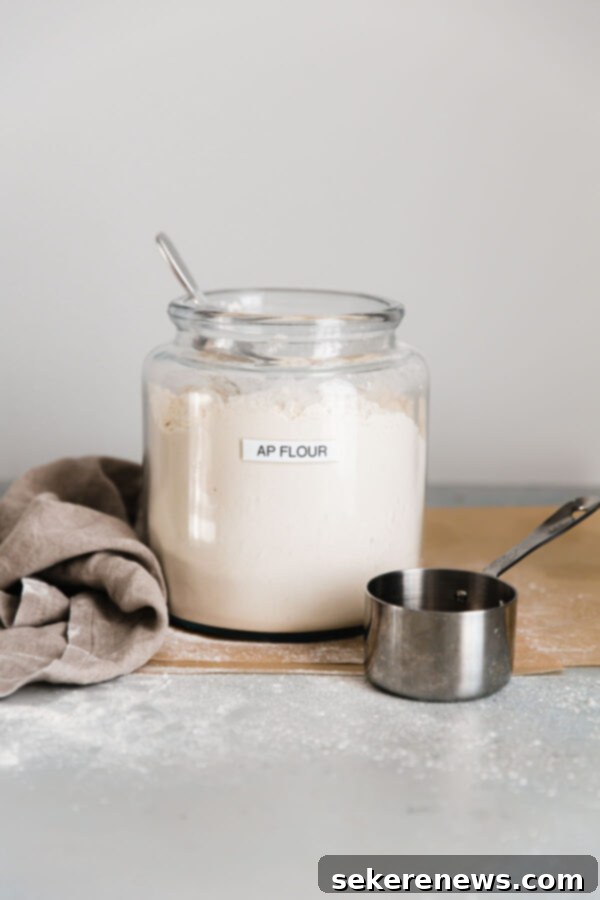
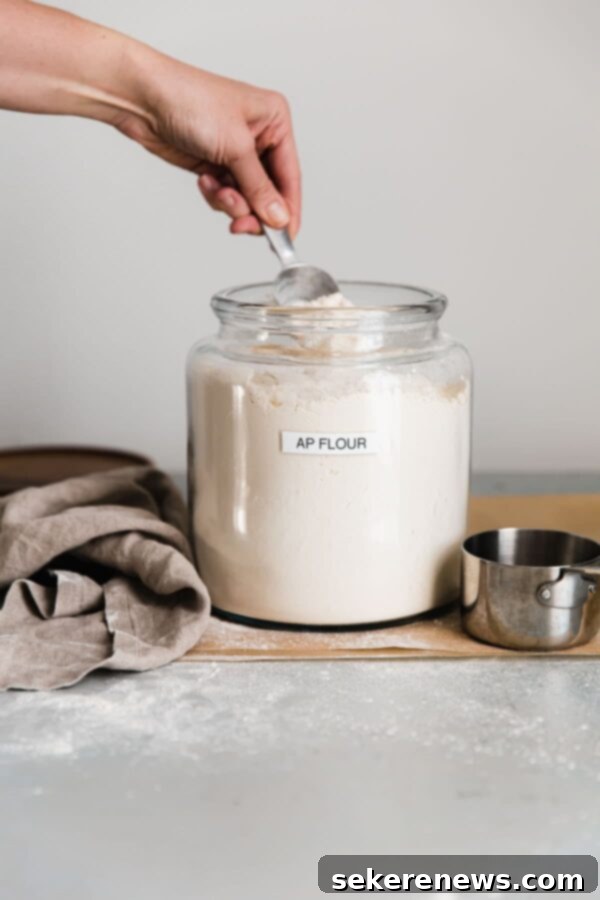
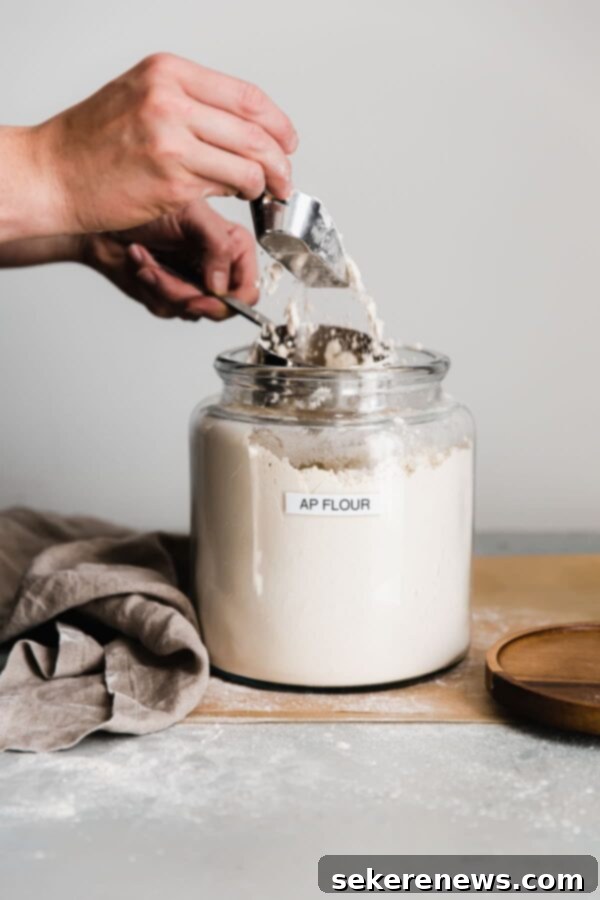
Flour, like many dry ingredients, will naturally settle and pack down over time due to gravity, especially after sitting on a grocery shelf or in your pantry. By taking the crucial step of thoroughly fluffing the flour with a spoon or scoop before measuring, you ensure that it is properly aerated, returning it to a light, uniform density. This proactive step prevents you from accidentally measuring a compacted, heavier amount of flour, which is the root cause of many baking inconsistencies.
STORAGE TIP: To make the fluff, spoon, and level method even easier and to ensure your flour stays fresher longer, I always recommend transferring flour from its original bag into a large, airtight container. Not only will this extend the shelf life of your flour by protecting it from moisture and pests, but it also makes the fluffing and scooping process much more convenient. My top recommendations include durable Glass Anchor Containers or user-friendly OXO Pop Containers.

The Most Accurate Way to Measure Flour: Using a Digital Baking Scale
Can I make a confession that might surprise some? I genuinely dislike measuring cups for dry ingredients like flour. While I always strive to include volume measurements in my baking recipes to cater to all bakers, I wholeheartedly, and quite strongly, encourage every single person interested in consistent baking success to invest in a basic, yet indispensable, digital baking scale and embrace the practice of using metric weights.
Metric weights offer unparalleled accuracy and are virtually foolproof, which is precisely why the vast majority of professional pastry chefs and experienced bakers worldwide prefer and unequivocally recommend them over volume measurements. Unlike cups, which can vary in how much flour they hold depending on density and technique, a gram is always a gram, providing an absolute, unchangeable measure.
My standard baking conversion for all-purpose flour is: 1 cup = 120 grams. This is a widely accepted standard, though it’s worth noting that it can vary slightly (e.g., 125 grams) from one baker or recipe source to another. The golden rule is: if a cookbook, website, or chef provides metric weights, always use them. Adhering to the author’s specified weights will significantly improve your chances of achieving the intended results for that particular recipe. The beauty of using a scale is that 120 grams of flour will always be 120 grams, regardless of how packed or fluffed it is, or what type of flour it is.
Significant Benefits of Using a Baking Scale:
- Extreme Accuracy & Consistent Results: This is the paramount advantage. Scales eliminate the variables associated with volume measurement, ensuring you add the exact amount of flour every time, leading to reliably perfect baked goods.
- Time-Saving & Efficiency: Forget fluffing, spooning, and leveling multiple cups. With a scale, you simply add flour until the desired weight is displayed. It’s faster and streamlines your baking process.
- Less Clean Up: Fewer measuring cups mean fewer dishes! You can often measure multiple dry ingredients into the same bowl, taring the scale between additions, reducing clutter and cleanup.
- Easy Recipe Scaling: Need to halve or double a recipe? Working with grams makes scaling incredibly straightforward. No messy fractions or complicated conversions – just simple multiplication or division.
- Mastering Baking Ratios: Scales are essential for understanding and applying fundamental baking ratios (e.g., 1-2-3-pie dough, 3-2-1 cookie dough), empowering you to create your own recipes with confidence.
- Versatility: A good kitchen scale is useful for more than just flour. Measure sugar, butter, liquids, and even portioning dough or batter with precision.
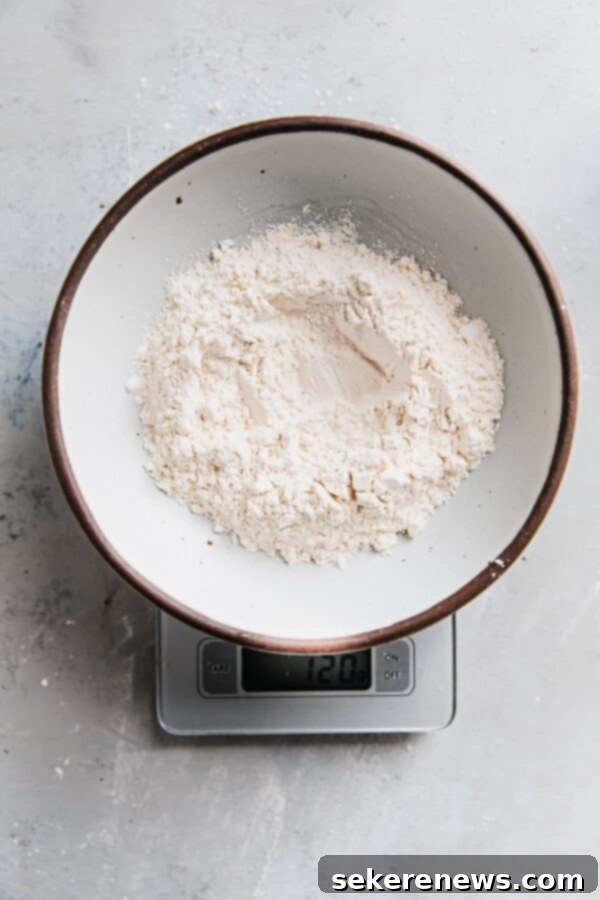
How to Weigh Flour Using a Baking Scale:
- Place Container on Scale: Begin by placing your empty mixing bowl or the container you intend to measure flour into directly onto your digital baking scale.
- Press ‘TARE’ Button: Press the ‘TARE’ or ‘ZERO’ button. This crucial step resets the scale to zero, effectively negating the weight of the container. This ensures that only the weight of the flour (or any other ingredient you add) is measured. If you’ve already added other ingredients, taring allows you to add the next ingredient without manually calculating.
- Add Flour to Desired Weight: Carefully add flour into the bowl until the digital display on your scale matches the metric weight specified in your recipe (e.g., for 1 cup, aim for 120 grams; for 2 cups, 240 grams, and so on). That’s it! No fluffing, no leveling, just pure, precise measurement.
Embracing a baking scale is a small change that yields monumental improvements in your baking journey. It takes the guesswork out of ingredient measurement, fostering confidence and consistency in every delicious treat you create.
If you found this guide helpful, be sure to explore these other essential baking and cooking science articles to further enhance your culinary skills:
- Flour 101: Different Types of Baking Flours and How to Use Them – Deepen your understanding of various flours and their unique properties.
- Kitchen Salts: Why The Type and Brand You Use Matters – Learn how different salts can impact the flavor and texture of your dishes.
