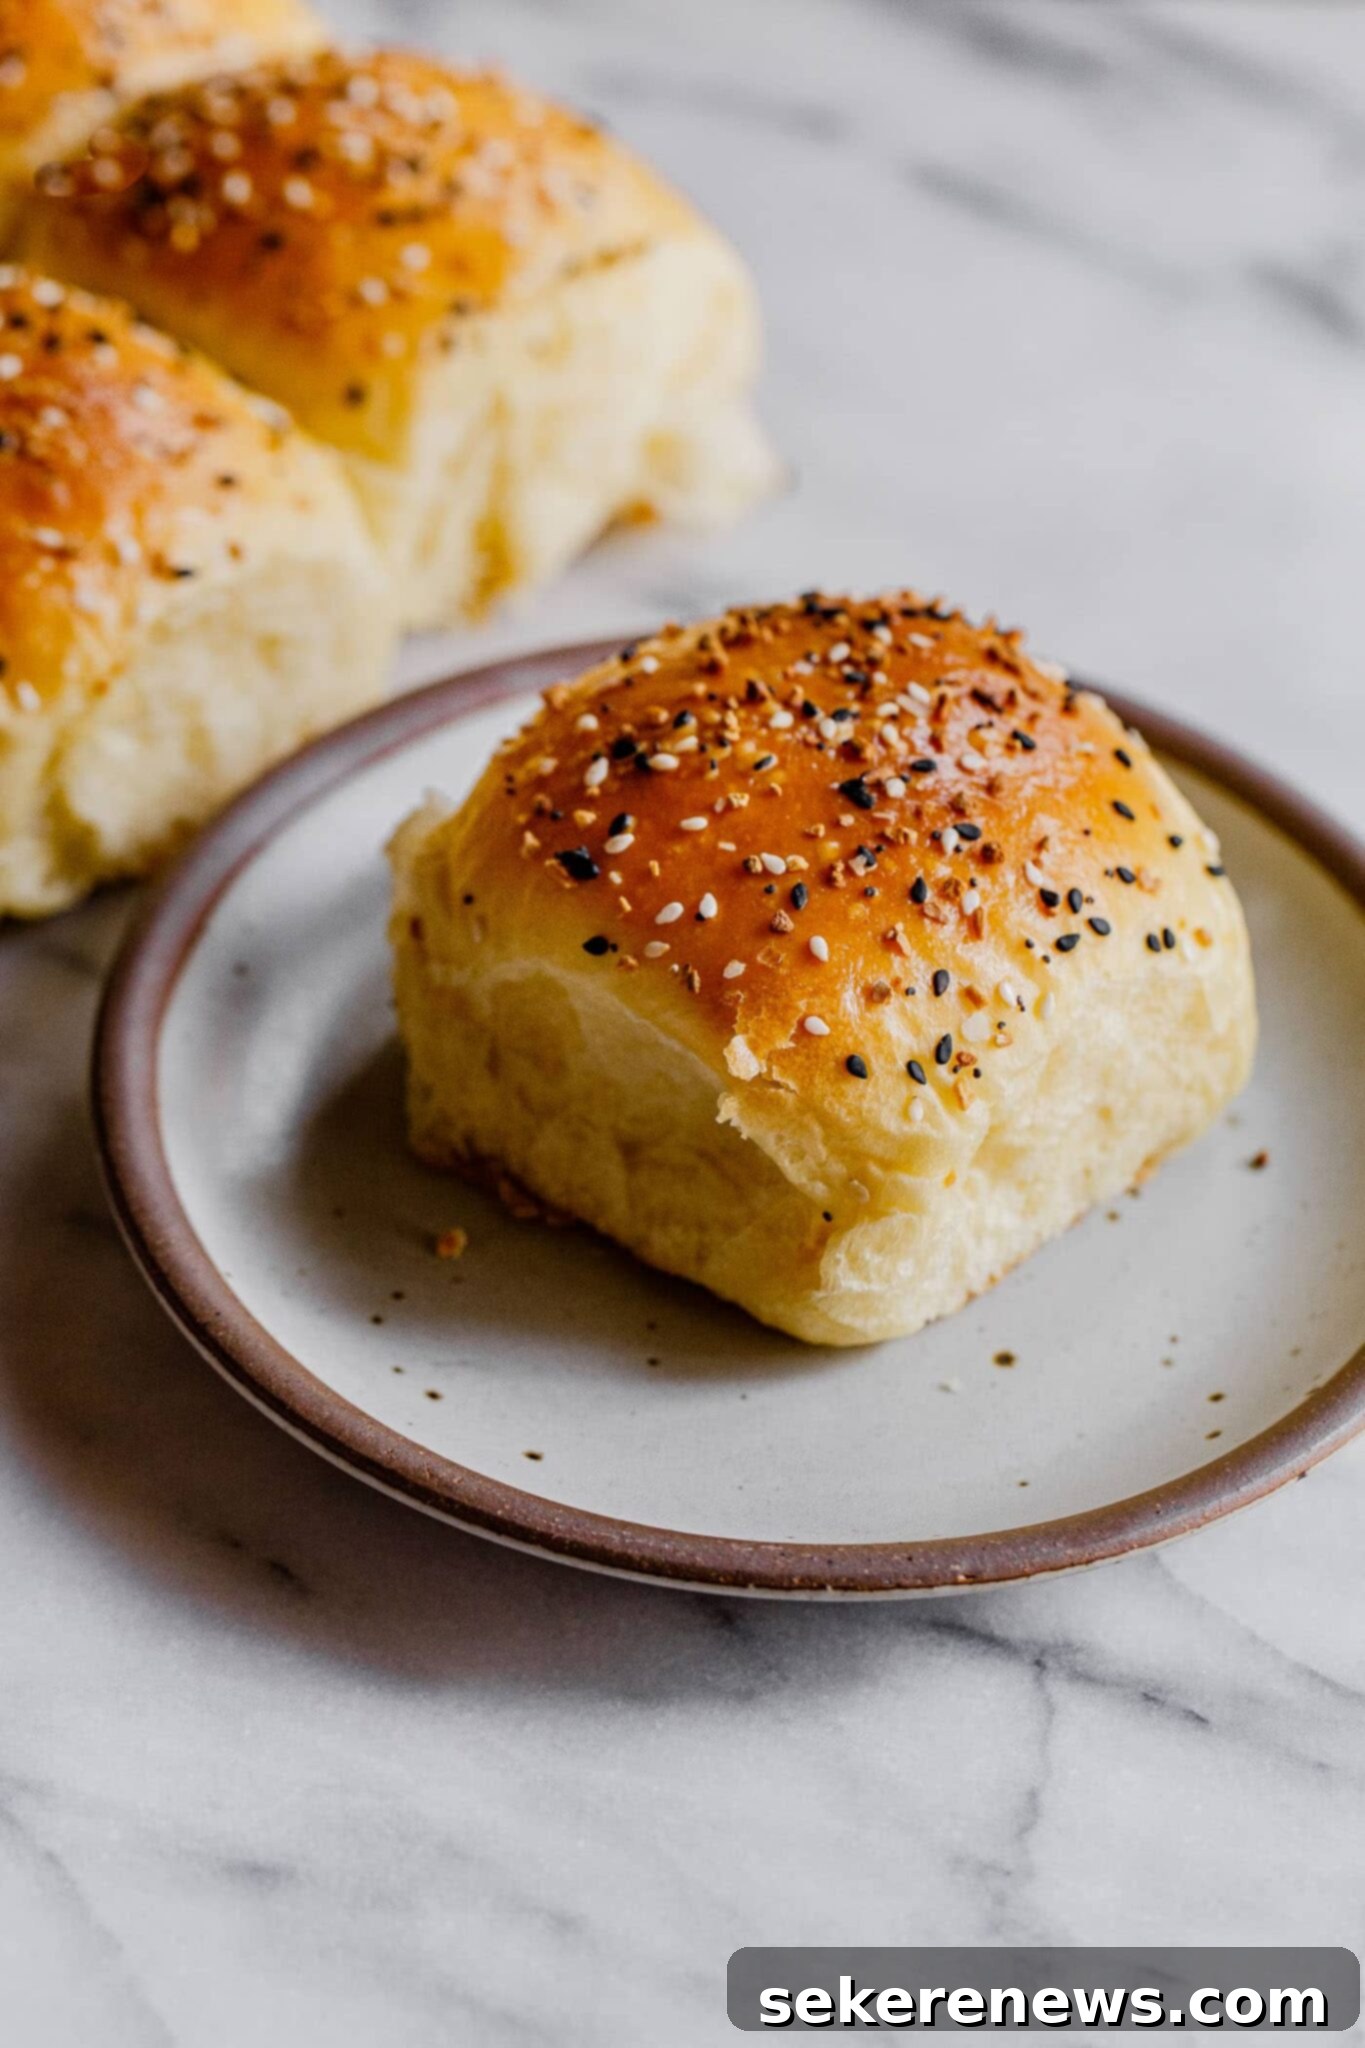
Ultimate Soft & Fluffy Everything Dinner Rolls: Your Go-To Make-Ahead Recipe for Any Occasion
Imagine the irresistible aroma of freshly baked bread filling your kitchen, promising warmth and comfort. These Soft and fluffy dinner rolls, generously topped with savory Everything Seasoning, deliver exactly that and more. This isn’t just a classic dinner roll recipe; it’s a game-changer designed for modern home bakers, featuring step-by-step photos and invaluable overnight and make-ahead instructions that simplify holiday entertaining and everyday meals alike.
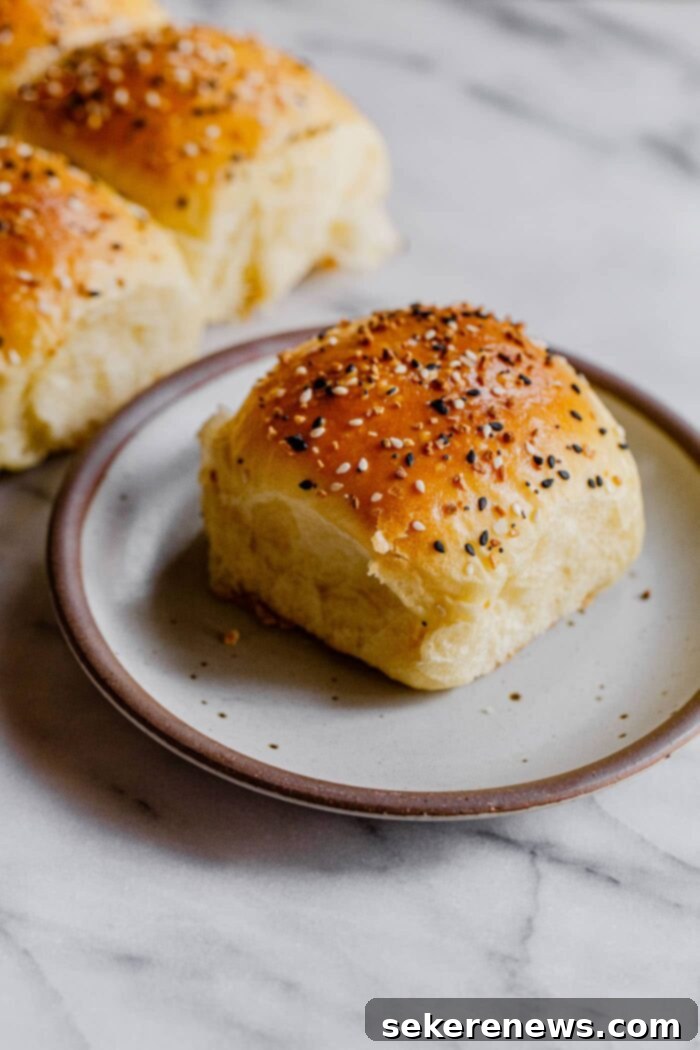
There’s nothing quite like the experience of biting into a warm, pillowy dinner roll, fresh from the oven. These classic dinner rolls are more than just a side dish; they are a delightful centerpiece, an essential addition to your holiday table, or a comforting accompaniment to any family meal. Each roll boasts a dreamily soft, incredibly fluffy, and wonderfully tender texture, perfectly balanced with just the right amount of satisfying chew.
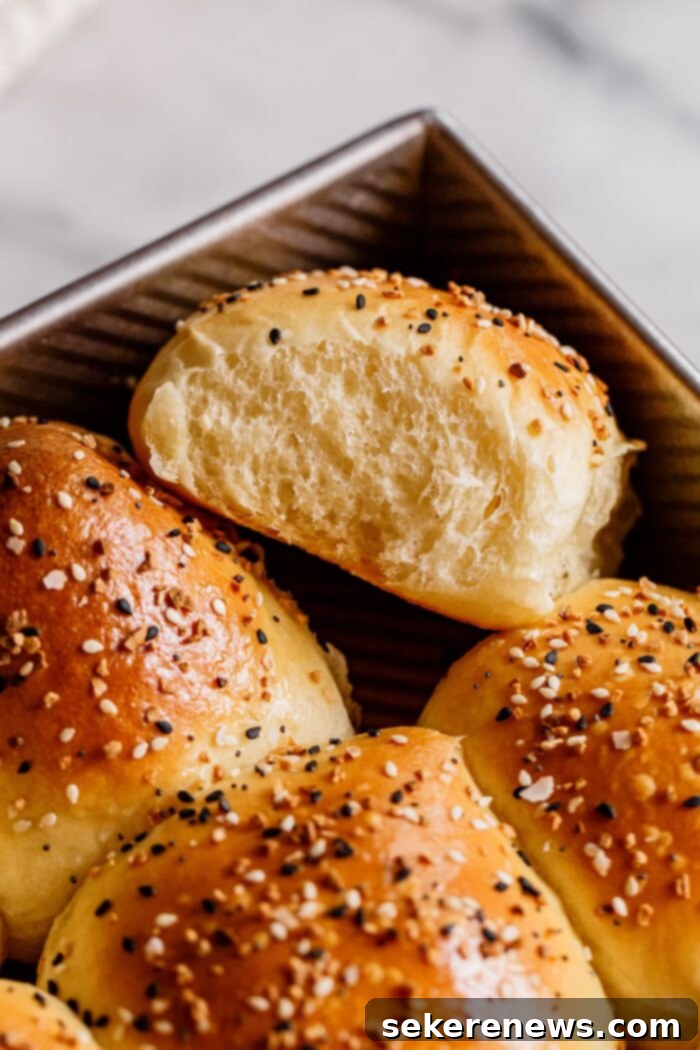
What truly sets these homemade dinner rolls apart are their thoughtful twists. We’ve infused the rich, buttery dough with a subtle hint of garlic powder, adding an extra layer of savory depth that complements almost any dish. But the real showstopper is the generous sprinkling of Everything Seasoning just before baking. This popular blend of salt, dried minced garlic and onion, along with crunchy sesame and poppy seeds, creates an explosion of texture and savory flavor in every single bite. It transforms a simple dinner roll into something truly extraordinary.
And the best part? These Everything Dinner Rolls are designed for convenience. The dough can be prepared a day in advance, shaped, and then refrigerated overnight. This makes them an absolute lifesaver for entertaining, allowing you to enjoy a stress-free morning knowing your rolls are ready to pop into the oven. For even more flexibility, you can bake them, freeze them, and then thaw and rewarm them whenever you need a quick, delicious bread fix. Served warm and slathered with butter, they taste even better than they sound – a promise we’re confident you’ll agree with!
The Inspiration: Baker Bettie’s Better Baking Book
This phenomenal yeasted dinner roll recipe is lovingly adapted from my dear friend Kristin ‘Baker Bettie‘ Hoffman’s incredible cookbook, Baker Bettie’s Better Baking Book. If you’re passionate about baking or simply want to gain a deeper understanding of the science behind what makes baked goods truly exceptional, this book is an absolute treasure. It’s a one-of-a-kind resource that demystifies the ‘why’s’ of baking, turning complex concepts into easy-to-understand lessons.
Kristin, a professionally trained chef and the brilliant baking instructor behind the hugely popular Baker Bettie website, also happens to be one of my closest friends. Her expertise shines through on every page of her book. It’s not just a collection of recipes; it’s an extensive guide that provides a comprehensive overview of fundamental baking techniques, along with master recipes and versatile formulas. This framework empowers home bakers to unlock endless creativity and confidence in the kitchen.
What makes Kristin’s cookbook particularly special is her approachable teaching and writing style. Whether you’re a novice baker just starting your journey or an experienced enthusiast looking to refine your skills, you’ll find immense value within its pages. She breaks down intimidating processes, making them accessible and enjoyable for all skill levels.
If you genuinely love to bake or aspire to gain more confidence in your baking endeavors, this cookbook is destined to become an instant classic and your most trusted go-to resource in the kitchen. It’s an investment in your baking future. You can easily pre-order a copy for yourself or a fellow baking enthusiast right here.
These incredibly soft and fluffy dinner rolls are specifically based on the cookbook’s cornerstone: the “Enriched Dough” master recipe. This foundational recipe is renowned for consistently producing a dough that is not only rich in flavor but also exquisitely soft and pliable, forming the perfect base for these savory rolls.
Understanding Enriched Dough: The Secret to Soft Rolls
As Kristin meticulously explains in her comprehensive ‘Yeast Breads’ chapter, yeasted doughs generally fall into two primary categories: lean dough and enriched dough. Understanding the difference is key to mastering different types of bread.
Unlike lean doughs, which are typically made with just flour, water, yeast, and salt (think rustic sourdough bread or classic pizza crust, which contain little to no fat), enriched doughs are distinctively different. They boast a high ratio of fat and commonly include enriching ingredients such as milk, butter, and sugar, and often eggs. These additional ingredients play a crucial role, contributing significantly to the dough’s luxurious texture and flavor profile. The fats tenderize the crumb, the sugar aids in browning and provides a subtle sweetness, and the milk and eggs add richness and moisture.
The result of these enriching ingredients is an exceptionally tender and rich dough with that coveted fluffy, soft texture that makes dinner rolls so irresistible. This versatility means that Baker Bettie’s enriched dough recipe isn’t just for dinner rolls; it’s a master formula that can be adapted to produce a wide array of delightful bread creations. Imagine using it for sweet sticky buns, classic cinnamon rolls, or any other sweet filled breads where a tender, rich crumb is desired. It’s truly a foundational recipe that every baker should have in their repertoire.
Step-by-Step Guide: Crafting Your Perfect Everything Dinner Rolls
Making homemade dinner rolls might seem daunting at first, but with clear instructions and a bit of patience, you’ll be baking like a pro in no time. This detailed guide, along with the visual cues from the photos, will walk you through each stage of the process, ensuring perfectly soft and flavorful results every single time. For the complete recipe, including precise measurements, make-ahead strategies, freezing instructions, and specific equipment recommendations, please refer to the comprehensive recipe box located at the very bottom of this post.
Step 1: Activate Your Yeast. Begin by gently warming your milk to the ideal temperature of 110°-115°F (43°-46°C). This temperature is crucial for activating the yeast without killing it. In a large mixing bowl, combine the warm milk with the yeast and a small portion (½ teaspoon) of granulated sugar. Give it a gentle stir and allow it to rest for 5-10 minutes. You’ll know your yeast is active and thriving when you see a foamy layer of bubbles forming on the surface – this is a good sign your dough will rise beautifully.
Step 2: Combine the Ingredients. Once your yeast is bubbly, add the flour (480 grams or 4 cups), the remaining granulated sugar, optional garlic powder (highly recommended for that extra savory kick!), salt, very soft unsalted butter, and large room-temperature eggs to the mixing bowl. Using clean hands, mix all these ingredients thoroughly until they come together to form a cohesive, slightly sticky dough. Don’t worry if it looks a bit messy at this stage; it’s all part of the process!
Step 3: Knead to Perfection. Kneading is where the magic happens, developing the gluten that gives your rolls their structure and chewiness. If kneading by hand, turn the sticky dough out onto a lightly floured countertop. Dust a little flour over the top of the dough to prevent sticking, and then knead vigorously for about 8-10 minutes. You’re looking for a smooth, elastic dough that springs back when gently poked. If using a stand mixer, attach the dough hook and knead at medium speed for 6-8 minutes. Keep an eye on the consistency; you might need to add a little more flour if the dough is too wet, or a tablespoon of milk if it’s too dry. The finished kneaded dough should feel slightly sticky to the touch but smooth and elastic, and it should hold its shape well when rounded into a ball.
Step 4: The First Rise (Bulk Fermentation). Transfer your beautifully kneaded dough to a lightly oiled bowl, turning it once to ensure it’s evenly coated. This prevents it from drying out and sticking. Cover the bowl tightly with plastic wrap, a damp cloth, or even a clean shower cap. Now, let the dough begin its bulk fermentation in a warm, draft-free spot until it has gloriously doubled in size. This usually takes about 1 hour for rapid dry yeast or approximately 2 hours for active dry yeast. This rise is crucial for developing flavor and creating that airy texture.
Step 5: Divide and Conquer. Once the dough has completed its first rise, gently turn it out onto a lightly floured countertop. Using a bench knife or a sharp knife, carefully divide the dough into 12 equally sized pieces. For truly uniform rolls, a kitchen scale can be helpful here to weigh each piece, ensuring consistent baking and presentation.
Step 6: Shaping the Rolls. Achieving that perfect round shape is simpler than you think. Take one piece of dough and gently pull down on its sides, gathering the dough underneath to create a tight seam at the bottom. This tension helps create a smooth, taut surface on top of the roll.
Step 7: Final Shaping and Arranging. With the seam side down, place the dough piece on an unfloured section of your countertop. Cup your hand over the dough and, using a gentle but firm circular motion, roll it under your palm. This action will further tighten the surface of the dough, creating a perfectly smooth, round roll. Arrange the beautifully shaped rolls in a 9 x 13-inch (23 x 33 cm) baking dish that has been lightly greased, or on a parchment-lined sheet pan. Ensure they are placed close enough to eventually touch as they rise, which helps them bake up soft and pull-apart tender. Cover the baking dish or sheet pan tightly with plastic wrap to prevent the rolls from drying out.
Step 8: The Second Rise (Proofing). This final rise, known as proofing, is essential for achieving light and airy rolls. Allow your shaped rolls to proof in a warm spot. If you’re using quick rise yeast, this will take approximately 45 minutes. For active dry yeast, expect about 1 hour and 15 minutes. The rolls should visibly expand, becoming plump and nearly doubled in size, gently touching each other in the pan.
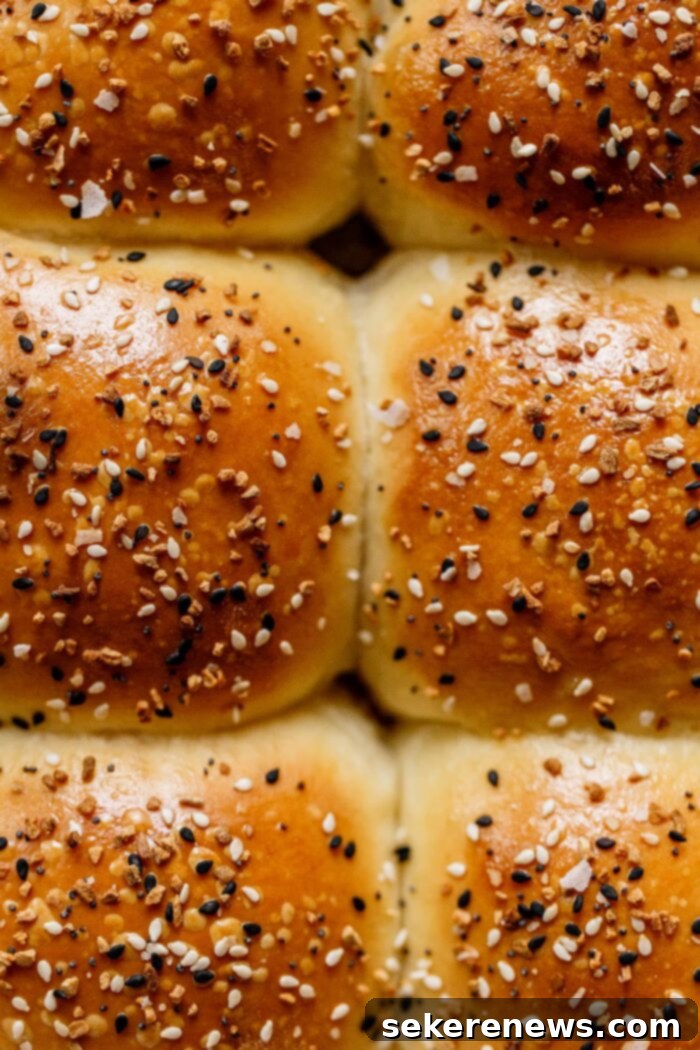
Step 9: Prepare for Baking. Position an oven rack to the center position. Preheat your oven to 375°F/190°C. While the oven heats, prepare your egg wash by whisking one large egg with one tablespoon of water until thoroughly combined. This egg wash is key to achieving that beautiful golden-brown crust. Brush the tops and any exposed sides of the proofed rolls generously with the egg wash. Then, liberally sprinkle them with your favorite Everything Bagel seasoning. The seasoning will adhere beautifully to the egg wash, creating a fantastic crust. If you don’t have Everything Bagel seasoning, a sprinkle of flaky sea salt, like Maldon, works wonderfully too.
Step 10: Bake to Golden Perfection. Place your baking dish into the preheated oven. Bake for 15-20 minutes, remembering to rotate the pan halfway through baking to ensure even browning. The rolls are perfectly baked when they reach a gorgeous golden-brown color on top. Serve these delectable rolls warm, directly from the oven, for the ultimate experience. They are truly at their best when enjoyed fresh, but don’t worry, we’ll cover how to enjoy them later too!
Make-Ahead Mastery: How to Prep Dinner Rolls Overnight
One of the most appealing aspects of this dinner roll recipe is its incredible flexibility, especially for busy hosts or those who love to get a head start on baking. The ability to prepare these rolls overnight transforms them into the ultimate stress-free addition to any special meal or holiday feast. Imagine waking up, sliding a pan of perfectly proofed rolls into the oven, and having freshly baked bread ready for brunch or dinner with minimal effort on the day of serving.
To implement the overnight prep strategy, simply follow the recipe instructions all the way through the shaping step (Step 7). Once your individual rolls are beautifully shaped and nestled into your greased baking dish, cover the pan very tightly with plastic wrap. This is crucial to prevent the dough from drying out and to slow down the yeast activity significantly. Then, transfer the covered pan to your refrigerator. The rolls can be safely refrigerated overnight, or for an extended period of up to 16 hours.
When you’re ready to bake and serve, typically about 3 hours before you plan to enjoy them, remove the rolls from the refrigerator. Find a warm spot in your kitchen – perhaps near a sunny window, on top of a warm oven (while it’s preheating for something else, carefully), or even in a slightly warmed (but turned off) oven – and let them rise. This final proofing stage will take approximately 1-2 hours, or until the rolls have nearly doubled in size and are gently touching each other, creating that desirable pull-apart texture. The total rise time will naturally vary depending on the ambient temperature of your kitchen; warmer environments will speed up yeast activity, while colder ones will slow it down. Once they’ve achieved their ideal rise, preheat your oven as directed in the recipe, and proceed with the egg wash and baking steps (Steps 9 and 10). This method ensures you always have warm, homemade rolls with minimal last-minute fuss. Refer to the full recipe box below for more specific details and timing.
Freezing Instructions: Enjoy Fresh Rolls Anytime
Don’t you just love having homemade baked goods ready to go in the freezer? These Everything Dinner Rolls are perfectly suited for freezing, allowing you to enjoy their fresh-baked goodness whenever a craving strikes or unexpected guests arrive. Freezing them after baking is a fantastic way to extend their shelf life and maintain that incredible soft texture.
After baking, ensure your delicious dinner rolls have cooled completely on a wire rack. This is a crucial step; wrapping warm rolls will trap moisture, leading to soggy bread and potential freezer burn. Once thoroughly cooled, wrap the rolls tightly in aluminum foil. For an extra layer of protection against freezer burn, transfer the foil-wrapped rolls into a heavy-duty freezer-safe Ziplock bag, squeezing out as much air as possible. Label the bag with the date, and they will keep beautifully in the freezer for up to 3 months.
When you’re ready to indulge, simply remove the desired number of rolls from the freezer. You can thaw them completely on your countertop at room temperature for a few hours, or gradually in the refrigerator overnight. For reheating, once thawed, pop them into a toaster oven or a preheated 300°F/150°C oven for about 10-15 minutes, or until they are warmed through to your liking. If you’re concerned about them browning too much or drying out during reheating, you can wrap them loosely in foil before warming. This gentle reheating process will bring back much of their original warmth and softness, making them taste almost as good as freshly baked.
Flour Substitution Notes: Choosing Your Best Bake
The type of flour you choose can subtly influence the final texture of your dinner rolls. This recipe is wonderfully versatile, accommodating both bread flour and unbleached all-purpose flour. Understanding the differences will help you achieve your desired outcome.
- These delicious dinner rolls can be successfully prepared with either bread flour or unbleached all-purpose flour. Your choice might depend on personal preference or simply what you currently have stocked in your pantry. Bread flour is naturally higher in protein content compared to all-purpose flour. This higher protein develops more gluten during kneading, resulting in a slightly stronger dough and a more classic, chewier dinner roll texture. On the other hand, unbleached all-purpose flour will yield a slightly softer, more tender crumb. Both options work beautifully for this recipe and can be substituted 1:1 by weight. However, for best and most consistent results, especially in baking, I always highly recommend using a baking scale for precise measurements. If you’re not using a scale, please reference my detailed guide on how to properly measure flour by volume to avoid common pitfalls that can lead to dense or dry rolls.
- For those looking to add a nutritional boost or a deeper, nuttier flavor profile, you have the option to replace up to ½ of the total flour with whole wheat flour. While this substitution is excellent for adding fiber and a distinct taste, it’s worth noting that whole wheat flour will produce a dinner roll that is slightly less light and fluffy than one made entirely with white flour. The increased bran and germ in whole wheat flour can interfere with gluten development, leading to a denser texture. However, the trade-off is a roll that is richer in flavor and offers enhanced nutritional benefits, making it a worthwhile choice for many. Experiment to find your perfect balance!
Serving Suggestions for Your Everything Dinner Rolls
These versatile Everything Dinner Rolls are far too delicious to be reserved just for special occasions. While they undoubtedly shine on any holiday table, their savory garlic infusion and crunchy topping make them a fantastic complement to a wide range of everyday meals. Here are a few ideas to inspire you:
- With Soups and Stews: There’s nothing more comforting than tearing into a warm, fluffy roll to sop up the rich broth of a hearty beef stew, a creamy tomato soup, or a spicy chili. The “everything” topping adds a wonderful textural contrast.
- Alongside Roasts: Whether it’s a Sunday roast chicken, a tender pot roast, or a festive turkey, these rolls provide the perfect accompaniment. Their savory notes enhance the main course without overpowering it.
- Breakfast or Brunch Sandwiches: Slice them in half and fill them with scrambled eggs, cheese, and your favorite breakfast meats for an elevated breakfast sandwich. The garlic and seasoning blend truly makes them unique.
- Mini Sliders: Perfect for parties! Fill them with pulled pork, shredded chicken, or mini burger patties for a crowd-pleasing appetizer or light meal.
- With Dips: Serve them with a warm spinach artichoke dip, a savory cheese dip, or even a simple olive oil and balsamic vinegar for a delightful appetizer or snack.
- As a Side for Any Meal: Honestly, these rolls are so good they can stand alone! They elevate any weeknight dinner, from pasta dishes to grilled meats and vegetable platters.
Don’t be afraid to get creative; these rolls are robust enough to handle many pairings and will quickly become a family favorite.
Troubleshooting Common Dinner Roll Questions
Even experienced bakers can encounter hiccups. Here are some common questions and tips to help you troubleshoot your dinner roll journey:
- Why didn’t my dough rise? The most common culprits are inactive yeast or incorrect milk temperature. Ensure your yeast is fresh (check the expiration date!) and that your milk is between 110-115°F (43-46°C). Too cold, and the yeast won’t activate; too hot, and it will die.
- My rolls are dense/not fluffy. What went wrong? This could be due to several factors:
- Not enough kneading: Gluten needs to be developed to give the dough structure and elasticity, trapping the gases produced by yeast.
- Over-proofing: While under-proofing leads to dense rolls, over-proofing (when the dough rises too much and then collapses) can also result in a poor texture because the yeast has exhausted itself.
- Too much flour: Excess flour makes the dough stiff and heavy, hindering its ability to rise. Always measure flour by weight for accuracy.
- Why are my rolls dry? This is often caused by baking them for too long or at too high a temperature. Keep an eye on the oven, and use visual cues (golden brown, internal temperature of around 200-205°F / 93-96°C if you have a thermometer) rather than relying solely on time. Wrapping them loosely in foil during the last few minutes of baking can also help.
- The Everything Seasoning fell off! Ensure you use an egg wash to create a sticky surface for the seasoning to adhere to. Brush generously just before baking.
- Can I use different toppings? Absolutely! While Everything Seasoning is fantastic, feel free to experiment. Flaky sea salt, sesame seeds, poppy seeds, dried herbs (like rosemary or thyme), or even grated Parmesan cheese are all wonderful alternatives.
Baking is a journey of learning and experimentation. Don’t be discouraged by imperfections; each batch brings you closer to mastering these delightful dinner rolls!

Everything Dinner Rolls
Pin
Review
SaveSaved!
Equipment
-
KitchenAid 5 Qt. Artisan Stand Mixer (Optional)
-
Baking Scale
-
USA Pan 9 x 13 Inch Baking Pan
-
OXO Silicone Pastry Brush
Ingredients
- 7 grams (1 package, 2¼ teaspoons) active dry or quick rise yeast
- 227 grams (1 cup, 240 mL) whole milk lower fat or non-dairy can be substituted
- 25 grams (2 tablespoons) granulated sugar
- 480 grams (4 cups) bread or unbleached all-purpose flour plus more for dusting and kneading *see notes
- 7 grams (1½ teaspoons) kosher salt or fine sea salt
- 3 grams (1 teaspoon) garlic powder optional
- 85 grams (6 tablespoons) unsalted butter very soft
- 2 large eggs room temperature
- 1-2 tablespoons Everything Bagel seasoning (with salt) I used Trader Joe’s brand
Egg Wash:
- 1 large egg
- 1 tablespoon (15 mL) water
Instructions
-
These dinner rolls can be easily prepped a day ahead, refrigerated overnight, and baked fresh the next day. For overnight and freezing instructions, please refer to the note section and proceed as instructed.
-
Warm the milk to about 110°-115°F (43°-46°C). In a large mixing bowl add the warm milk, the yeast, and ½ teaspoon of the granulated sugar and stir to combine. Let sit for 5-10 minutes until you see some bubbles and foaming.
-
Add 480 grams (4 cups) of flour, the rest of the sugar, garlic power (if using), salt, butter, and eggs to the mixing bowl.

-
Use clean hands to mix together until a sticky dough forms.

-
If kneading by hand, turn the dough out onto a floured countertop. Dust flour over the top of the dough and knead the dough by hand for about 8-10 minutes until smooth and elastic. If kneading with a stand mixer, fit the mixer with a dough hook and knead at medium speed for 6-8 minutes. Add more flour as needed while kneading the dough. When the dough is finishing being kneaded it will be slightly sticky to the touch, but feels smooth and elastic and should stand tall when rounded into a ball.

-
Move the kneaded dough to a lightly oiled bowl, turn to coat, and cover with a piece of plastic wrap, a damp cloth, or a clean shower cap to bulk ferment until doubled in size, about 1 hour for rapid dry yeast and 2 hours for active dry yeast.

-
Turn the dough out onto a lightly floured and using a bench knife, divide it into 12 equal pieces.

-
To shape the rolls, pull down on the sides of the dough creating a seam at the bottom.
-
Place the piece of dough seam side down on an un-floured part of the countertop. Cup your hand over the dough and roll it under your palm to form a smooth piece of dough. Place the shaped rolls in a 9 x 13-inch (23 x 33 cm) baking dish that has been lightly greased or on a parchment lined sheet pan. Cover the baking dish (or rolls) tightly with plastic wrap.

-
Proof the rolls for about 45 minutes if using quick rise yeast and about 1 hour and 15 minutes if using active dry yeast.

-
Position an oven rack to the center position. Preheat the oven to 375°F/190°C. Prepare the egg wash by whisking together the egg and water until well combined. Brush the tops and exposed sides of the rolls with egg wash and sprinkle liberally with Everything Bagel seasoning (or flaky salt, such as Maldon).

-
Bake for 15-20 minutes, rotating the pan halfway, or until golden brown. Serve warm. See recipe notes for freezing instructions.

Overnight Instructions
- Prepare the recipe through step 9 (shaping the dough). Refrigerate overnight or for up to 16 hours. Roughly 3 hours before you wish to serve the baked rolls, remove the rolls from the refrigerator and allow the rolls to rise for 1-2 hours, or until the rolls are just touching and have nearly doubled in size. Total rise time will vary depending on the ambient temperature of your kitchen, a warm spot in your kitchen will speed this process up. Meanwhile, preheat the oven as directed and continue with step 11 (egg wash and baking).
Freezing Instructions
- Allow the baked rolls to cool completely. Wrap tightly in foil, transfer to a Ziplock bag. and freeze for up to 3 months. Thaw completely on a countertop or in the fridge. Reheat as desired in a toaster oven or 300°F/150°C oven for 10-15 minutes or until warm.
Bread Flour vs. All-Purpose Flour
- These dinner rolls can be prepared with bread flour or unbleached all-purpose flour, depending on your personal preference or what you have on hand. Bread flour has higher protein content, which will result in stronger dough and slightly more classic, chewier dinner roll. Either option will work well and can be substituted 1:1.
- If you wish, you can replace up to ½ of the total flour with whole wheat flour. This will produce a less light and fluffy dinner roll, but has the added bonus of adding flavor and more nutrition.
Reprinted with permission and slightly adapted from Kristin Hoffman’s Baker Bettie Better Baking Book (Fall 2021, Mango)
