Achieve Perfectly Pressed Tofu: The Ultimate Waste-Free Method for Crispy Results (No Tofu Press Needed!)
Unlocking the full potential of tofu in your cooking starts with one crucial step: pressing. This guide reveals my favorite method for pressing tofu, ensuring incredible texture and flavor absorption, all without needing a specialized tofu press and generating zero waste!
Tofu is a remarkably versatile ingredient, a staple in plant-based cooking and beloved by many for its ability to absorb flavors and its satisfying texture. Whether you’re a seasoned tofu enthusiast or just beginning your journey with this incredible soy product, mastering the art of pressing tofu is a game-changer. It transforms a humble block of protein into a firm, flavorful canvas ready for countless culinary creations. If you haven’t yet explored the wonders of tofu, I highly recommend trying our Thai Red Curry Tofu or our incredibly simple No-Cook Spicy Tofu to see just how delicious and adaptable it can be.
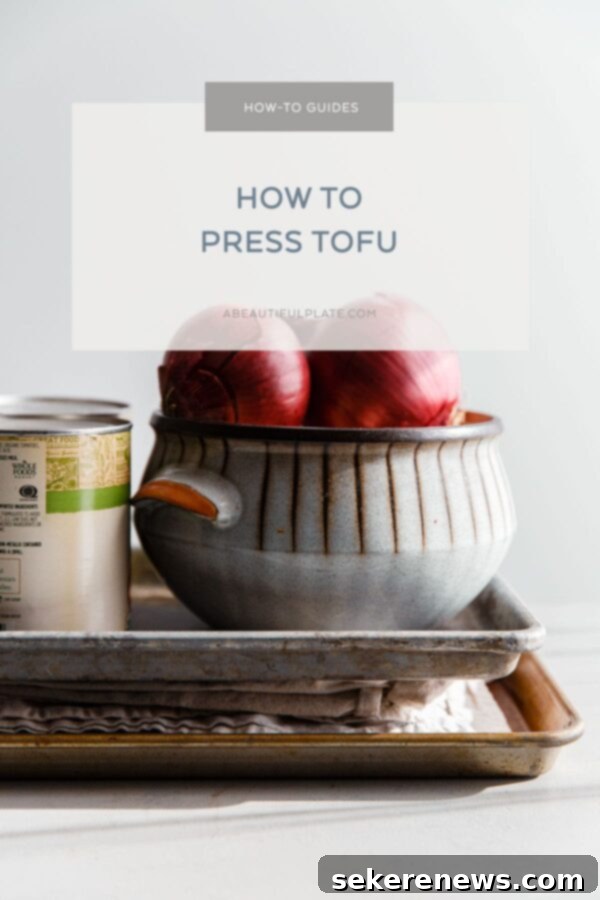
Today, I’m thrilled to share my absolute favorite method for pressing tofu. Over years of cooking with this ingredient, experimenting with various techniques, this particular approach has consistently proven to be the most effective. What makes it truly stand out is its commitment to sustainability: it requires zero waste and no specialized equipment whatsoever. All you need are a few basic kitchen tools that you likely already own.
While some tofu preparations, like crumbling it into a scramble or adding it to a creamy soup, don’t necessarily demand pressing, this step becomes indispensable when you’re aiming for specific textures and enhanced flavor. If your goal is to achieve beautifully sautéed, pan-fried, or especially crispy tofu, removing excess moisture is paramount. The water naturally present in tofu can prevent it from browning effectively and achieving that desired crisp exterior.
Beyond crispiness, pressing tofu offers several key advantages. It significantly improves the tofu’s firmness, allowing it to hold its shape much better during cooking, whether you’re cubing it for a stir-fry or slicing it for a sandwich. More importantly, by removing the diluting moisture, pressing allows your marinades, sauces, and seasonings to fully penetrate and infuse the tofu, leading to a much richer and more concentrated flavor profile in your final dish. This simple step elevates your tofu from good to truly exceptional. Ready to elevate your tofu game? Let’s get started!
Why This Tofu Pressing Method Is Superior
Many home cooks wonder if investing in a dedicated tofu press is necessary. While those gadgets certainly have their place, this DIY method offers several compelling advantages that make it my go-to, time and time again:
- Effective Drainage Without Soaking: The most critical aspect of effective tofu pressing is ensuring the released moisture drains away, rather than allowing the tofu to sit in its own expelled liquid. This method utilizes a cooling rack to elevate the tofu, allowing liquid to collect in the sheet pan below, preventing reabsorption. This is a game-changer for achieving truly dry, firm tofu.
- Scalable for Multiple Blocks: Whether you’re preparing a single block for a weeknight dinner or several for meal prepping, this method easily accommodates multiple blocks of tofu simultaneously. Simply arrange them on the cooling rack, ensuring even spacing for optimal pressing.
- Zero Waste & No Special Equipment: Say goodbye to single-use paper towels and the need for another kitchen gadget cluttering your cupboards. This eco-friendly approach utilizes items you already own – sheet pans, a cooling rack, and kitchen towels – making it both sustainable and economical.
Recommended Equipment for Your DIY Tofu Press
Gathering these simple tools is all it takes to set up your efficient, waste-free tofu press. The links provided are for your convenience, showing examples of the specific items that work best:
- 2 Sheet Pans: You’ll need one for the bottom to collect water and one for the top to apply pressure.
- 2 quarter-sheet pans (ideal for one standard block of tofu, roughly 9×13 inches)
- or 2 half-sheet pans (great for larger blocks or pressing multiple blocks at once, roughly 13×18 inches)
- 1 Cooling Rack (Densely-Welded): The key here is “densely-welded” to ensure the tofu sits evenly without falling through the gaps.
- 1 quarter-sheet cooling rack (fits quarter-sheet pan)
- or 1 half-sheet cooling rack (fits half-sheet pan)
- Kitchen Linens or Cloths: Absorbent, clean kitchen towels are perfect for this. Opt for ones you don’t mind getting damp.
- Several Heavy-Weighted Objects: These provide the necessary pressure. Think outside the box with items like:
- 28-ounce canned goods (several cans work well)
- A heavy bowl filled with fruit or onions
- A stack of cookbooks
- Even a heavy cast-iron skillet
Step-by-Step Guide: How to Press Tofu Easily & Waste-Free
Follow these straightforward steps to achieve perfectly pressed tofu, ready for any recipe you have in mind:
Step One: Prepare the Tofu
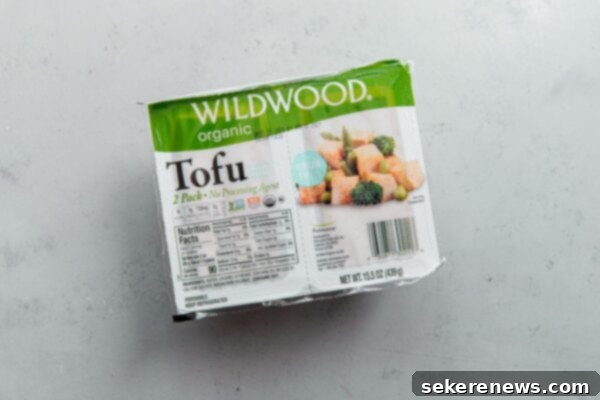
Begin by carefully draining the block of tofu from its packaging and removing it. Discard the liquid. It’s crucial to note that this method is specifically designed for firm and extra-firm tofu. Softer varieties, such as silken or medium tofu, are far too delicate and will crumble under the pressure, so avoid using them for this technique. Firm and extra-firm tofu offer the structural integrity needed to withstand pressing and yield the best results.
Step Two: Set Up the Drainage System
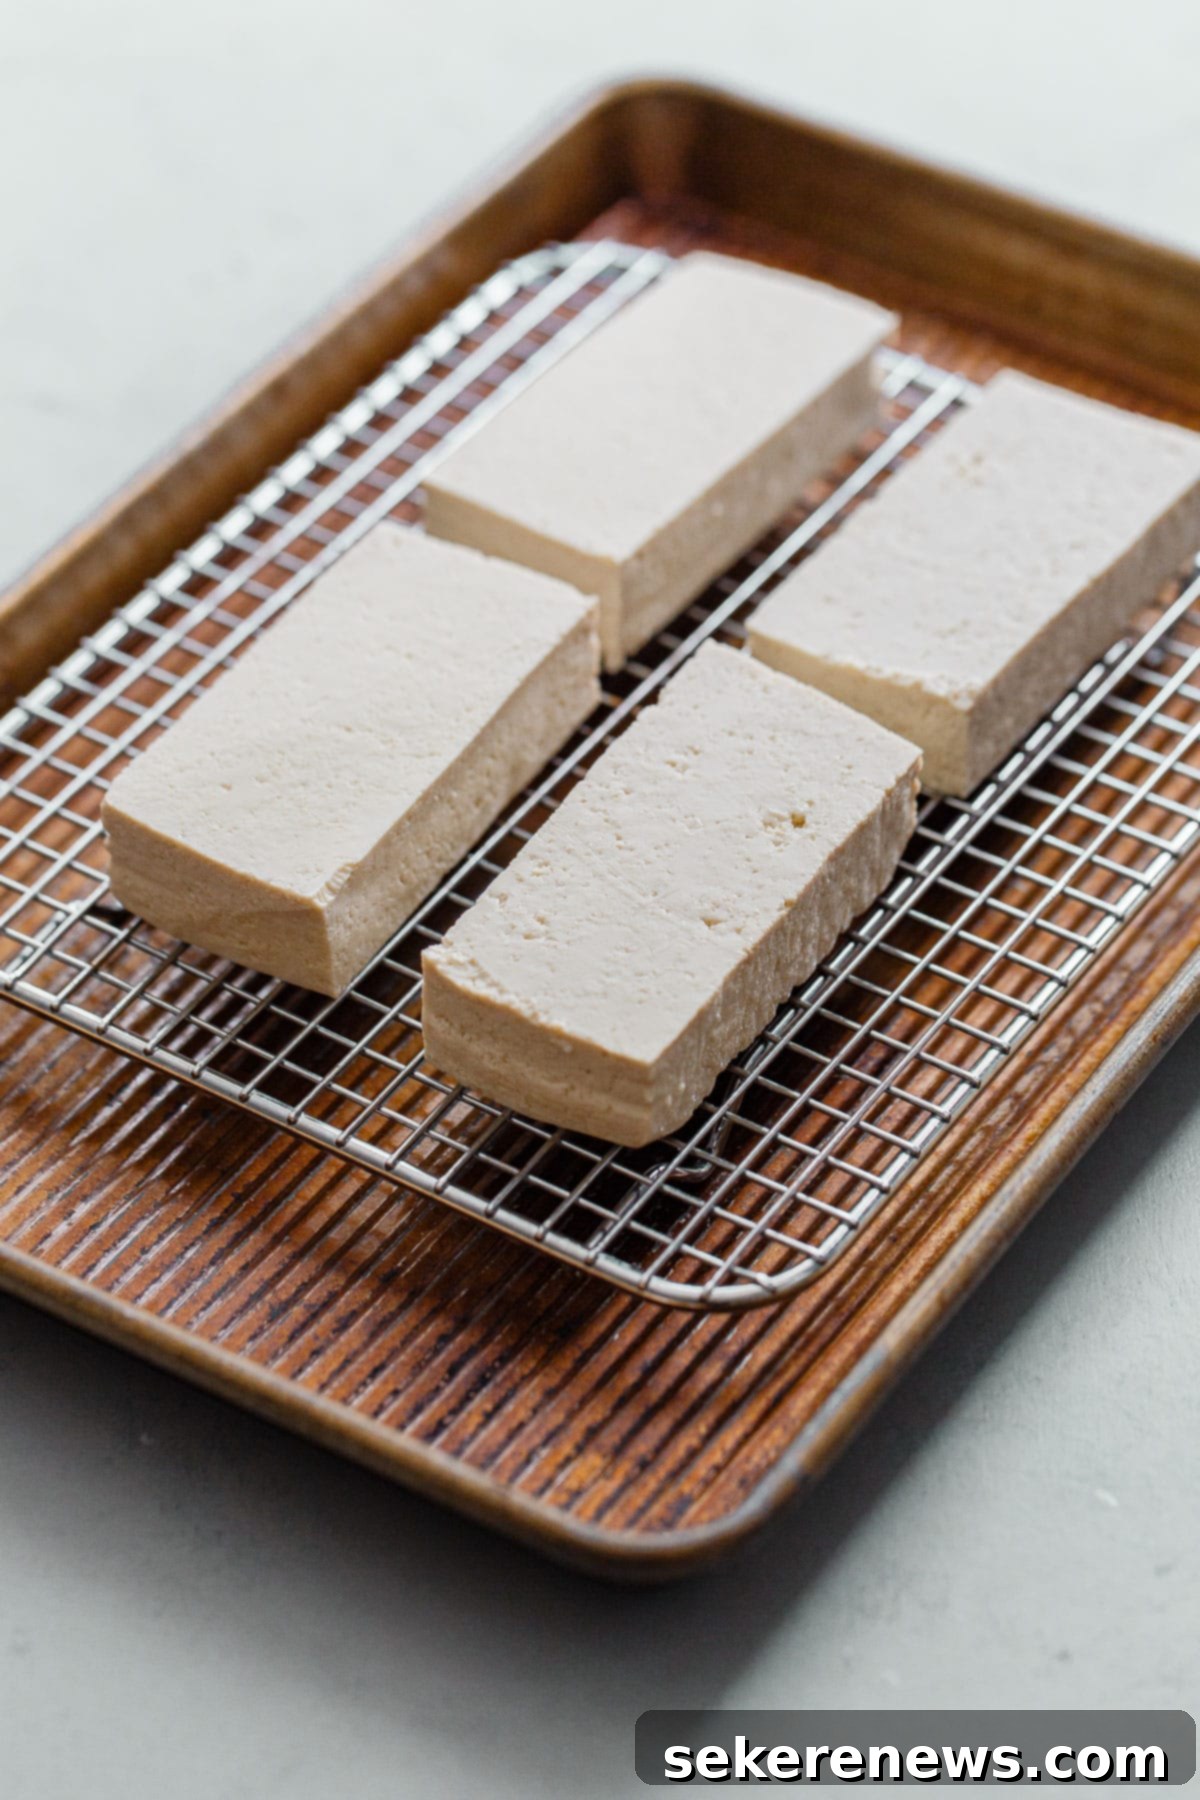
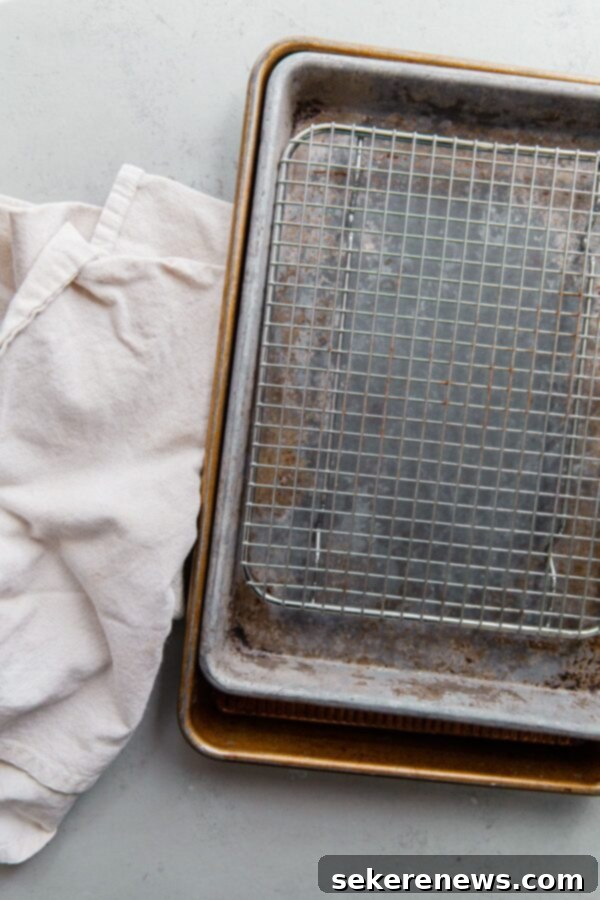
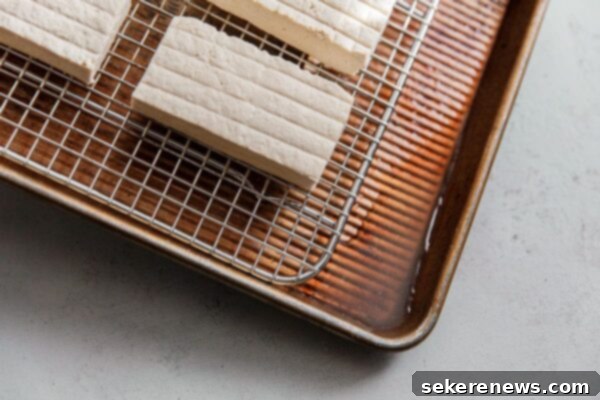
Place a densely-welded cooling rack inside one of your sheet pans. This rack will elevate the tofu, allowing excess water to drip down and collect in the pan below without the tofu sitting in it. This separation is key to efficient moisture removal. Next, carefully place your block(s) of tofu on the cooling rack. Depending on your recipe, you might choose to leave the block whole or, as shown in the accompanying image, slice the tofu cross-wise into several pieces. Slicing can sometimes expedite the pressing process by increasing the surface area for moisture release, but it’s not strictly necessary. Ensure there’s a little space between pieces if you slice them.

Step Three: Add Absorbent Layer
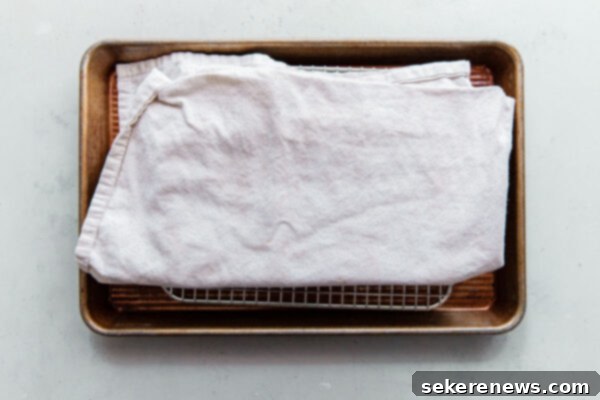
Take a clean kitchen linen or cloth and fold it so that it is several layers thick. This thickness is important for maximum moisture absorption. Gently place this folded linen directly on top of the tofu block(s). This acts as a buffer, soaking up the initial burst of moisture released as pressure is applied, and helping to keep the top pressing surface clean.
Step Four: Apply the Top Pressing Surface
Carefully place your second sheet pan directly on top of the folded kitchen linen, ensuring its edges line up evenly with the bottom sheet pan. This creates a stable, flat, and level surface, essential for applying consistent pressure across the entire block of tofu. If you don’t have a second sheet pan, a large, sturdy cutting board can serve as an alternative. However, a rimmed sheet pan is generally preferred as its edges help to contain any potential overflow and provide better stability for the weights you’ll add next.

Step Five: Add Weight and Press
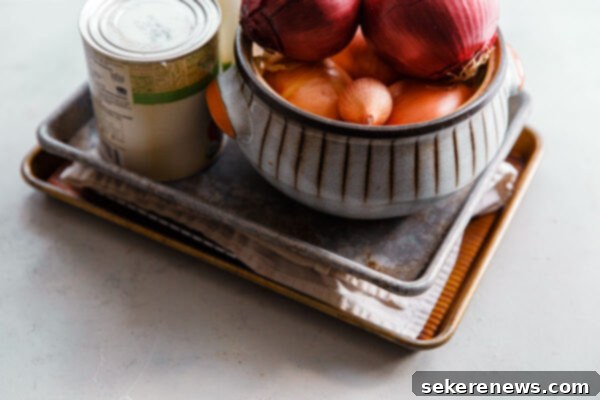
Now it’s time to apply the pressure! Place several heavy-weighted objects evenly across the top sheet pan. Excellent choices include a few 28-ounce canned goods, a heavy bowl full of onions or other produce, or a stack of thick cookbooks. The goal is to distribute the weight as evenly as possible over the tofu’s surface to ensure consistent pressing and avoid crushing or deforming the block. Ideally, press the tofu for a minimum of 30 minutes, or for up to 1 hour for extra firm results. Halfway through the pressing time, if you notice the kitchen linen becoming saturated, carefully remove the weights and the top pan, replace the damp linen with a fresh, dry one, and reassemble the setup. This helps maximize moisture absorption throughout the process.

Step Six: Reveal and Prepare
Once the pressing time is complete, carefully remove the weights, the top sheet pan, and the kitchen linen. You should notice that the tofu block is visibly thinner and denser than before, a clear indication that a significant amount of excess moisture has been removed. Look into the bottom sheet pan, and you’ll find a surprising amount of water collected there – proof of this method’s effectiveness! Discard this liquid. Your perfectly pressed tofu is now ready to be prepared according to your recipe. This waste-free method ensures your tofu is primed for optimal flavor and texture, setting the stage for truly delicious meals.
I hope you enjoy this easy, incredibly effective, and environmentally friendly method for pressing tofu without the need for a dedicated press!
Can You Press Tofu Ahead of Time?
Absolutely! Pressed tofu is excellent for meal prep and can save you valuable time on busy cooking days. Once pressed, store the tofu in an airtight container in the refrigerator. It will remain fresh and ready to use for up to 3 days. This makes it perfect for planning ahead and ensures you always have a protein-packed, flavorful ingredient on hand.
Beyond Pressing: How to Make Crispy Tofu Every Time
Once your tofu is perfectly pressed, the path to glorious crispy tofu is just a few steps away. Here’s a reliable method to achieve that coveted golden, crunchy exterior:
- Cube and Coat: After pressing, cut the block of tofu into uniform one-inch cubes (or your desired shape). In a medium bowl, add about 1-2 tablespoons of cornstarch per block of tofu. Toss the tofu cubes gently until each piece is thoroughly coated. The cornstarch creates a thin, dry layer that promotes superior crispiness and a beautiful golden-brown crust. For extra flavor, you can also add a pinch of salt, pepper, garlic powder, or nutritional yeast to the cornstarch before tossing.
- Pan-Fry to Perfection: Heat a thin layer (about 1/4 to 1/2 inch) of high-heat cooking oil, such as avocado oil, grapeseed oil, or canola oil, in a large non-stick skillet or cast-iron pan over medium-high heat. Once the oil is shimmering and hot (you can test by flicking a drop of water – it should sizzle), carefully add the tofu cubes in batches. Avoid overcrowding the pan, as this lowers the oil temperature and can lead to steamed, rather than crispy, tofu. Leave a little space between each piece. Cook for several minutes on each side, turning occasionally, until the tofu is beautifully crispy and golden brown on all surfaces. This typically takes 8-12 minutes in total.
- Drain and Season: Once cooked, transfer the crispy tofu pieces to a plate lined with paper towels (or, for even more crispiness, a sheet pan fitted with a cooling rack) to drain any excess oil. Immediately sprinkle with a pinch of sea salt to enhance its flavor. Now, your crispy tofu is ready for its starring role! Add it to a vibrant vegetable stir-fry, toss it with your favorite homemade or store-bought sauce, or use it as a delicious, protein-packed topping for a fresh salad or a hearty grain bowl. Enjoy the satisfying crunch!
Explore More Delicious Tofu Recipes:
Now that you’ve mastered the art of pressing tofu, the culinary possibilities are endless! Here are some of our favorite tofu recipes that truly shine with perfectly pressed tofu:
- Thai Red Curry Tofu: A rich and aromatic dish where firm tofu soaks up all the incredible curry flavors.
- Traditional Korean Braised Tofu (Dubu Jorim): This savory, spicy, and slightly sweet dish is elevated by tofu that holds its shape and texture beautifully.
- No-Cook Spicy Tofu: For a quick and effortless meal, pressed tofu becomes a flavorful base for a vibrant no-cook sauce.
How to Press Tofu
Pin
Review
SaveSaved!
Equipment
-
2 Half Sheet Pans or 2 Quarter Sheet Pans
-
Half Sheet Cooking Rack, Densely-Welded (or Quarter-Sheet)
-
Kitchen Linens (clean, absorbent kitchen towels)
-
Heavy Weighted Objects, such as 28-ounce canned goods, a heavy bowl of fruit, or cookbooks
Ingredients
- 1 package (14 ounces) firm or extra-firm tofu
Instructions
-
Note: For step-by-step photos, please reference additional photos in the article above.
-
Drain and remove the block of tofu from the packaging. Note: This method works best with firm and extra firm tofu. Do not use this method for soft or medium tofu, as it is far too delicate and will crumble.
-
Set a densely-welded cooling rack within your sheet pan. Place the tofu block on the rack. Depending on how you are preparing your tofu, you can also slice the tofu block cross-wise into several pieces, as shown in the instructional photos above. Note: This allows excess draining liquid to drain and collect – without the tofu sitting in it – in the bottom of the sheet pan during pressing.

-
Fold a clean kitchen linen so that it is several layers thick (for absorbing moisture) and place directly on top of the tofu block. Place a second sheet pan directly on top, lining up the edges with the bottom sheet pan so that it is evenly centered. Note: If you do not own a second sheet pan, you can use a large cutting board; however, I prefer a rimmed sheet pan. This will provide a stable, flat surface for pressing.

-
Place heavily-weighted objects on the top sheet pan. A few 28-ounce cans or a heavy bowl full of onions are a great choice. Try to space the weight across the surface for even pressing.

-
Press the tofu for 30 minutes, ideally, or up to 1 hour. Halfway through, replace the kitchen linen with a new dry one, as it will quickly become saturated during pressing.
-
After pressing, the tofu block should be visibly thinner (as a result of excess moisture being removed). You’ll notice quite a bit of water has collected in the sheet pan below. Discard the liquid and prepare the tofu as directed in your recipe.

-
How to Make Crispy Tofu: Cut the pressed tofu into one-inch cubes. Toss with cornstarch in a medium bowl until each piece is well coated. Heat a thin layer of high-heat cooking oil in a non-stick pan over medium-high heat. Add the tofu in batches, setting the pieces apart slightly in the pan, and cook for several minutes on each sides until crispy and golden brown. Transfer the tofu to a paper-towel lined plate (or sheet pan lined with a cooling rack) and sprinkle with salt. Add to a vegetable stir fry, toss with your favorite sauce, or top on a salad or grain bowl.
