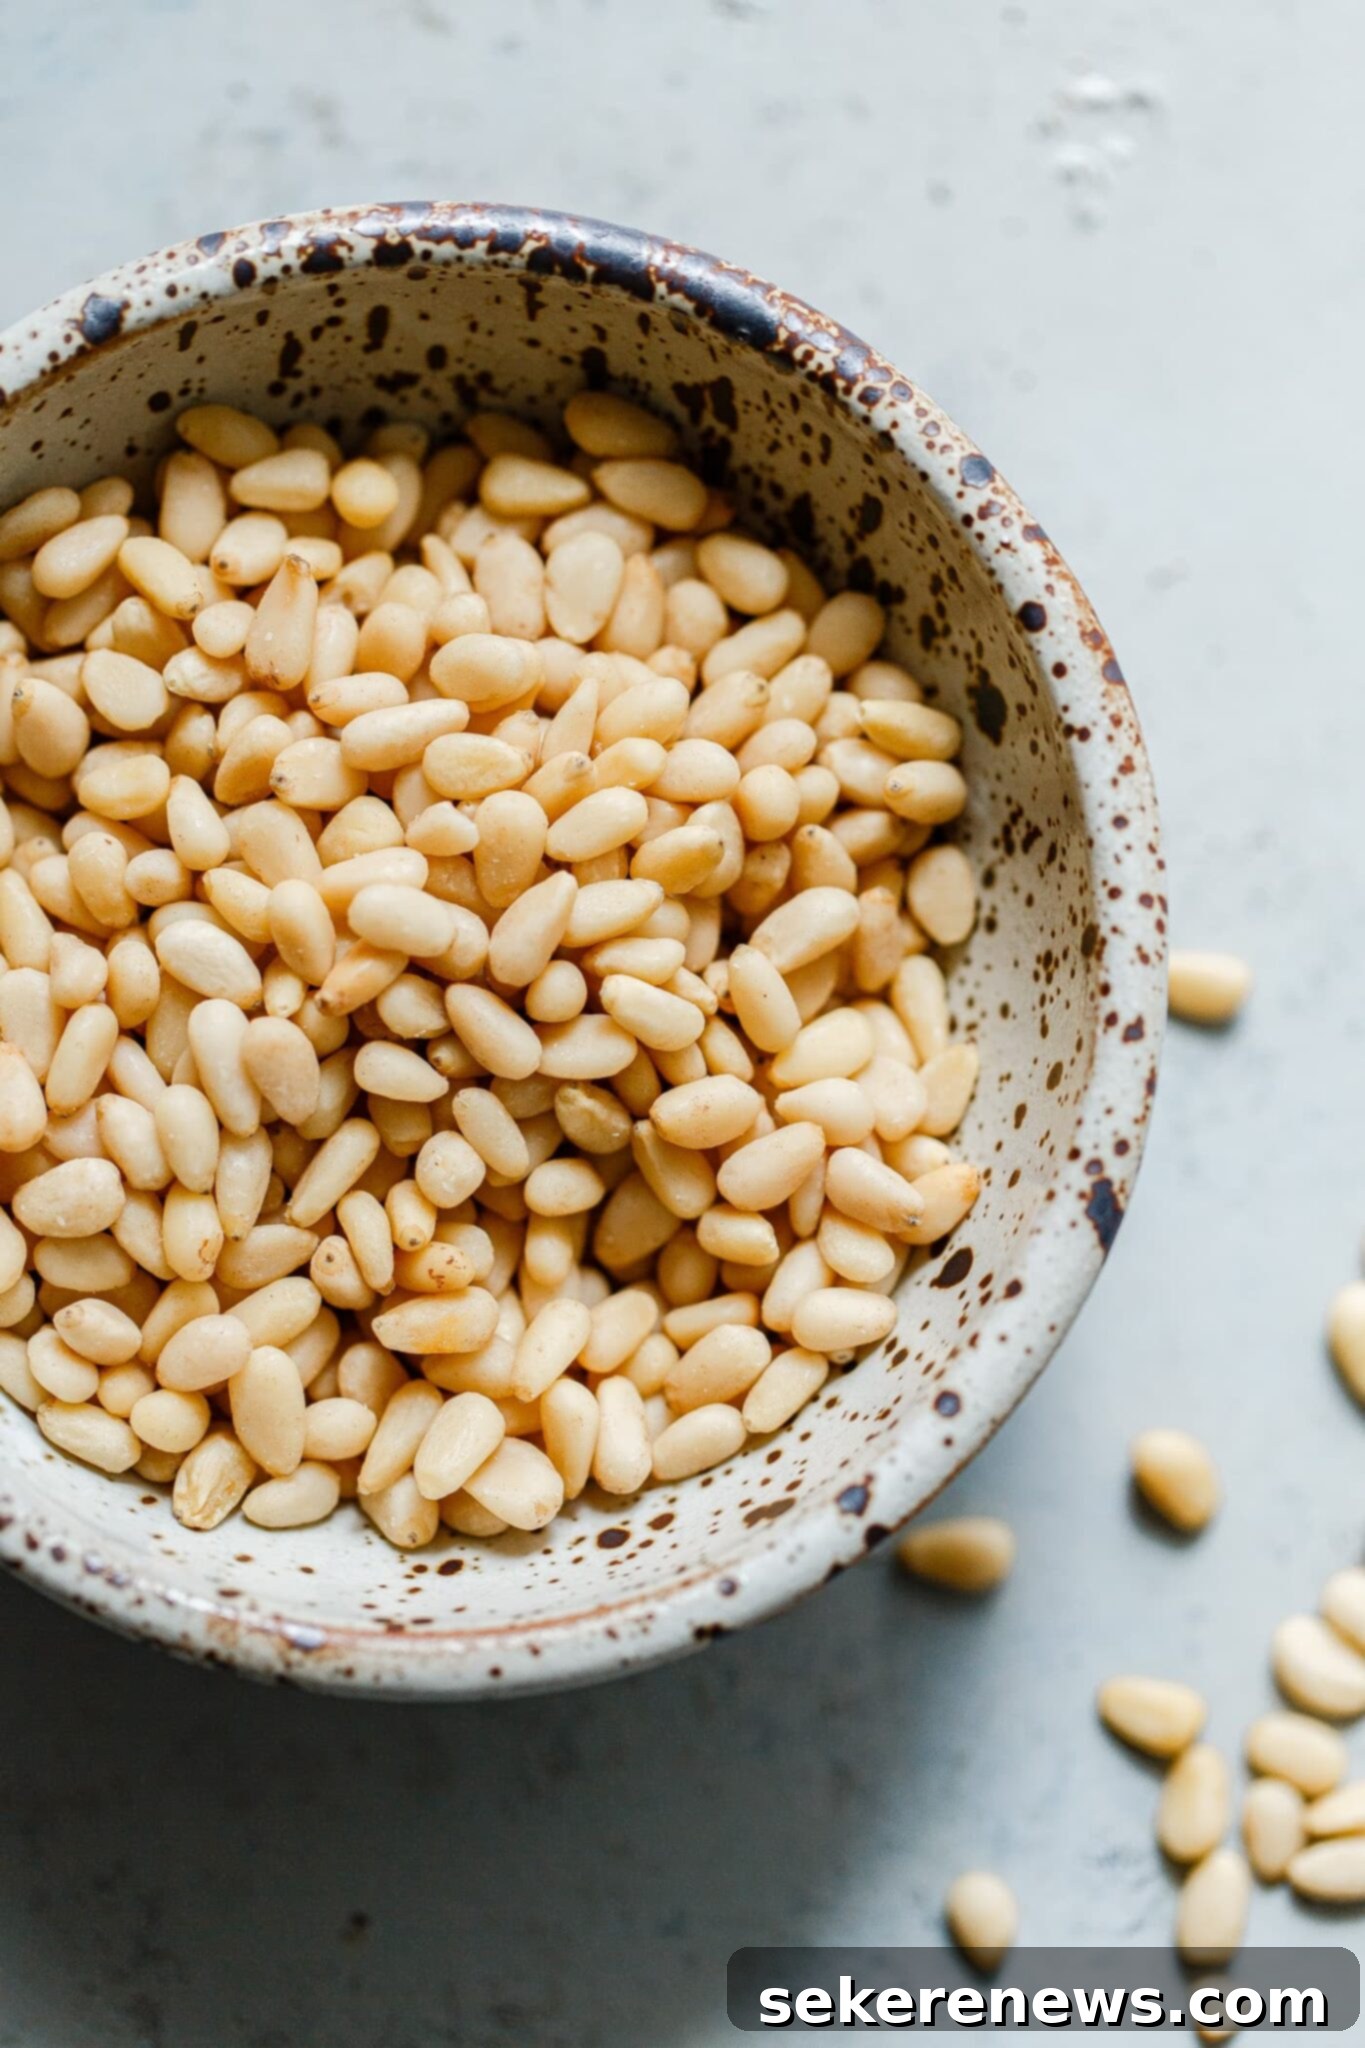
Mastering the Art of Toasting Pine Nuts: Oven, Skillet & Toaster Oven Methods
Unlocking the full, rich flavor of pine nuts (also known by their Italian name, pignoli) is a simple culinary secret that can elevate countless dishes. These delicate, buttery nuts are a treasure in both sweet and savory applications, but their true potential shines brightest when lightly toasted until golden and fragrant. Whether sprinkled over a vibrant salad, folded into a creamy pasta dish, or adding a sophisticated crunch to your baked goods, perfectly toasted pine nuts bring an unparalleled depth of flavor and delightful texture.
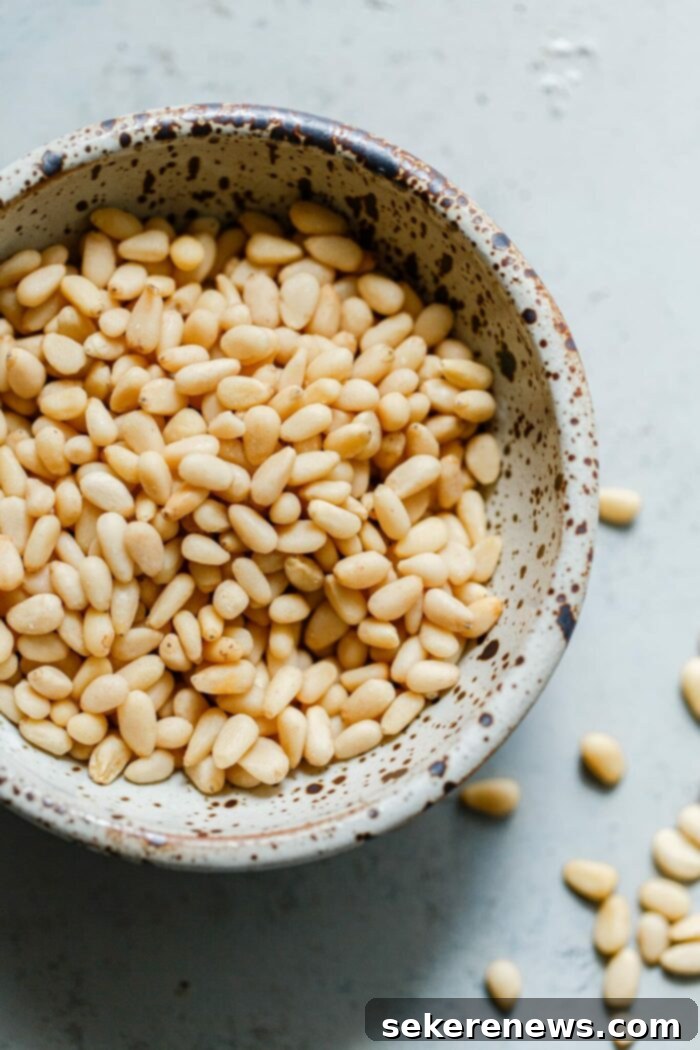
As a personal favorite for both cooking and baking, I’ve found that raw pine nuts, while delicious, truly come alive with a little heat. Toasting them not only intensifies their natural oils and nutty essence but also adds a pleasing crunch that can elevate even the simplest recipe. Imagine them gracing a classic basil pesto, a vibrant arugula pesto, or scattered over a fresh, leafy salad with goat cheese and berries. Beyond savory, they are a fantastic addition to baked goods, from elegant tarts and delicate cookies to moist cakes, lending a unique textural and flavor dimension.
This comprehensive guide will walk you through the most effective methods for toasting pine nuts: in your oven, a convenient toaster oven, or a quick dry skillet on the stovetop. We’ll cover everything from selection and storage to essential tips for achieving perfectly golden results every time, ensuring your dishes always benefit from the best possible flavor and aroma.
Why Toast Pine Nuts? Unlocking Their Full Flavor Potential
You might wonder why an extra step like toasting is necessary. The answer lies in the incredible transformation that occurs when heat meets these tiny kernels. Pine nuts, like most nuts, contain natural oils and compounds that are activated and enhanced by heat. This process, often referred to as the Maillard reaction (the same process that browns bread or sears meat), creates new flavor molecules, leading to a more complex, deeper, and buttery taste profile.
- Enhanced Aroma: As they toast, pine nuts release a wonderfully fragrant, nutty aroma that signals their readiness and adds an enticing layer to any dish.
- Deeper Flavor: The raw, somewhat mild flavor of pine nuts intensifies significantly, becoming richer and more pronounced.
- Improved Texture: Toasting gives the pine nuts a satisfyingly crisp texture, making them a delightful contrast to softer ingredients in salads or pasta.
- Versatility: Once toasted, they are ready to use in both hot and cold applications, instantly adding gourmet appeal.
By taking just a few minutes to toast your pine nuts, you’re not just cooking them; you’re coaxing out their very best attributes, transforming a good dish into a truly memorable one. Think of it as a small effort with a huge flavor payoff!
Shopping and Storage Tips for Raw Pine Nuts
I always recommend buying raw pine nuts (and most other nuts) for cooking and baking. Pre-toasted nuts can lose their freshness and might not be toasted to your preference. When purchasing, look for pine nuts that are pale, plump, and free from any discoloration or strong, rancid odors. High-quality pine nuts should have a delicate, sweet scent.
Due to their high oil content, pine nuts can go rancid quickly if not stored properly. To maximize their shelf life and preserve their fresh flavor:
- Refrigerator: Store raw pine nuts in an airtight container in the refrigerator for up to 1-2 months.
- Freezer: For longer storage, transfer them to a freezer-safe bag or container and freeze for up to 6 months to a year. Freezing prevents the oils from turning rancid. When ready to use, you can toast them directly from frozen; no thawing required.
Always store toasted pine nuts in an airtight container once cooled completely. They will stay fresh at room temperature for a few days, in the refrigerator for up to a week, or in the freezer for up to a month, though they are best enjoyed fresh off the heat.
How to Toast Pine Nuts in an Oven (Or Toaster Oven)
The oven method is my preferred technique, especially when toasting larger quantities of pine nuts or if you prefer a more hands-off approach. While it takes a little longer than the stovetop method, it generally results in more evenly toasted nuts with less risk of burning, as the heat is distributed more uniformly.
Step-by-Step Oven Toasting:
- Preheat Your Oven (or Toaster Oven): Set your oven or toaster oven to 350°F (175°C). This moderate temperature allows for gradual toasting, preventing scorching while still developing that desired golden color and fragrant aroma.
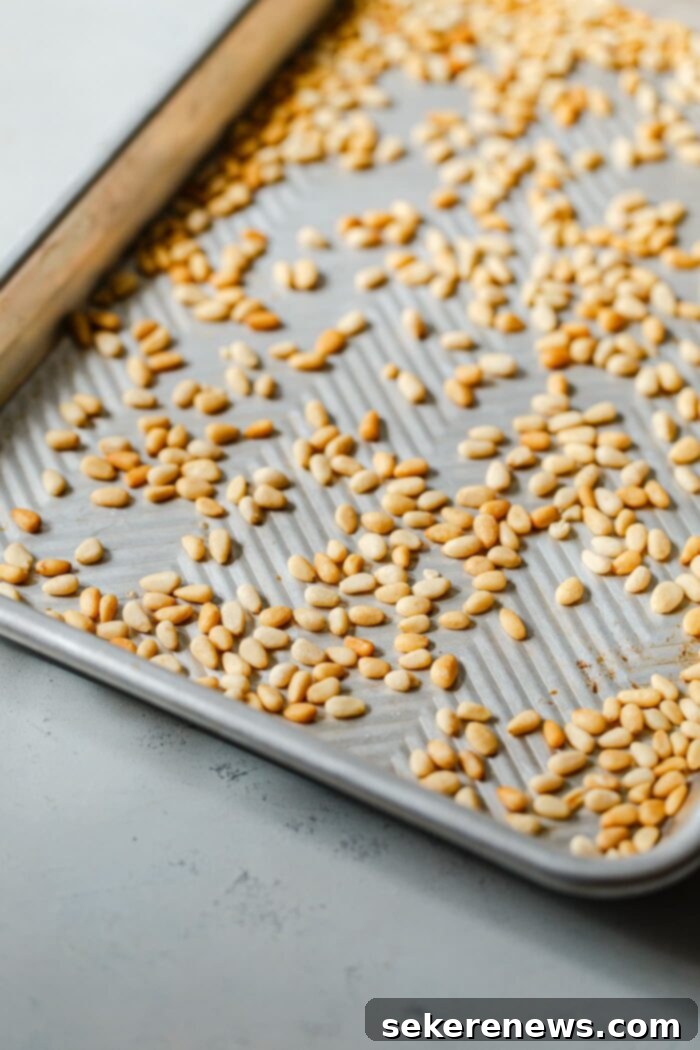
- Prepare the Pine Nuts: Spread your raw pine nuts in a single, even layer on a half sheet pan (or a quarter sheet pan for smaller batches). Avoid overcrowding, as this can lead to uneven toasting; use two pans if necessary. There’s no need to add oil, as the pine nuts will release their own natural oils.
- Bake and Monitor: Place the pan in the preheated oven and bake for approximately 5 to 8 minutes. Pine nuts are small and can go from perfectly golden to burnt very quickly, so vigilance is key, especially after the 5-minute mark. About halfway through the baking time (around 3-4 minutes), give the pan a gentle shake or use a spatula to toss the pine nuts. This ensures they brown evenly on all sides.
- Look and Smell for Doneness: The pine nuts are ready when they turn a light golden brown and release a distinct, warm, nutty aroma that fills your kitchen. Visually inspect them – they should be uniformly colored, not just at the edges.
- Cool Immediately: As soon as they reach the desired color and fragrance, immediately transfer the toasted pine nuts from the hot sheet pan to a cool, heatproof bowl or plate. Leaving them on the hot pan will cause them to continue cooking (carryover cooking) and could lead to burning. Allow them to cool completely before using or storing. This step is crucial for achieving a crisp texture.
Tips for Oven Toasting Success:
- For larger quantities (more than ¼ or ½ cup), the oven method is superior for even results and less active supervision.
- Don’t walk away! Pine nuts can burn very quickly. Stay close to the oven and check frequently.
- The timing can vary based on your oven and the specific pine nuts, so always rely on visual cues and aroma.
-

Pine nuts evenly spread on a sheet pan, ready for the oven. -

Perfectly toasted pine nuts, evenly golden and fragrant from the oven.
How to Toast Pine Nuts in a Skillet (Stovetop Method)
The dry skillet method is hands down the fastest way to toast small quantities of pine nuts, as well as other nuts. It’s perfect for when you need a quick garnish or a small batch for a recipe. However, pine nuts are tiny and delicate, with a high fat content, which means they can go from perfectly golden to deeply scorched in a matter of seconds on the stovetop. This method demands your complete and undivided attention, as you’ll be actively stirring and monitoring them throughout the process.
Step-by-Step Skillet Toasting:
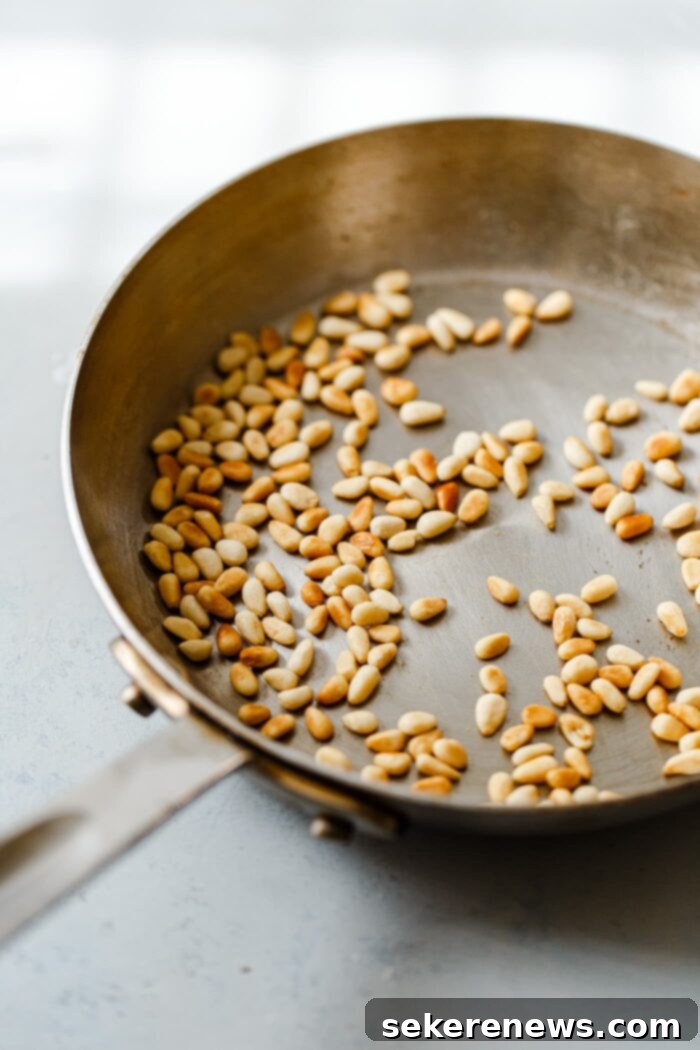
- Prepare Your Skillet: Choose a clean, dry skillet (preferably a light-colored one, like stainless steel, which makes it easier to observe the color change). Place the raw pine nuts directly into the skillet, spreading them in a single layer. Do not add any oil – the natural oils in the nuts are sufficient for toasting.
- Heat and Stir Constantly: Set the skillet over medium heat. It’s crucial to stir the pine nuts frequently, almost continuously, from the moment they hit the pan. Use a wooden spoon or spatula to keep them moving. This prevents certain nuts from browning faster than others and ensures even heat distribution. You may need to adjust the heat down to medium-low if they start browning too quickly.
- Watch for Color and Aroma: Within about 4 to 5 minutes, you’ll notice the pine nuts beginning to change color. They’ll transition from pale to a beautiful light golden brown. Simultaneously, a rich, nutty aroma will start to waft from the pan. This is your primary indicator of doneness. They will typically darken faster than in the oven.
- Immediate Transfer and Cool: The moment they achieve that perfect golden color and release their full fragrance, immediately remove the skillet from the heat. Promptly transfer the toasted pine nuts to a cool, heatproof bowl or plate. Just like with the oven method, this stops the cooking process and prevents them from burning. Allow them to cool completely before incorporating them into your dishes or storing them.
-

Raw pine nuts in a dry skillet before toasting. -

Stirring pine nuts constantly in a skillet for even toasting.
Creative Ways to Use Toasted Pine Nuts
Once you’ve mastered the art of toasting pine nuts, a world of culinary possibilities opens up. Their buttery texture and enhanced nutty flavor make them a versatile ingredient in both sweet and savory dishes. Here are just a few ideas to inspire you:
- Pesto Perfection: This is arguably their most famous role! Toasted pine nuts are essential for traditional basil pesto, providing a creamy texture and rich flavor. Experiment with other pestos, like the arugula version mentioned earlier, or even a sun-dried tomato pesto.
- Salad Topping: A sprinkle of toasted pine nuts adds a delightful crunch and gourmet touch to any salad, from a simple garden salad to a more elaborate Caprese or spinach salad with roasted beets and goat cheese.
- Pasta Dishes: Beyond pesto, toss them into various pasta dishes, such as a lemon-garlic pasta, pasta with roasted vegetables, or a simple aglio e olio, for an extra layer of flavor and texture.
- Garnish for Soups & Stews: Offer a sophisticated finish to creamy tomato soup, butternut squash soup, or even a hearty lentil stew.
- Roasted Vegetables: Roasted broccoli, asparagus, Brussels sprouts, or carrots benefit immensely from the addition of toasted pine nuts for added texture and savory depth.
- Rice & Grain Bowls: Mix them into pilafs, couscous, quinoa salads, or rice bowls to boost flavor and provide a satisfying bite.
- Hummus & Dips: Garnish homemade hummus or other Mediterranean dips with a generous handful for an authentic touch.
- Baked Goods: Incorporate them into sweet treats like Italian pine nut cookies (pignoli cookies), tarts, cakes, or even sprinkle them over muffins and quick breads before baking.
- Breakfast Enhancer: Add a nutritious crunch to your morning yogurt, oatmeal, or even a fruit parfait.
The key is to add toasted pine nuts just before serving in most cases, to preserve their crispness and robust flavor. For baked goods, they can often be incorporated into the batter or dough.
Troubleshooting & FAQs
What if my pine nuts burn?
Unfortunately, burnt pine nuts have a bitter taste and cannot be salvaged. This is why constant monitoring (especially with the skillet method) and immediate removal from heat are crucial. It’s better to under-toast slightly and return them to heat if needed, than to over-toast. If you burn a batch, simply discard them and start fresh.
Why are my pine nuts unevenly toasted?
Uneven toasting usually happens if the nuts are overcrowded on the pan/skillet or not stirred/tossed frequently enough. Ensure they are in a single layer and actively moved around to expose all sides to the heat.
Can I toast pine nuts with oil?
While some recipes might suggest it, it’s generally not necessary. Pine nuts have a high natural oil content which is released during dry toasting, contributing to their flavor and browning. Adding extra oil can sometimes make them greasy or less crisp.
What is “pine mouth” syndrome?
“Pine mouth” (also known as pine nut syndrome or PNS) is a rare, temporary taste disturbance reported by some individuals after consuming certain varieties of pine nuts. It typically causes a bitter, metallic taste in the mouth that can last for several days or weeks. The exact cause is not fully understood but is thought to be related to specific pine nut species, primarily from China. It’s harmless but can be quite unpleasant. It’s not related to the toasting process itself, but rather the raw nuts.
How do I know when they are truly ready?
Beyond the visual cue of a golden-brown color, the most reliable indicator is the aroma. When pine nuts release a strong, warm, nutty fragrance, they are typically perfectly toasted. Trust your nose!
The Nutritional Benefits of Pine Nuts
Beyond their exquisite taste, pine nuts offer a host of nutritional benefits. They are a good source of healthy monounsaturated fats, which are known to support heart health. They also provide protein, dietary fiber, and essential minerals like magnesium, iron, and zinc. Pine nuts are rich in vitamin K, which plays a role in blood clotting, and vitamin E, a powerful antioxidant. Incorporating these small but mighty nuts into your diet can contribute to overall well-being, making them a delicious and nutritious addition to your meals.
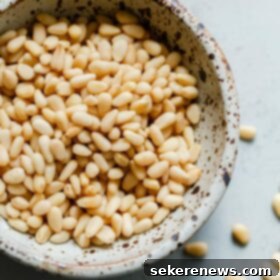
Toasted Pine Nuts
Pin
Review
SaveSaved!
While the dry skillet method is faster for small quantities, the oven method is preferred for larger batches as it offers more even toasting with less constant supervision. Refer to the notes section for more detailed tips on optimal results and storage.
Equipment
-
Half Sheet Pan
-
Medium Skillet
Ingredients
- ¼ cup raw pine nuts (sometimes referred to as pignolias)
Instructions
Oven / Toaster Oven Method:
-
Preheat the oven (or toaster oven) to 350°F (175°C). Spread the raw pine nuts on a half sheet pan (or quarter sheet pan) in a single layer.
-
Bake for 5 to 8 minutes, tossing halfway through, or until the pine nuts are very fragrant and golden in color. Immediately transfer the toasted pine nuts to a heatproof bowl or plate. Let cool completely before using to ensure crispness.
Dry Skillet (Stovetop) Method:
-
Place the raw pine nuts in a dry skillet and set over medium heat. Stir frequently, almost continuously, adjusting the heat as needed, until the pine nuts are very fragrant and golden in color, about 4 to 5 minutes.
-
Immediately transfer the toasted pine nuts to a heatproof bowl or plate to stop cooking. Let cool completely before using.
Tips for Success:
- If toasting larger quantities (more than ¼ or ½ cup) of nuts, the oven method is highly recommended for more even results and less active supervision compared to the dry skillet method.
- Always buy raw pine nuts (and most other nuts) for cooking and baking. This allows you to control the toasting level and ensures maximum freshness.
- Store raw pine nuts in the refrigerator or freezer in an airtight container to maximize their shelf life and prevent rancidity due to their high oil content.
- Always transfer toasted nuts immediately to a cool surface to prevent carryover cooking and burning.
- Let toasted nuts cool completely before using or storing to maintain crispness.
Conclusion
Toasting pine nuts is a simple yet impactful technique that unlocks their full flavor potential, transforming them from a good ingredient into a stellar one. Whether you opt for the steady, even heat of the oven or the quick, attentive method of the stovetop skillet, the reward is a batch of golden, fragrant nuts ready to elevate your culinary creations. From enriching savory dishes like pasta and salads to adding a delicate crunch to baked goods, perfectly toasted pine nuts are a versatile asset in any kitchen. Embrace this easy step, and you’ll discover a world of enhanced flavors and textures that will undoubtedly impress.
