Unlock Flavor and Crunch: The Ultimate Guide to Crispy Garlic Bread Crumbs
Transform your everyday meals with incredible texture and savory garlic flavor!
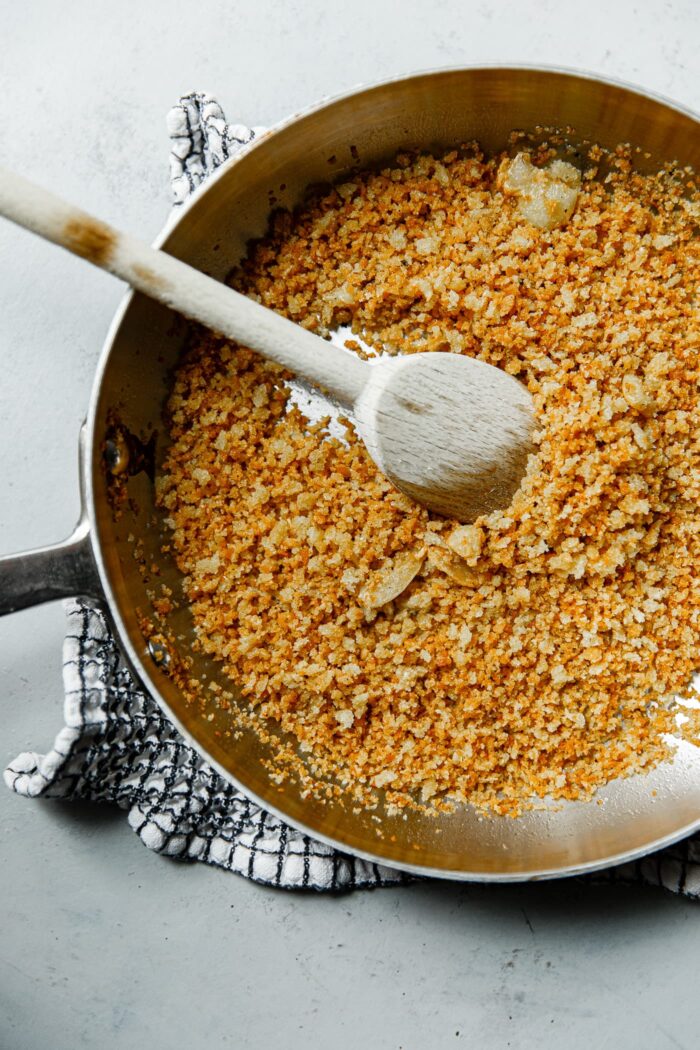
It’s often the simplest additions that yield the most dramatic results in the kitchen. If you’re looking for a quick and effortless way to elevate a wide array of dishes, these homemade crispy garlic bread crumbs are your secret weapon. Forget bland, soggy toppings; these golden, crunchy morsels are bursting with savory garlic flavor and provide an irresistible textural contrast that will make your taste buds sing.
Designed to be incredibly versatile, these crispy garlic bread crumbs are an exceptional way to transform ordinary salads, humble pasta dishes, and even simple vegetable side dishes into something extraordinary. They deliver a satisfying crunch, a delicate yet distinct garlic aroma, and a layer of flavor that complements almost any savory meal. Best of all, they come together in less than 10 minutes of active cooking time, making them perfect for weeknight dinners or last-minute meal enhancements. You can even prepare a batch ahead of time and store them to enjoy throughout the week, ensuring you always have a delicious topping at your fingertips.
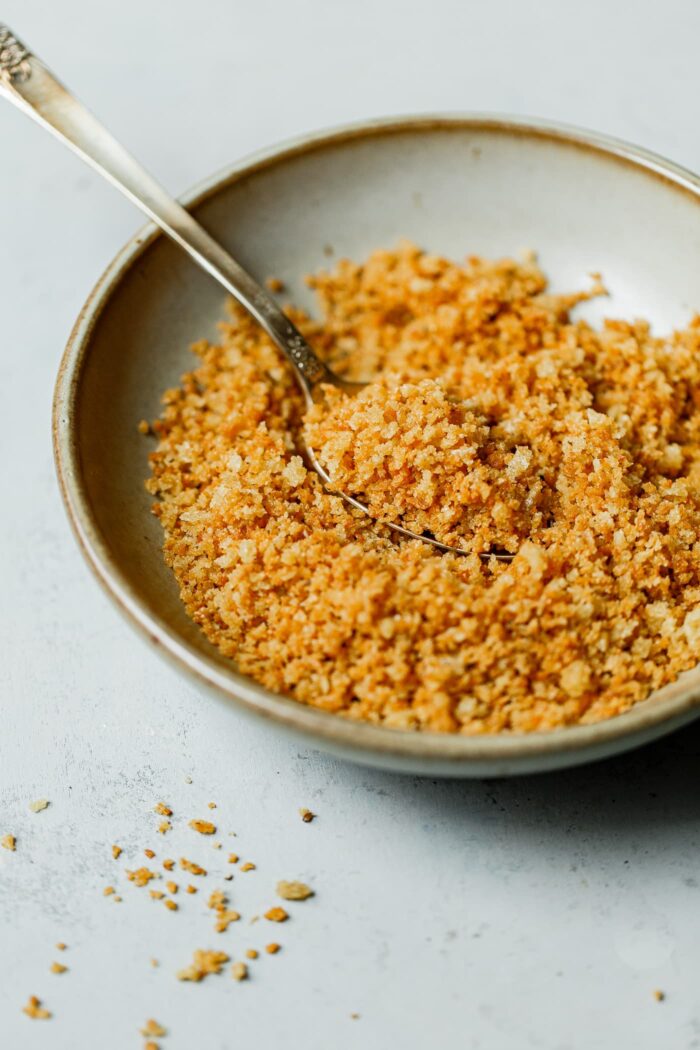
Why Panko is the Ultimate Choice for Crispy Bread Crumbs
The secret to achieving the ultimate crispy texture and satisfying crunch in these garlic bread crumbs lies in using panko bread crumbs. Panko, a beloved Japanese-style bread crumb, is distinctly different from traditional finely ground bread crumbs, offering superior results for toppings and coatings.
Its unique lightness, airiness, and flaky texture are unparalleled. Unlike denser bread crumbs that can become heavy and greasy, panko crumbs absorb less oil and toast up incredibly crispy and golden. This results in a topping that feels light and airy, yet delivers a profound textural impact. The larger, irregularly shaped flakes of panko create more surface area, allowing for a better distribution of flavor and a more pronounced crunch with every bite.
If panko isn’t readily available, or you prefer a homemade touch, you can certainly make your own bread crumbs from stale bread. Simply pulse day-old bread in a food processor until you achieve a coarse, uneven texture. For detailed guidance on preparing homemade bread crumbs, resources like this arugula pasta recipe often provide helpful tips.
Important Note: For this specific recipe, we strongly advise against substituting with standard, finely ground, store-bought bread crumbs. Their fine consistency means they tend to absorb too much oil, become dense, and can easily burn, leading to a much less desirable result than the light, airy crunch we’re aiming for with panko.
Endless Flavor Possibilities: Customize Your Bread Crumbs!
One of the most exciting aspects of these crispy garlic bread crumbs is their incredible adaptability. While garlic is undoubtedly the star, you have complete freedom to customize them to suit your culinary preferences or the dish you’re serving. Consider these delightful variations:
- Aromatic Infusions: Beyond garlic, try infusing the olive oil with other aromatics. Thinly sliced shallots, finely minced onion, or a sprig of fresh rosemary can add wonderful depth.
- Herbal Delights: Stir in finely chopped fresh herbs like flat-leaf parsley, thyme, oregano, or rosemary during the last minute of cooking to release their fragrant oils. Dried herbs can also be added with the panko.
- Spicy Kick: For a touch of heat, a pinch of red pepper flakes added with the panko will awaken your taste buds.
- Smoky Undertones: A dash of smoked paprika or a touch of chipotle powder can introduce a rich, smoky flavor profile.
- Cheesy Goodness: After the bread crumbs have cooled, stir in a tablespoon or two of finely grated Parmesan cheese, nutritional yeast, or even a blend of Italian cheeses for an umami-packed boost.
- Citrus Brightness: A tiny bit of lemon zest, grated finely and added at the very end, can provide a fresh, zesty finish.
Don’t be afraid to experiment with combinations to create your signature crispy topping!
Step-by-Step Guide: How to Make Perfectly Crispy Garlic Bread Crumbs
Making these irresistible bread crumbs is surprisingly simple and quick, requiring just a few basic steps:
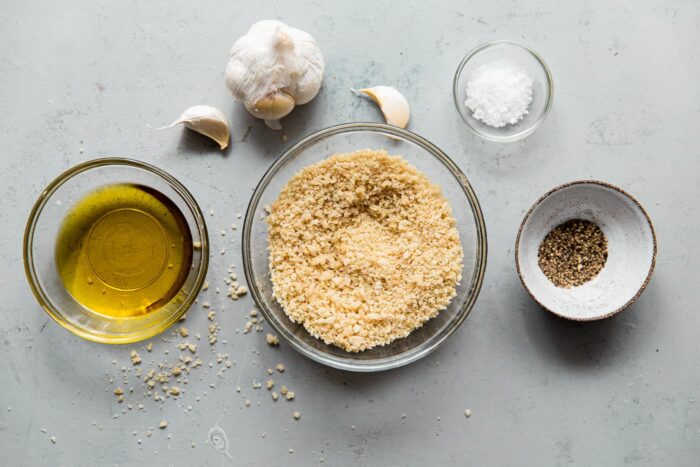
- Assemble Your Simple Ingredients. You’ll be amazed at how few items you need to create such a flavorful and impactful topping. For these crispy garlic bread crumbs, gather your essentials: high-quality extra virgin olive oil, fresh garlic cloves (opt for fresh over pre-minced for the best flavor), panko bread crumbs, kosher salt, and freshly ground black pepper. These common pantry staples are truly all it takes to unlock a world of flavor and crunch!
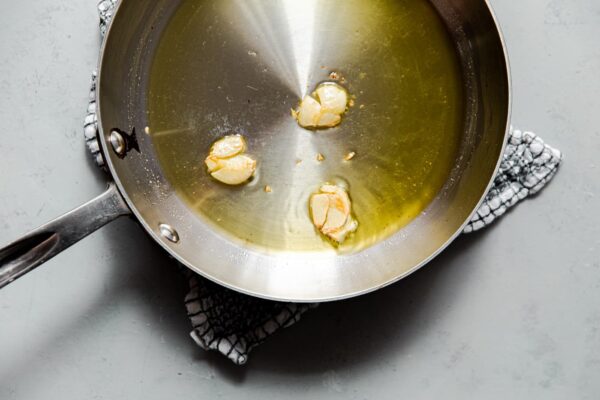
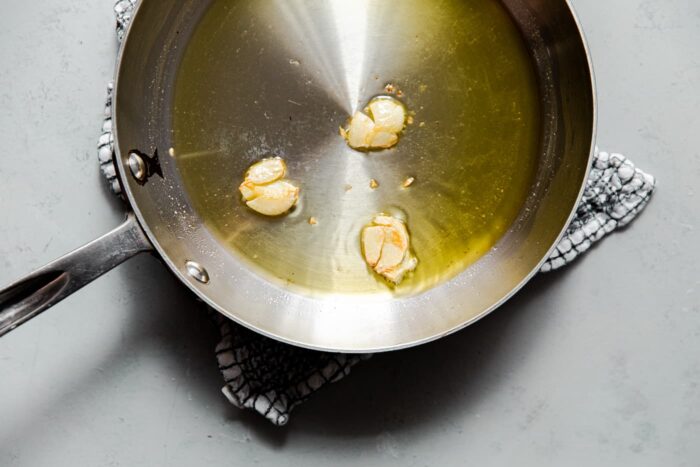
- Infuse the Oil with Aromatic Garlic. Begin by heating the extra virgin olive oil in a medium (8 to 10-inch) skillet over medium heat. Once the oil is shimmering gently, add the smashed garlic cloves. Smashing the cloves allows their robust flavor to gently release and infuse into the oil without the risk of burning as quickly as finely minced garlic. Sauté the garlic, stirring frequently to ensure even exposure to the heat, until it becomes wonderfully fragrant and turns a beautiful light golden brown. This process typically takes about 2 to 3 minutes. This initial step is critical for building a deep, foundational garlic flavor that permeates the entire dish. Be vigilant, as burnt garlic will impart a bitter taste.
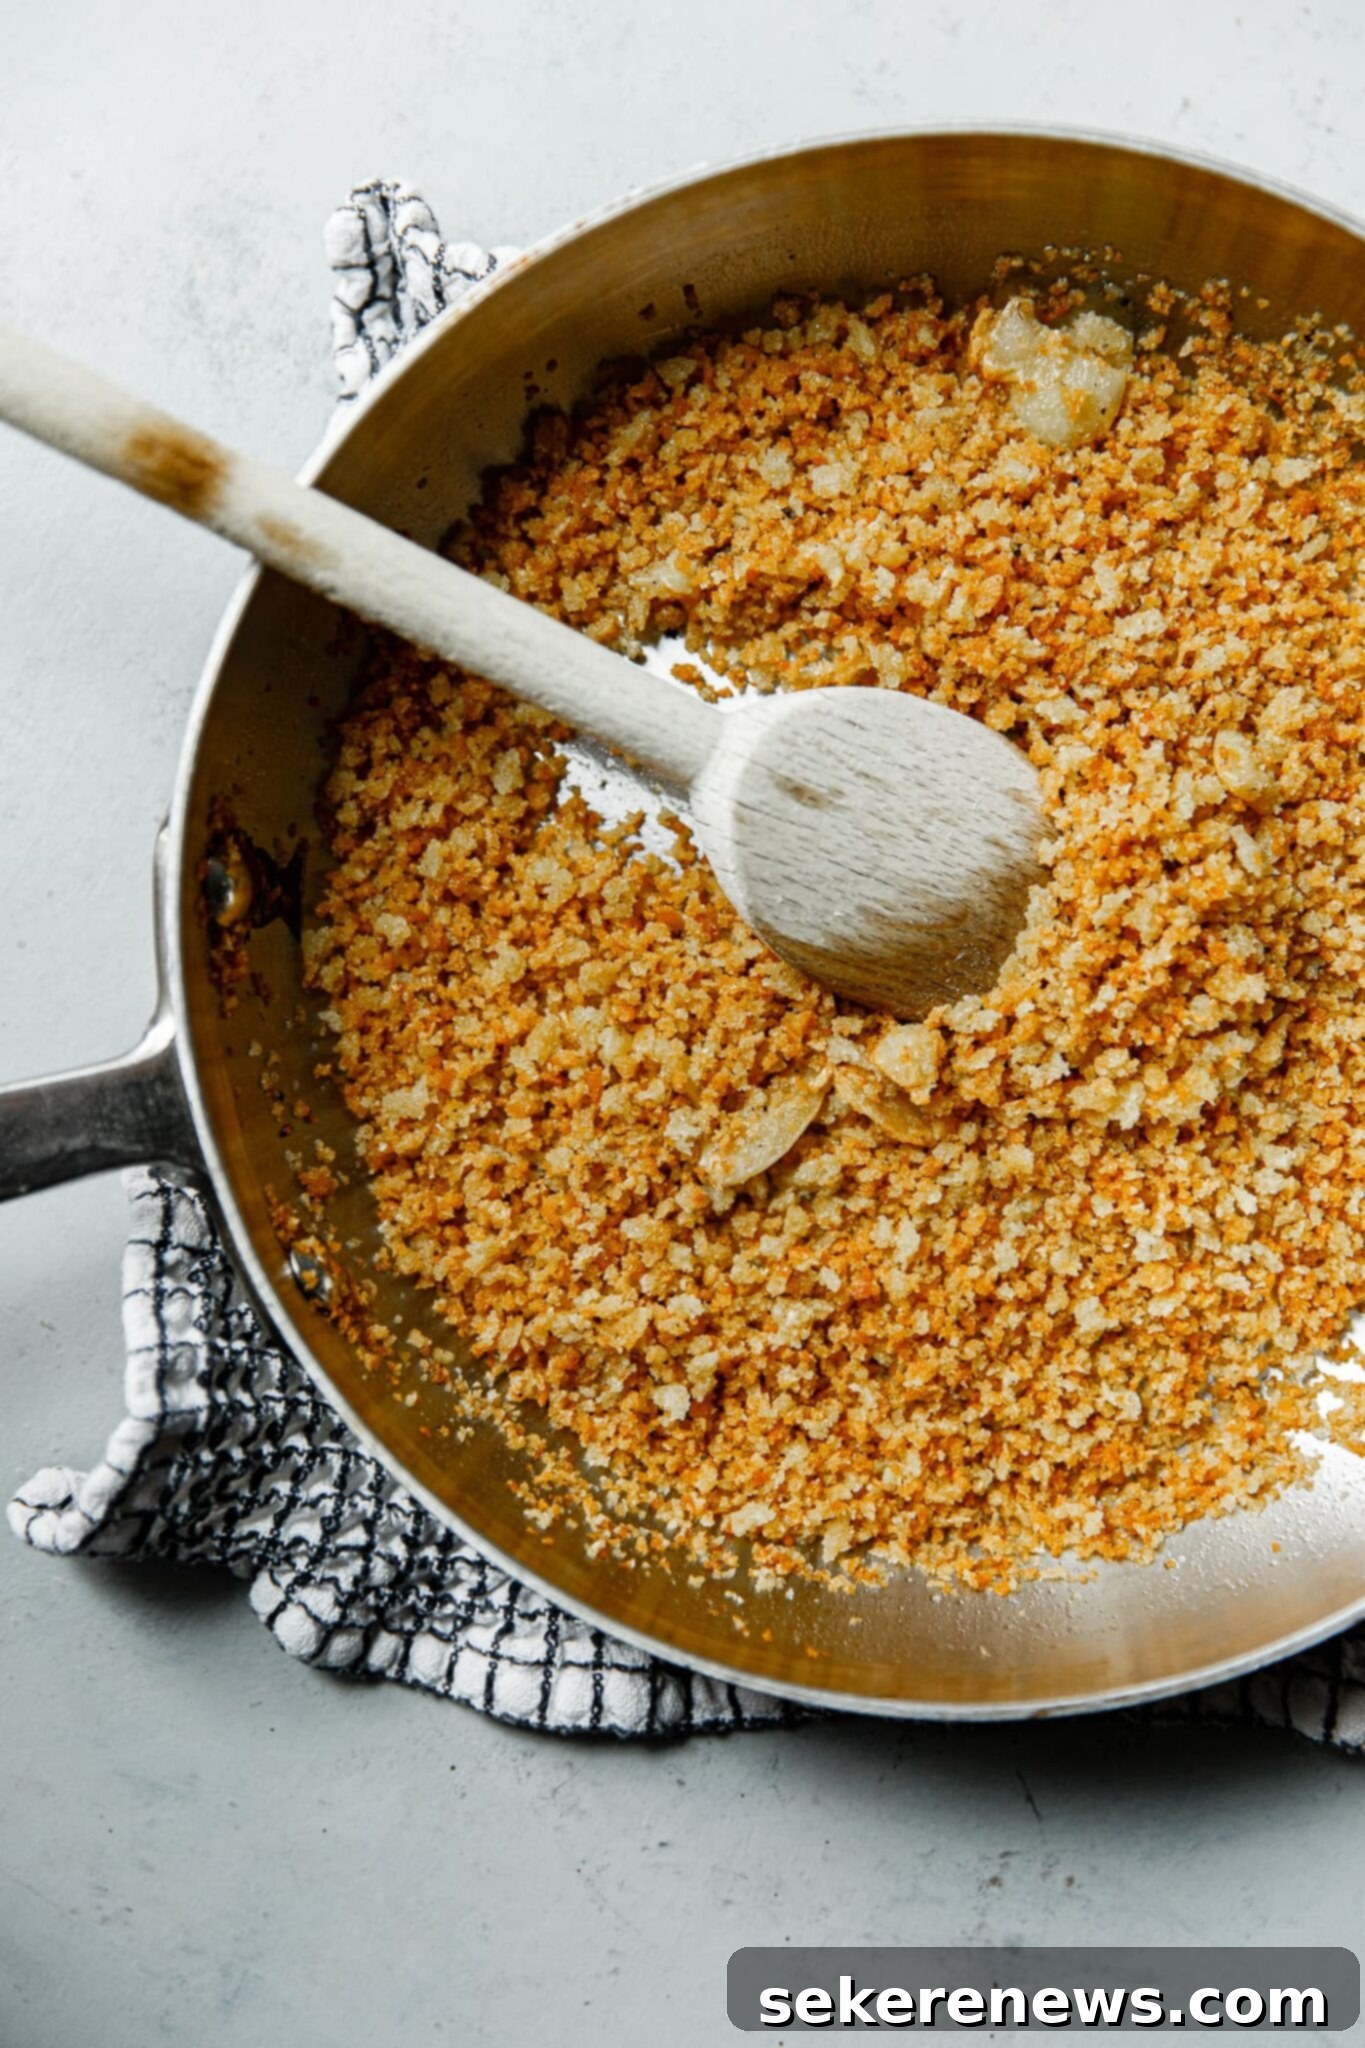
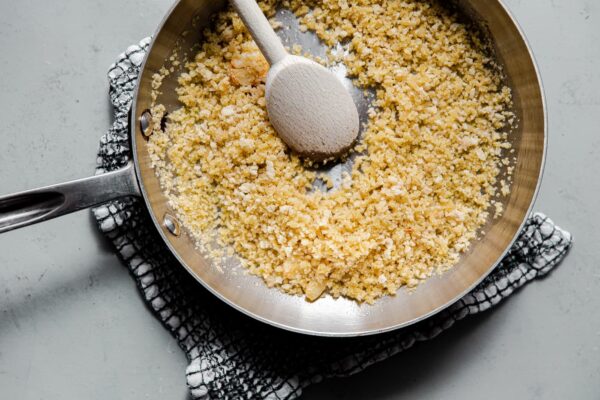
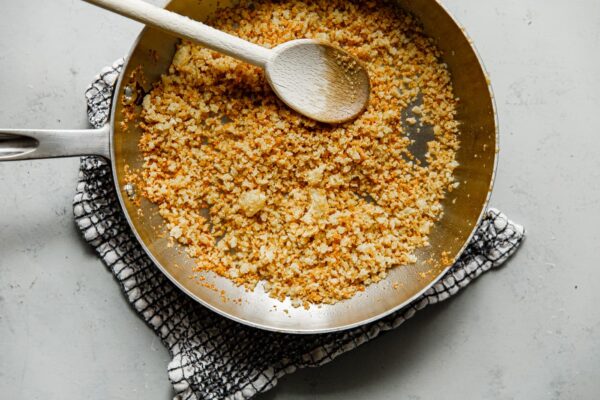
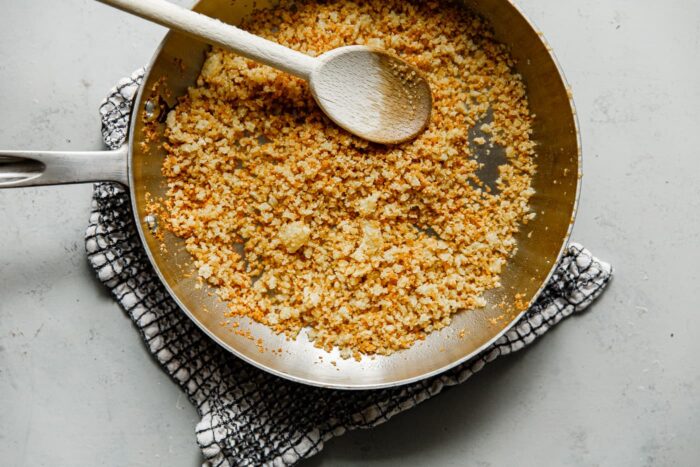
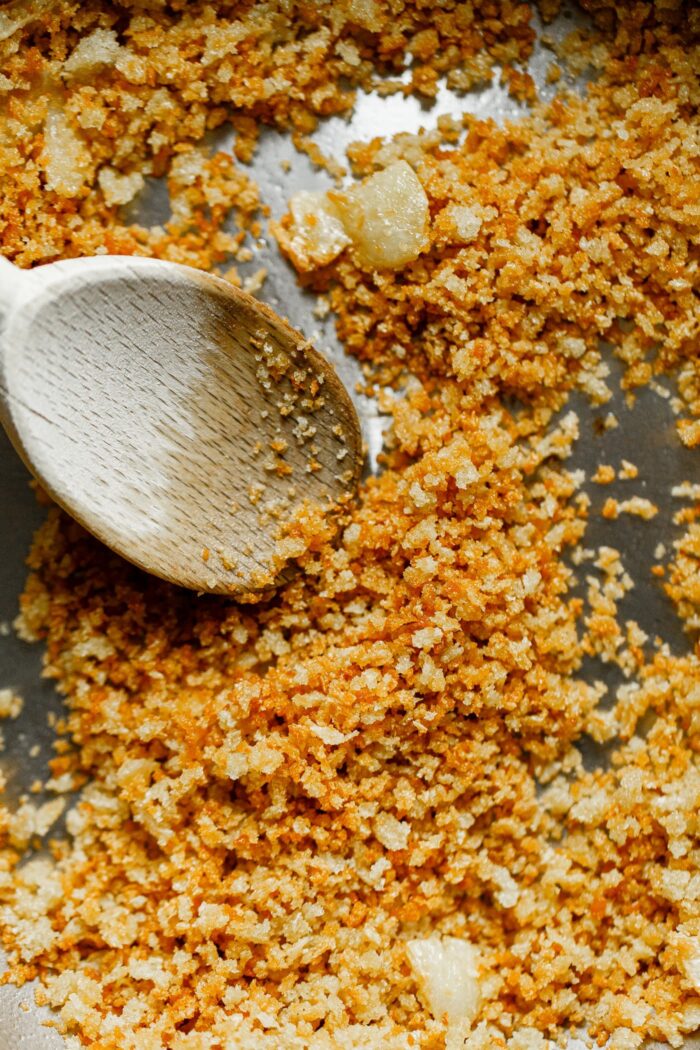
- Toast the Panko to Golden Perfection. Now, add the panko bread crumbs directly into the skillet with the fragrant garlic-infused oil. Stir continuously and thoroughly, ensuring that every single crumb is evenly coated in the oil mixture. This uniform coating is paramount for achieving consistent browning and maximum crispiness across the entire batch. Continue cooking over medium heat, stirring and tossing frequently – almost constantly – until the panko transforms into a beautiful, deeply golden color. This process typically takes about 4 to 6 minutes. Exercise caution and stay attentive, as panko can transition from perfectly golden to unfortunately burnt in a matter of seconds. Once they’ve reached your desired golden hue, generously season the crumbs with kosher salt and freshly ground black pepper. If you’re incorporating any finely chopped fresh herbs, stir them in during the final minute of cooking to allow their aromatic oils to bloom with the residual heat.
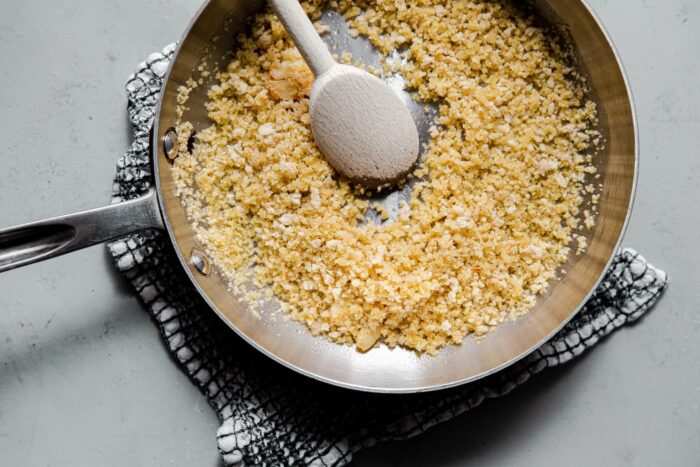
- Cool for Maximum Crispness and Enjoy! As soon as the bread crumbs achieve that perfect golden color and ideal crispness, immediately transfer them from the hot skillet to a large, shallow bowl or a baking sheet lined with parchment paper. This crucial step is vital because the residual heat in the pan can continue to cook and potentially burn the crumbs, or cause them to steam and lose their desired crispness. Spreading them out helps them cool down quickly and dry out, ensuring maximum crunch. At this point, you can choose to enjoy the softened, beautifully infused garlic cloves (they’re a delicious treat!) or discard them before storing your perfectly crispy bread crumbs.
Creative Ways to Use Your Crispy Garlic Bread Crumbs
The true magic of these garlic bread crumbs lies in their incredible versatility. Once you have a batch ready, you’ll discover countless opportunities to add a burst of flavor and a delightful crunch to almost any savory dish. Here are some of our favorite applications:
- Elevate Your Salads: This is arguably my absolute favorite way to utilize these savory crumbs! They make an outstanding topping for any salad, particularly hearty ones like a classic Caesar salad or a robust grain bowl, where they serve as a superior alternative to traditional, often stale, croutons. Unlike bulky croutons, these finely textured, crispy bread crumbs distribute beautifully into every nook and cranny of your salad, ensuring that every forkful delivers an amazing crunch and an irresistible garlicky zest. They won’t get soggy as quickly, maintaining their crispness throughout your meal.
- Transform Pasta Dishes: While it might sound unusual to top pasta with bread crumbs, trust me – it’s an absolute game-changer that introduces an unexpected layer of texture and flavor! Imagine them sprinkled generously over a simple aglio e olio, a rich carbonara, a vibrant pesto pasta, or even a creamy macaroni and cheese. They add a delightful textural contrast that complements the smoothness of sauces and the satisfying chewiness of pasta. Try them on spaghettini with roasted tomatoes, a luxurious creamy pappardelle dish, or any pesto pasta that would benefit from a satisfying boost in texture.
- Enhance Vegetable Side Dishes: Simple steamed, roasted, or sautéed vegetables can be dramatically elevated with a generous sprinkle of these crispy crumbs. They add a gourmet touch and can make even the pickiest eaters more enthusiastic about their greens. Use them to top (the best) roasted broccoli, vibrant sautéed beet greens or Swiss chard, grilled asparagus, green beans, or any other vegetable that could use a textural and flavor uplift. They also work wonderfully sprinkled over creamy mashed potatoes, baked potatoes, or even roasted root vegetables for a delightful textural surprise.
- Jazz Up Soups and Stews: For an unexpected textural element and a pop of flavor, sprinkle a spoonful over creamy tomato soup, a hearty lentil stew, a classic French onion soup, or any pureed vegetable soup just before serving. They provide a delightful contrast to the soft ingredients.
- Crust for Proteins: While not their primary use, these bread crumbs can also serve as a light, flavorful crust for baked fish fillets (like cod, halibut, or salmon) or chicken cutlets. Simply press them onto the protein before baking for a golden, crispy coating.
- Scrambled Eggs and Omelets: For a quick breakfast or brunch upgrade, sprinkle a pinch over scrambled eggs, fried eggs, or an omelet. It’s a simple yet effective way to add complexity and crunch to your morning routine.
- Sandwiches and Toasts: Add a sprinkle inside your favorite sandwich or open-faced toast for an unexpected layer of crunch and garlic flavor.
How to Store Crispy Garlic Bread Crumbs for Maximum Freshness and Crunch
One of the many advantages of these crispy garlic bread crumbs is that they can be prepared in advance, making meal prep and last-minute garnishes incredibly convenient! Once your bread crumbs have cooled completely to room temperature (this is absolutely essential to prevent condensation from forming and to maintain their crispness), transfer them to an airtight container. A glass jar with a tight-fitting lid or a sealed plastic container works perfectly. Store them at room temperature, ideally in a cool, dry pantry away from direct sunlight and humidity. They will maintain their incredible crunch and vibrant flavor for 3 to 5 days.
Pro Tip for Reviving Crispness: If, after a few days, your stored bread crumbs lose a bit of their initial crispness, don’t despair! Simply spread them in a single layer on a baking sheet and toast them in a preheated oven at 300°F (150°C) for 5-7 minutes, or toss them in a dry skillet over medium-low heat for a minute or two until they are revitalized and crunchy once more.
If you’re looking for a similar texture-packed flavor bomb but want to skip the bread entirely, you absolutely must try these incredible Crispy Garlic Chips. They are an amazing, gluten-free alternative and truly out of this world for adding deep garlic flavor and crunch!
Crispy Garlic Bread Crumbs Recipe
Pin
Review
SaveSaved!
This recipe is not only quick and easy, taking less than 15 minutes from start to finish, but it’s also highly customizable. Beyond the classic garlic, you can effortlessly infuse the olive oil with other aromatics like shallots or finely minced onion, or stir in finely chopped fresh herbs such as parsley, thyme, or rosemary for a fragrant, personalized touch. A sprinkle of Parmesan cheese (added after cooking) can also add a delightful umami note.
Ingredients
- 3 tablespoons (45 mL) extra virgin olive oil
- 2 large garlic cloves smashed, or 1 tablespoon minced for stronger flavor
- 1 cup (80g) panko bread crumbs for best results, or homemade coarse bread crumbs
- ¼ teaspoon kosher salt
- ¼ teaspoon freshly ground black pepper
- finely chopped fresh herbs, such as parsley, thyme, or rosemary optional, add at the end of cooking
- a pinch of red pepper flakes or smoked paprika optional, for added flavor
Instructions
-
Heat the extra virgin olive oil in a medium (8 to 10-inch) skillet over medium heat. Add the smashed garlic cloves and sauté, stirring often, until fragrant and lightly golden brown in color, about 2 to 3 minutes. Be careful not to burn the garlic, as this will result in a bitter taste that can ruin the entire batch of bread crumbs.

-
Add the panko bread crumbs to the pan and stir vigorously to coat evenly in the oil mixture. Continue cooking over medium heat, stirring and tossing frequently (this is key to even browning!), until the crumbs achieve a deeply golden color, about 4 to 6 minutes. The goal is a rich, toasted hue. Season with the salt and pepper, and if using, add any finely chopped fresh herbs during the last minute of cooking to allow their aroma to release without overcooking them.

-
Immediately transfer the perfectly toasted bread crumbs to a large, wide bowl or a baking sheet to cool completely. This crucial step prevents them from overcooking and helps them achieve and retain their maximum crispness. You can enjoy the softened, flavorful garlic cloves as a chef’s treat, or simply discard them before storing your finished bread crumbs.

-
Storage Instructions: Once completely cool, transfer the crispy garlic bread crumbs to an airtight container. Ensure it’s sealed with a tight-fitting lid and store at room temperature in a dry, cool pantry. For optimal crunch and flavor, aim to use them within 3-4 days. For longer storage, they can be kept in the freezer for up to 2-3 weeks; simply re-toast lightly in a dry skillet or oven if needed to regain crispness.
Expert Tips for Crispy Garlic Bread Crumbs Success:
- Garlic Intensity Control: If you desire a more pronounced garlic flavor than what smashed cloves provide, consider finely mincing or micro-planing 1 tablespoon of fresh garlic. Add this minced garlic when you introduce the panko bread crumbs to the pan. Keep a very close eye on it, as finely minced garlic can burn much faster than whole cloves.
- Even Browning is Paramount: The key to truly crispy and delicious bread crumbs is even browning. Always cook the panko over medium heat and stir constantly. This ensures that all crumbs toast uniformly, preventing some from burning while others remain soft or pale. Don’t rush this step!
- Rapid Cooling is Crucial: Immediately after cooking, transfer the bread crumbs out of the hot skillet and into a wide, shallow bowl or onto a baking sheet. The residual heat in the pan can continue to cook them, leading to burning, or cause them to steam, which diminishes crispness. Cooling them spread out helps them dry quickly and maximizes their crunch.
- Beyond Herbs: Customization Galore: Don’t limit your creativity to just fresh herbs. Experiment with various spices! A pinch of onion powder, a teaspoon of Italian seasoning, or even a touch of nutritional yeast for a savory, cheesy flavor can be stirred in with the salt and pepper. For an extra layer of gourmet richness, add a tablespoon of finely grated Parmesan cheese after the crumbs have cooled.
- Reviving Less-Crispy Crumbs: If your stored bread crumbs lose some of their initial crunch over time due to humidity, a quick refresh can bring them back to life. Simply spread them on a baking sheet and toast in a preheated oven at 300°F (150°C) for 5-7 minutes, or toss them in a dry skillet over medium-low heat until they are perfectly crisp again.
