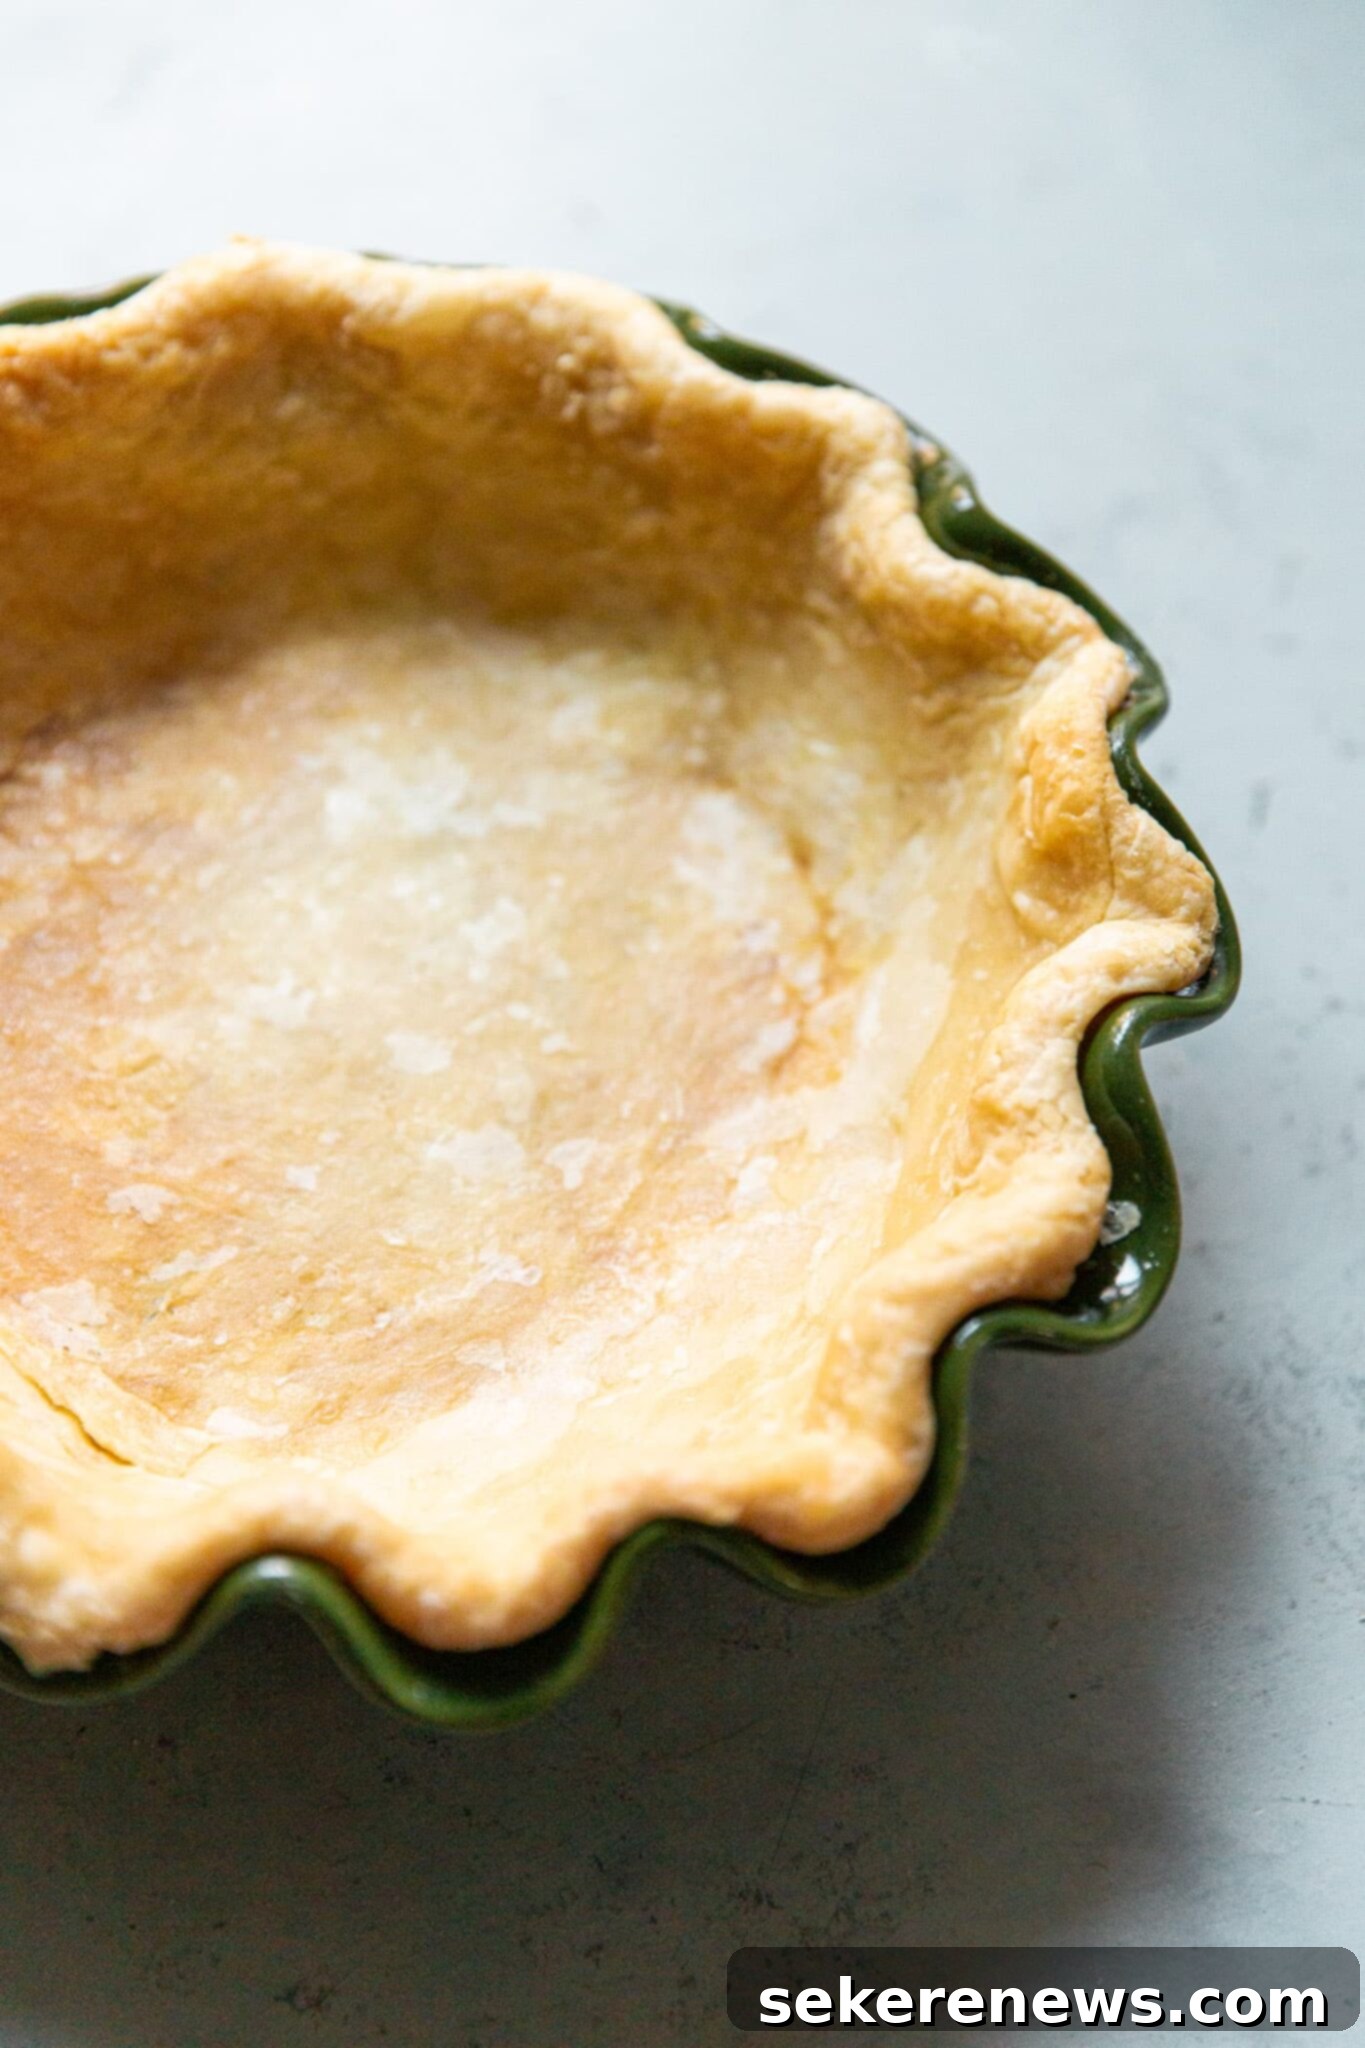
The Ultimate Guide to a Flaky Quiche Crust: Perfect Blind Baking & Dough Methods
Every truly exceptional quiche begins with a rock-solid foundation: a perfectly flaky, irresistibly buttery, and expertly pre-baked crust. Achieving this level of perfection might seem daunting, but with the right techniques and a clear understanding of the process, you can master the art of homemade quiche crust that elevates any filling it holds. This comprehensive guide is designed to empower you with all the knowledge you need to create a flawless foundation for your savory pies.
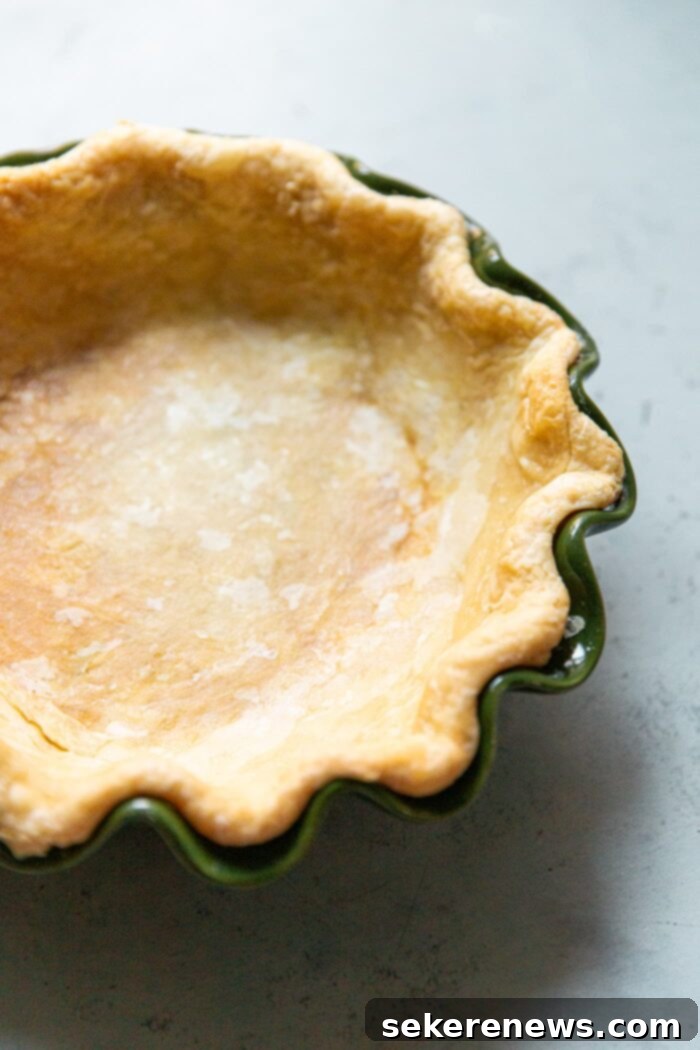
In this comprehensive guide, we’re sharing our ultimate flaky quiche crust recipe, meticulously crafted to ensure a crisp, golden base every time. We’ll explore various methods for preparing the dough, allowing you to choose the technique that best suits your comfort level and kitchen equipment. Whether you’re a seasoned baker or just starting, this recipe will transform your quiche game and ensure a perfect, non-soggy bottom for your delicious fillings.
This versatile quiche crust recipe is ideal for all your favorite quiche fillings, including our highly recommended Gruyère Leek Quiche, promising a truly memorable dish with every bite.
The Secret to Our Superior Quiche Crust: Extended Blind Baking
Our quiche crust recipe stands out due to a brilliant technique inspired by the legendary Stella Parks: a single, extended pre-bake, commonly known as blind baking. This ingenious method simplifies the entire process, eliminating the need for tedious dough docking (pricking the dough with a fork) or juggling multiple short baking periods. By fully baking the crust at a controlled temperature and with ample time, we ensure it’s cooked through, deeply golden, and ready to withstand any moist filling.
The result of this method is truly exceptional: a remarkably flaky, robust, and utterly dependable crust that consistently holds its shape. Say goodbye to frustrating shrinkage, unwelcome puffing, or the dreaded soggy bottom – common pitfalls with traditional pie crusts. This method guarantees a beautifully textured and sturdy crust that is the perfect vessel for any rich, creamy quiche filling you can imagine.
PRO TIP: While this article focuses on creating the ideal crust for homemade quiche, the principles and techniques shared here are universally applicable. Feel free to use this exact recipe and blind baking method for any savory pie or tart you wish to prepare, from chicken pot pies to fruit tarts (just adjust baking time slightly for sweeter fillings).
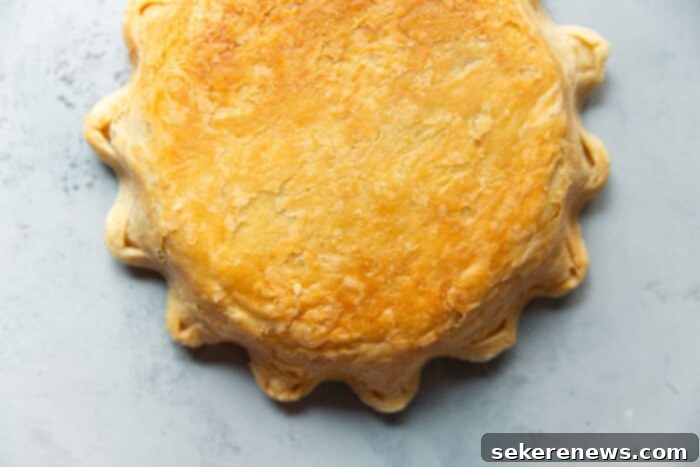
Essential Ingredients for Your Flaky Quiche Crust
The secret to a truly outstanding and flaky quiche crust lies in the quality and proper handling of just a few simple ingredients. Understanding the role of each component is key to mastering this recipe. Here’s a breakdown of what you’ll need and why each plays a vital role in achieving that perfect texture:
- ALL-PURPOSE FLOUR: We recommend using unbleached all-purpose flour for this recipe. Its moderate protein content strikes an ideal balance, providing enough structure for the crust to hold its shape beautifully while ensuring it remains wonderfully tender and easy to bite through. This combination is essential for achieving the desirable flaky layers that define a truly special quiche crust.
- SALT: Salt is more than just a seasoning; it’s a critical flavor enhancer that brings out the best in your crust, balancing the richness of the butter and complementing your quiche filling. We highly recommend Diamond Crystal Kosher Salt, our preferred choice for its consistent grain and balanced flavor. For precise results, we’ve included its weight (2% by weight relative to the flour) in the recipe. If you’re using other salt brands, especially finer-grained table salt, remember to halve the quantity to account for their higher density and saltiness by volume. For more detailed information on different cooking salts, check out our comprehensive guide.
- UNSALTED BUTTER: This recipe proudly calls for an all-butter quiche crust, and for good reason. Using unsalted butter ensures a superior, richer flavor profile that simply cannot be replicated by other fats. More importantly, it contributes significantly to the delicate flakiness of the pastry. It is absolutely crucial that your butter is very cold, preferably straight from the refrigerator. Cold butter creates steam pockets during baking as it melts, which are essential for forming those distinct, airy, and desirable flaky layers throughout the crust.
- ICE WATER: Ice-cold water is vital for binding the dry ingredients into a cohesive dough while simultaneously keeping the overall temperature of the mixture low. This low temperature is paramount for preventing premature gluten development in the flour, which can quickly lead to a tough, chewy crust instead of a tender, flaky one. Add the ice water gradually, mixing just until the dough is moist enough to hold together when pressed – it should be slightly shaggy, not wet, sticky, or soupy.
Expert Tips for Quiche Crust Success: Achieving Flakiness Every Time
Crafting the perfect quiche crust involves more than just mixing ingredients; it’s about understanding and applying a few key principles throughout the process. Follow these expert tips to ensure a consistently flaky, tender, and beautifully golden result with every bake:
- Keep Everything Cold: The Golden Rule: This is arguably the most critical rule for achieving flaky pastry. From your butter and flour to the water you use, every component should be as cold as possible. Cold butter melts slowly in the oven, releasing steam that creates distinct pockets and layers, which are precisely what give pastry its coveted flakiness. Warm ingredients, conversely, can lead to the butter melting into the flour too quickly, resulting in a tough, dense crust. Consider chilling your dry ingredients in the freezer for 15-20 minutes before starting, and always use ice water.
- Master the Butter Incorporation Technique: How you combine cold butter with flour significantly impacts the final texture of your quiche crust. Our preferred method, “rolling in the butter,” is detailed below and creates beautiful, thin layers of butter within the dough, maximizing flakiness. We’ll also explore three other effective methods, each offering unique advantages depending on your preference and available kitchen tools. The key is to break the butter into the flour without fully integrating it, leaving pea-sized (or flatter) pieces of butter intact.
- Handle Water with Care (and Minimal Gluten Development): Water is essential for binding the dough together, but too much, or overworking the dough once water is added, can quickly activate gluten. Excessive gluten development leads to a tough, chewy crust rather than a tender, flaky one. Add ice water gradually, just enough until the dough barely holds together when pressed. It should feel slightly shaggy and come together in clumps, not wet or sticky, and definitely not overly crumbly. Err on the side of slightly dry rather than too wet.
- Rest and Chill the Dough: Patience is a Virtue: After preparing your dough, wrap it tightly in plastic wrap and refrigerate it for at least 30 minutes, or ideally longer (up to several days). This resting period serves two crucial purposes: it further chills the butter, ensuring it remains solid for baking, and it allows the gluten strands, which may have developed during mixing, to relax. Relaxed gluten makes the dough much more pliable and easier to roll out without shrinking back or tearing, contributing significantly to a tender, flaky end product.
Mastering the Quiche Dough: Exploring Different Preparation Methods
Creating your quiche dough is a flexible process, and there are several effective methods to achieve a beautifully flaky crust. We’ve thoroughly tested various approaches and found that rolling in the butter consistently yields an extra-flaky result with excellent control over the butter distribution. However, we encourage you to experiment with all these methods to discover your personal preference and what works best with your kitchen setup and time constraints!
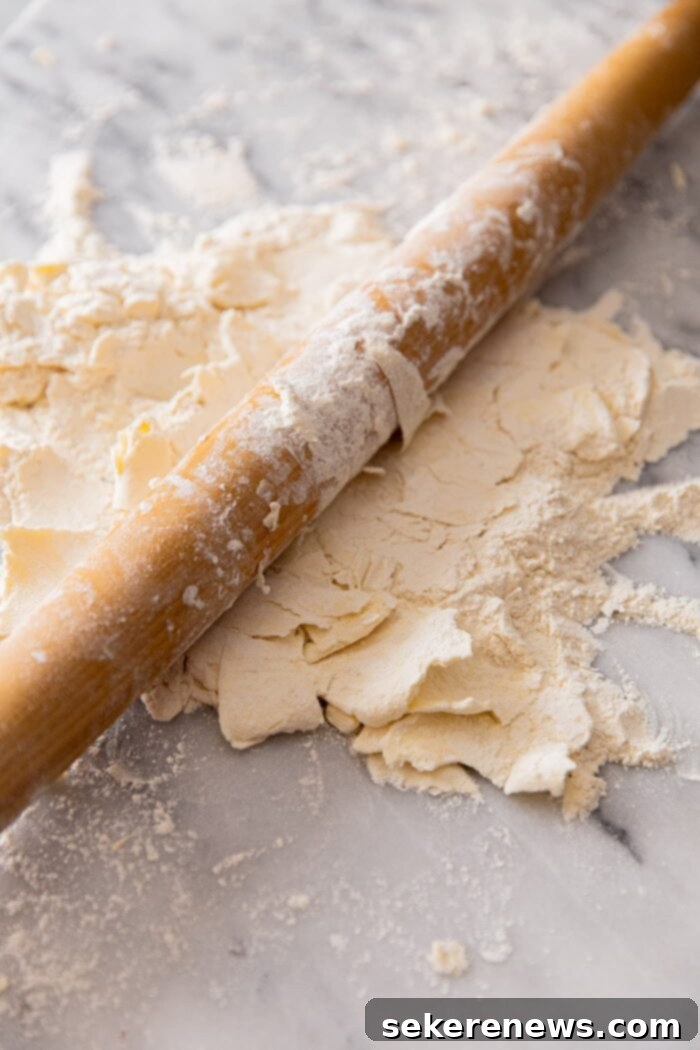
- Rolling in the Butter (Our Preferred Method for Maximum Flakiness): This artisanal approach utilizes a rolling pin to carefully flatten and incorporate cold butter pieces into thin sheets within the flour mixture. This layering technique is precisely what creates those coveted, distinct pockets of steam during baking, leading to an exceptionally flaky and tender quiche crust. This method requires minimal specialized equipment (just a rolling pin and a bench scraper) and offers a wonderfully tactile baking experience, allowing for maximum control over the butter’s texture and distribution for truly superior results.
- Stand Mixer Method (For Consistent Control): For bakers seeking a more hands-off approach without sacrificing control over the butter incorporation, a stand mixer fitted with a paddle attachment is an excellent alternative. The mixer helps break down the cold butter into the flour efficiently, creating a well-distributed mixture of various butter sizes that promotes flakiness. This method typically offers more consistent control over butter size compared to a food processor, making it a reliable and less strenuous choice.
- Food Processor Method (For Speed and Convenience): If speed and convenience are your top priorities, a food processor is a fantastic tool for making quiche dough in minutes. Simply pulse the cold flour and salt together, then add the cold butter (cut into cubes for easier processing) and pulse until the butter pieces are no larger than the size of small peas. Finally, gradually add ice-cold water, pulsing only a few times until the dough begins to form shaggy clumps. Be careful not to over-process, as this can quickly overwork the gluten and lead to a tough crust.
- Box Grater Method (For Quick Butter Distribution): This contemporary technique involves grating very cold butter directly into the flour mixture using a box grater. It’s praised for its efficiency in distributing butter quickly and with minimal cleanup, as the grated butter integrates easily. While it effectively incorporates the butter, in our experience, this method doesn’t consistently produce the same level of profound, layered flakiness as the “rolling in the butter” or even the stand mixer method. However, it’s a valid and quick option for those looking for a fast and simple start to their dough.

The Essential Guide to Blind Baking Your Quiche Crust for a Flawless Finish
Pre-baking, or blind baking, is an absolutely crucial step when preparing a quiche, especially for those with delicate custard fillings. This technique involves fully baking the crust before adding any wet ingredients. It is the definitive method to prevent a soggy bottom, achieve that desirable crispness and golden hue, and ensure your quiche holds its structure perfectly. Our method utilizes a thoroughly chilled or frozen crust and an extended, covered bake. Here’s a step-by-step guide to blind baking your quiche crust to perfection:
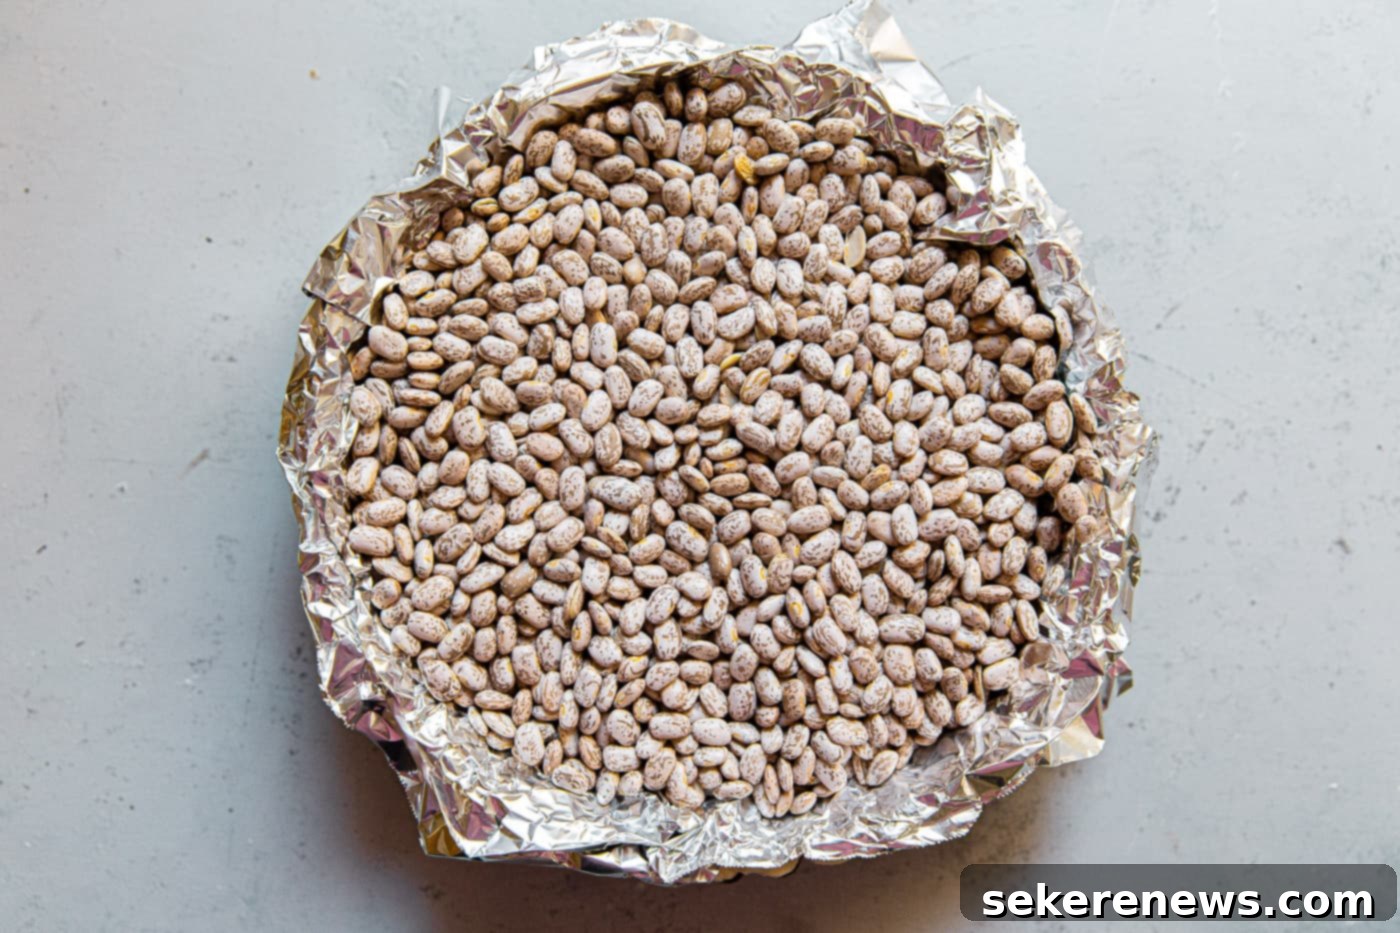
- Line and Weigh Down for Stability: Begin by preheating your oven to 375°F (190°C) with a rack positioned in the center. Carefully remove your pie pan with the shaped crust from the freezer, discarding the plastic wrap. Line the frozen crust with lightly greased aluminum foil; if you’re using non-stick foil, you can skip the greasing. Ensure the shiny side of regular foil faces out and that the foil fully covers the edges of the dough to prevent over-browning. You’ll likely need two sheets of foil to achieve comprehensive coverage. Now, fill the foil-lined crust *all the way* to the top with dried beans or ceramic pie weights. This generous weight is vital for holding the dough firmly in place, effectively preventing any shrinking down the sides or puffing up from the bottom during baking, ensuring a perfectly shaped crust.
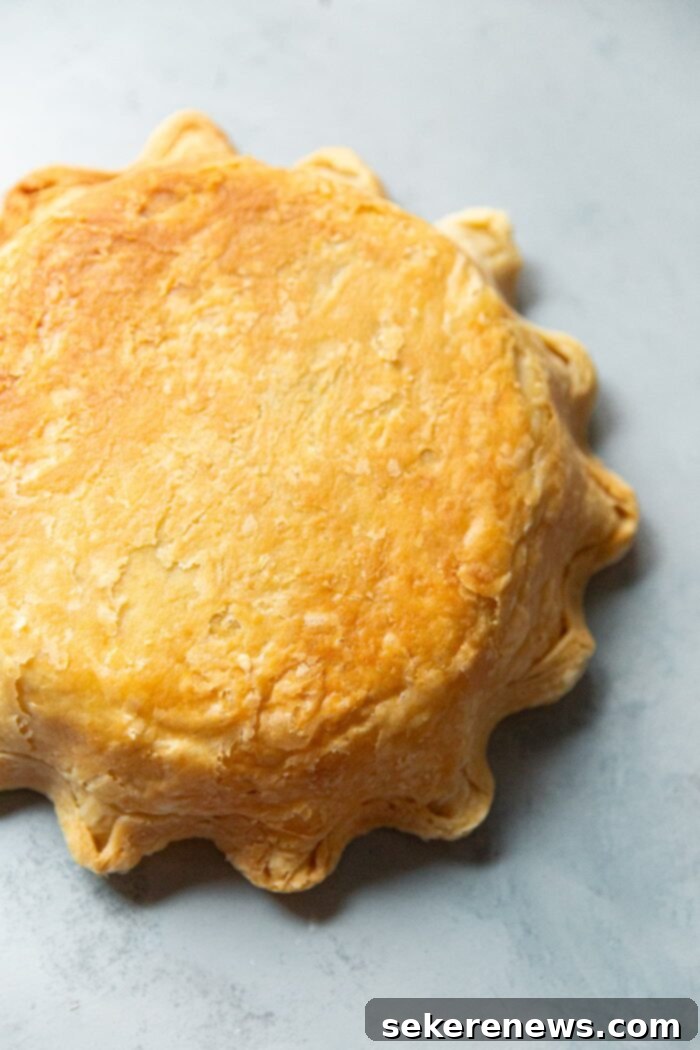
- Extended Bake for Ultimate Crispness: Place the pie pan onto a rimmed sheet pan (to catch any potential spills and for easier handling). Bake the crust in your preheated oven until the edges appear crisp and lightly golden, and the bottom feels completely dry and crisp to the touch. This extended bake time, typically ranging from 55 to 70 minutes, is key to developing a fully cooked, sturdy crust that won’t become soggy. Important Note: We recommend checking the crust after about 45 minutes by gently pulling back one edge of the foil to assess the color and texture. If it’s not yet golden or dry, continue baking, checking every 10 minutes thereafter until it reaches the desired doneness. The exact baking time can vary depending on the thickness of your dough and the material of your pie pan (glass, ceramic, or metal).
- Remove Weights and Cool Completely: Once baked to perfection, carefully lift the aluminum foil along with the dried beans or pie weights. Transfer the beans to a heat-proof bowl to cool (they can be re-used indefinitely for future blind baking projects, simply store them in an airtight container!). Place the hot crust on a wire cooling rack and allow it to cool down thoroughly. It can be lukewarm when you add your quiche filling, but it should never be hot, as residual heat can negatively affect the delicate custard, potentially causing it to curdle or become watery.
Delicious Quiche Recipes to Inspire You
Now that you’ve mastered the art of creating the perfect flaky quiche crust, it’s time to fill it with something truly delicious! This versatile, sturdy crust is the ideal base for a wide variety of savory fillings, from classic combinations to more innovative creations. Get inspired with one of our favorite recipes, designed to perfectly complement your homemade crust:
- Gruyère Leek Quiche: A timeless and elegant choice, featuring the rich, earthy flavors of caramelized leeks paired with nutty Gruyère cheese, all nestled in a creamy, savory custard. This combination is always a crowd-pleaser and a fantastic way to showcase your perfectly baked crust.
- (You can add more quiche recipe links here to expand this section and provide more value to readers!)
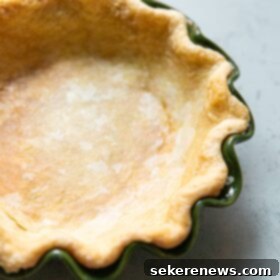
Flaky Homemade Quiche Crust Recipe
Pin
Review
SaveSaved!
Good news for bakers – you have several flexible options for preparing this versatile quiche dough. While we’ve found that the “rolling in the butter” technique consistently yields a supremely flaky crust with enhanced control, we’ve detailed alternate methods in the notes section. Feel free to choose the preparation method that best fits your preference or the equipment you have readily available.
This recipe is specifically designed to create the ideal foundation for a homemade quiche, such as our delicious Gruyère Leek Quiche. However, its robust and flaky nature makes it perfectly suited for any savory pie or tart you might wish to prepare.
Equipment
-
Rolling Pin
-
Bench Scraper
-
9-Inch Deep Ceramic or Glass Pie Pan (or Deep Quiche Tart Pan)
-
Kitchen Shears
-
Plastic Wrap and Aluminum Foil
-
Dried Beans or Pie Weights
Ingredients
- 150 grams (1¼ cups) unbleached all purpose flour plus more for dusting
- 3 grams (1 teaspoon) kosher salt
- 113 grams (4 oz; 1 stick) cold unsalted butter
- 1/4 cup (60 mL) ice water plus more as needed, ensure it’s ice-cold for best results
Instructions
-
Preparation Overview: Before you begin, gather all the equipment listed above to ensure a smooth process. This recipe offers several flexible methods for preparing the dough, with “rolling in the butter” being our top recommendation for the flakiest crust and best control over butter distribution. Alternate methods are detailed in the notes section, so feel free to choose what suits you best based on your comfort and available kitchen tools.

-
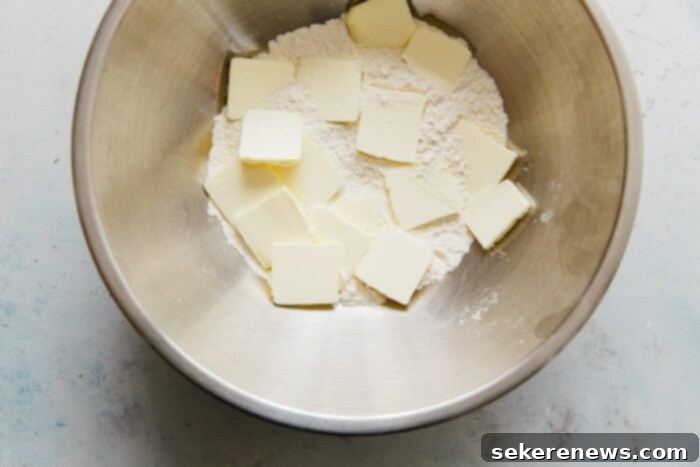
Method: Rolling in the Butter. In a medium bowl, thoroughly whisk together the flour and salt until well combined. Cut your very cold unsalted butter into ¼-inch thick slices (slicing it this way, rather than cubing, significantly speeds up the process and creates more desirable flat pieces). Add the butter slices to the flour mixture and toss until each piece is fully coated with flour.
Transfer this flour and butter mixture to a clean, lightly floured work surface. Using a rolling pin, carefully *roll* the butter into the flour until it flattens into thin, irregular sheets. As you work, use a bench scraper to gather and keep the mixture in a compact pile, ensuring even incorporation of butter flakes. Once the butter is flattened and integrated, transfer the mixture back into the bowl.

-
Incorporate Ice Water: Add 4 tablespoons (60 mL) of ice water to the flour and butter mixture. Use both hands to gently toss and mix until the water is evenly absorbed. The goal is a dough that’s just moist enough to hold together, yet still slightly shaggy with visible butter pieces. If you notice any particularly dry or crumbly bits, add more ice water, one teaspoon at a time, to those specific areas as needed. Note about Water: The precise amount of water can vary based on your flour brand and ambient humidity; typically, 4 to 6 tablespoons are required. The dough should not feel wet or sticky but should easily form a cohesive ball when pressed firmly with your palms. A few small dry spots are perfectly acceptable.
Transfer the dough onto a clean countertop. Using your bench knife, gently press and shape the dough into a round, flat disc, approximately 1-inch thick. Avoid over-working the dough at this stage to prevent excessive gluten development, which can lead to a tough crust.

-
Rest and Chill for Optimal Texture: Crucially, wrap the finished dough disc tightly in plastic wrap and transfer it to the refrigerator. Allow it to chill for a minimum of 1 hour before attempting to roll and shape it. This resting period is essential for the butter to firm up completely and for the gluten strands, which may have developed during mixing, to relax. Relaxed gluten makes the dough much more pliable and less prone to cracking or shrinking when rolled.
For convenience, the dough can be prepared ahead of time and stored in the fridge for up to 3 days. If it has been chilled for an extended period and feels too firm to roll, simply let it sit on your countertop for 10 to 20 minutes before rolling. It should be cold but workable, not rock-hard, to prevent cracking.
-
Roll and Shape the Dough: Remove the chilled dough from the refrigerator, unwrap it, and place it on a lightly floured countertop. Using a floured rolling pin, begin rolling the dough from the center outwards towards the edges. Continuously rotate the dough as you work to ensure an even thickness and prevent sticking. Dust with more flour as needed. If the edges start to crack, gently massage them back together with your fingertips to maintain a smooth circle. Your goal is to achieve a dough circle approximately ⅛-inch thick and roughly 2-inches wider than the diameter of your chosen baking pan.

-
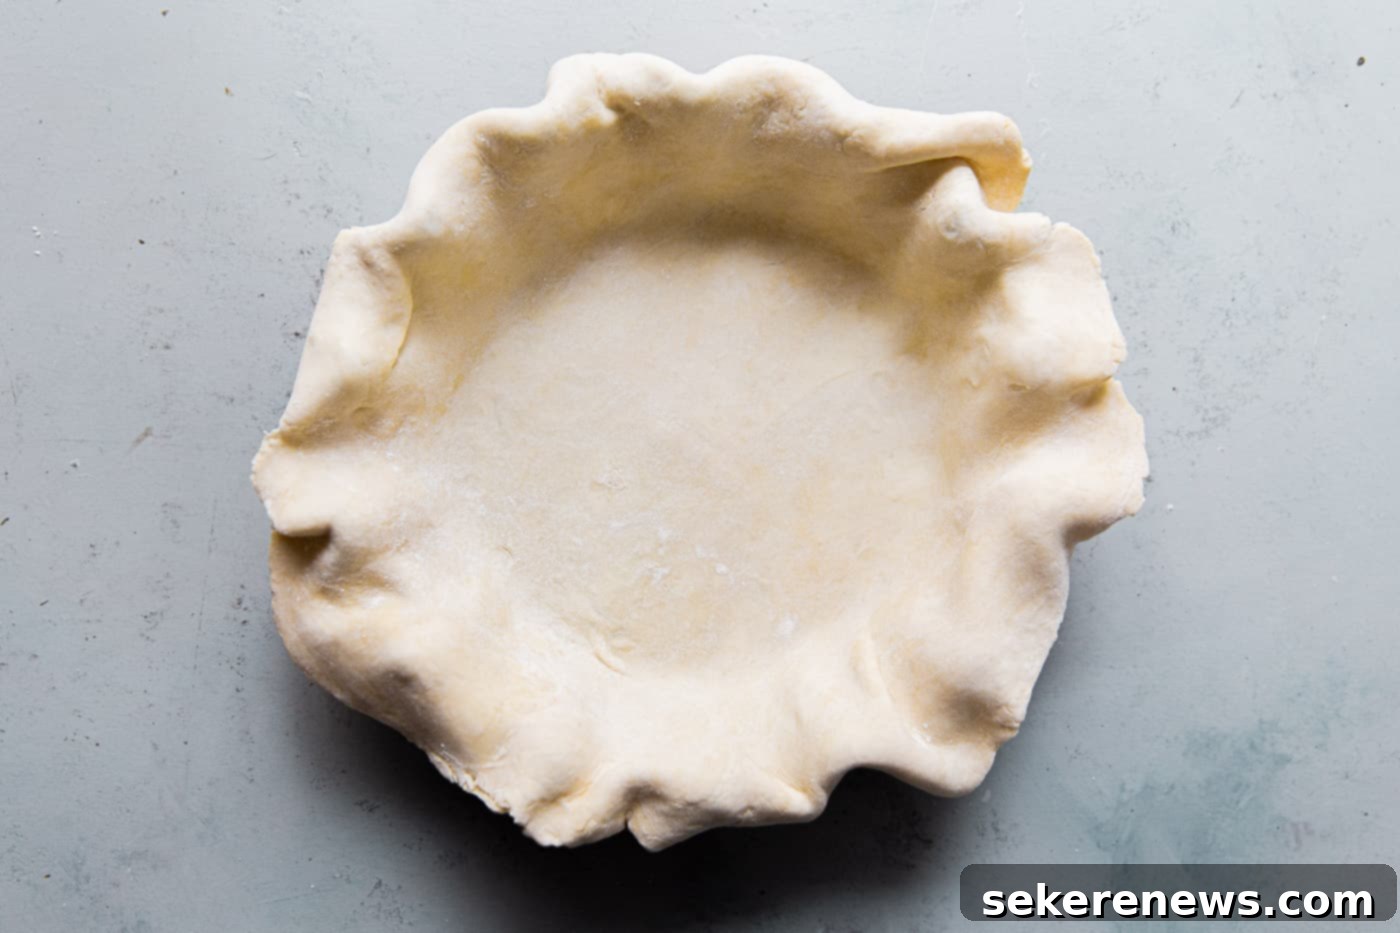
Fit, Trim, and Freeze the Crust: Carefully lift the rolled dough (you can use your rolling pin to help) and gently transfer it into your pie or tart pan. Gently ease the dough into the contours of the pan, ensuring it’s nestled against the bottom and sides without stretching or pulling, which can cause significant shrinkage during baking. Using kitchen shears, trim the excess dough, leaving an overhang of about ½-inch to ¾-inch beyond the pan’s edge. Fold this overhang under and crimp the edges as desired for a decorative finish. If using a deep tart pan: simply press the dough firmly into the edges, then roll your rolling pin directly over the rim of the pan to cleanly cut off and trim the excess dough, creating a neat edge.
Once shaped, cover the entire crust tightly with plastic wrap and freeze it until completely solid – a minimum of 1 hour. This freezing step is crucial: it ensures the butter remains extremely cold throughout the initial baking phase, which is key for maximum flakiness and structural integrity. It also offers fantastic flexibility for preparing ahead of time. You can keep the frozen crust in the freezer for up to 3 months, ready to bake whenever inspiration strikes.

-
Prepare for Blind Baking (Line and Weigh Down): Preheat your oven to 375°F (190°C) with an oven rack positioned in the center. Retrieve your frozen pie pan from the freezer, discarding the plastic wrap. Line the frozen crust with lightly buttered aluminum foil (if using non-stick foil, no greasing is needed). Ensure the shiny side of regular foil faces outwards, and critically, make sure the foil fully covers the edges of the dough to prevent them from burning or over-browning. You will most likely need two overlapping sheets of foil to achieve comprehensive coverage for a deep-dish pan.
Now, fill the foil-lined crust *all the way* to the top with dried beans or ceramic pie weights. This substantial weight is essential for preventing the dough from shrinking down the sides of the pan or puffing up excessively during baking, guaranteeing a perfectly shaped crust with a flat bottom.

-
Perform the Extended Blind Bake: Place the pie pan, still on its rimmed sheet pan, into the preheated oven. Bake for an extended period, approximately 55 to 70 minutes, until the crust’s edges are beautifully crisp and lightly golden, and the bottom is completely dry and crisp to the touch. Yes, this takes a substantial amount of time, but it’s crucial for achieving a non-soggy, perfectly baked base that stands up to a wet filling! Important Check: After about 45 minutes, gently pull back one edge of the aluminum foil to inspect the crust’s color and dryness. If it’s not yet golden or dry, replace the foil and continue baking, checking every 10 minutes thereafter until the desired golden color and crisp texture are achieved. Remember, baking times can vary based on your dough’s thickness and the material of your pie pan.
Remove Weights and Cool: Once baked, carefully lift the foil containing the beans or pie weights and set them aside in a heat-proof bowl to cool (they can be reused for countless future baking projects – simply store them in an airtight container once completely cool!). Transfer the hot, blind-baked crust to a wire cooling rack and allow it to cool down thoroughly. It can be lukewarm when you add your quiche filling, but it is absolutely vital that the crust is not hot, as this can negatively impact the delicate custard, potentially causing it to curdle or become watery and ruin the quiche’s texture.

Alternate Dough Making Methods:
- Stand Mixer: For those seeking a convenient, hands-off approach to making flaky quiche dough, a stand mixer equipped with a paddle attachment set on low speed is a superb option. Start by combining and mixing the dry ingredients in the mixer bowl. Gradually add the *cold* unsalted butter (cut into small cubes), allowing the mixer to break it down into a mixture of larger and smaller pieces. Next, *slowly* incorporate the ice water, drizzling it in gradually until the dough just begins to come together in shaggy clumps.
- Food Processor: If you prioritize speed and efficiency in your kitchen, a food processor can rapidly prepare your quiche dough. Begin by pulsing the flour and salt briefly to combine them. Add the very cold butter (cut into cubes for easier processing), tossing it with your hands to ensure it’s coated with flour. Cover and pulse the mixture until the butter pieces are no larger than small peas. Finally, gradually add ice-cold water while pulsing only a few times until the dough *just* starts to form shaggy clumps. It’s crucial to avoid over-processing, as this can quickly overwork the gluten and lead to a tough crust.
- Box Grater Method: This modern technique involves grating extremely cold butter directly into your flour mixture using a box grater. It’s an undeniably quick way to distribute butter evenly and simplifies cleanup, as the grated butter integrates easily. However, based on our extensive testing, this method doesn’t consistently produce the same deep, profound flakiness that the “rolling in the butter” or even the stand mixer methods achieve. The butter pieces tend to be too uniformly small, which can limit the formation of large, airy flakes. Ultimately, your preference for convenience versus maximal flakiness may vary!
This method and recipe for achieving a perfect quiche crust are deeply inspired by the legendary Stella Parks, known for her scientific approach to baking, and the classic techniques found in the Zuni Cafe Cookbook.
