The Ultimate Sourdough Starter Guide: Troubleshooting Common Issues & FAQs
Basics + FAQ
Maintenance
Baking
Troubleshooting
The world of sourdough baking is a fascinating and rewarding journey, and it’s wonderful to see so many people discovering the joy of creating their own natural yeast bread for the first time. As a passionate baker, I understand the excitement and, at times, the challenges that come with nurturing a vibrant sourdough starter.
Over the past few months, I’ve received an influx of questions regarding sourdough starters, from basic setup to complex troubleshooting scenarios. To provide a comprehensive and easily accessible resource, I’ve compiled this extensive Sourdough Starter Troubleshooting Guide. It’s designed to be your go-to reference for all things sourdough starter-related, ensuring your journey is as smooth and successful as possible.
If you’ve already established a robust sourdough starter and are encountering issues specifically with bread baking, I recommend consulting my dedicated Sourdough Bread Troubleshooting Guide. This resource focuses on common problems that arise during the actual bread-making process.
In this guide, you’ll find detailed answers to the following questions and many more, helping you cultivate a thriving starter:
- What are the initial steps to creating a sourdough starter?
- How can I minimize sourdough discard and reduce flour waste?
- Which type of flour is best for feeding my starter, and what is a feeding ratio?
- My starter isn’t active enough – should I restart? When is it truly ready for baking?
- What are common signs of trouble, and how can I fix them?
Note: If your specific question isn’t addressed within these sections, please don’t hesitate to leave it in the comment section below. I’m here to help you every step of the way!
Skip to Specific Sections:
Basics + FAQ
Maintenance
Baking
Troubleshooting
Sourdough Starter FAQ: Essential Questions Answered
Q: How do I get started with a sourdough starter?
A sourdough starter is a magical, living culture of naturally occurring wild yeast and lactic acid bacteria. This dynamic duo is responsible for leavening bread, giving it that characteristic tangy flavor and chewy texture without any commercial yeast. Think of it as your natural leavening agent. Sourdough starters are active organisms that thrive on consistent care and regular feedings to remain robust and effective.
If you’re embarking on your first sourdough adventure and plan to create a starter from scratch, I highly recommend reviewing my list of favorite sourdough resources and tools before you begin. Having the right equipment and knowledge can significantly ease the process.
While I don’t provide a specific sourdough starter recipe on this site, I heartily endorse the detailed starter guides from reputable sources like The Perfect Loaf’s starter guide or Baker Bettie’s starter guide. Be prepared to exercise patience, as it typically takes at least 2 weeks, and sometimes even longer, to cultivate an active, strong sourdough starter that is truly ready for successful bread baking.
Q: Is a kitchen scale truly necessary for sourdough?
Absolutely, yes! While you might manage to start a starter without one, a precise kitchen scale is an indispensable tool for achieving consistent and reliable results in sourdough baking. Volume measurements (cups, spoons) are notoriously inaccurate, especially for flour, which can vary significantly in weight depending on how it’s scooped or settled. This inconsistency will inevitably lead to unpredictable outcomes in your sourdough.
I recommend this basic digital kitchen scale, but any accurate scale that measures in 1-gram increments will serve you well. Learning how to measure flour correctly by weight is a foundational skill for sourdough success.
Q: Where can I find the ideal jars for my sourdough starter?
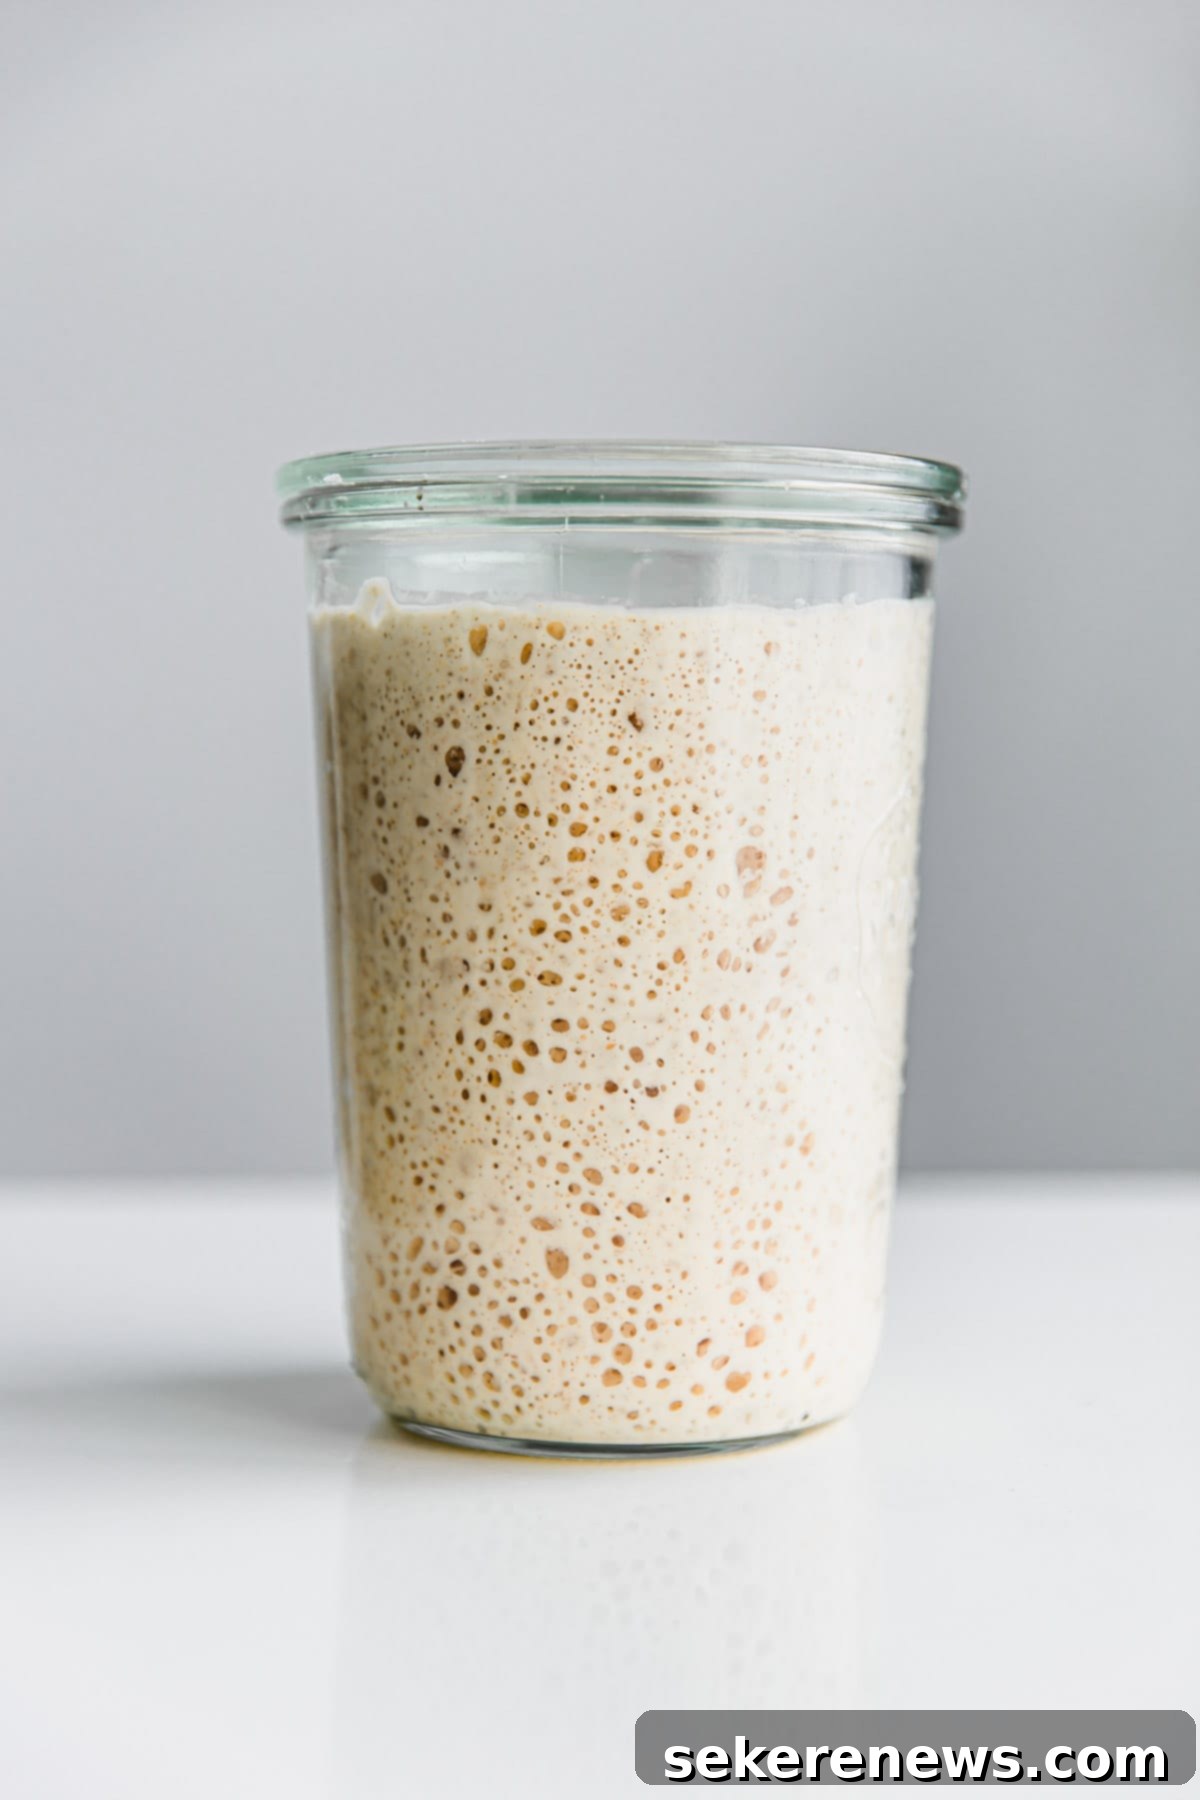
I find Weck jars to be perfect for sourdough starters, primarily because of their straight-sided design. This feature not only makes them incredibly easy to clean but also provides a clear visual indicator of your starter’s activity level as it rises and falls. You can easily mark the starting level and observe its growth.
If Weck jars aren’t available, choose any glass container that meets these important criteria: 1) It must be easy to clean thoroughly. 2) It should be made of glass, allowing you to observe your starter. 3) It needs a lid that can be set askew or is not airtight, as your starter needs to breathe. 4) It must be appropriately sized, allowing your starter to at least double, and ideally triple or quadruple, in volume at its peak.
Q: Do I really have to discard sourdough starter? How can I reduce flour waste?
Yes, discarding a portion of your starter is an essential and required step to maintain a healthy, balanced, and manageable sourdough starter. This practice actually reduces overall waste by keeping your starter at a smaller, more manageable size, thus requiring less flour during each feeding. Moreover, remember that homemade bread itself is a sustainable choice, typically less wasteful and less resource-intensive than purchasing pre-packaged store-bought bread.
When I’m not actively baking, I often scale down my starter significantly. If I plan to bake bread, I simply scale it up during the previous night’s feeding (using the same feeding ratios but larger quantities) before preparing delicious sourdough bread or sourdough pizza dough the following morning. It’s crucial to remember that you can always scale a starter up or down; the total volume of your starter does not impact its inherent strength or activity.
The most effective ways to minimize sourdough discard are: 1) Maintain a small starter that requires minimal flour for feedings. 2) Utilize your discard in a variety of sourdough discard recipes, from pancakes to crackers. 3) You can also compost your discard or generously gift dried sourdough starter to friends and family who are eager to start their own sourdough journey.
Note: If you wish to collect and use discard but don’t bake daily, simply compile the discard from each feeding into a separate jar and store it in the refrigerator. When ready to use, bring it back to room temperature (“wake it up”) or give it additional feedings, depending on your recipe’s requirements.
Q: Why do some starter guides recommend different types of flours?
Sourdough starter methods can vary widely based on a baker’s preferences, experience, and even regional ingredients. While it’s possible to create a sourdough starter with many different types of flour (though never use bleached flour for any bread baking), whole grain flours generally yield faster and more vigorous results during the initial stages.
Rye flour is often considered one of the best choices for starting a new culture because it’s exceptionally high in nutrients and beneficial microbes compared to other whole grain flours. These extra nutrients act as a super-fuel, accelerating the development of wild yeast and bacteria. If rye flour isn’t accessible, organic whole wheat flour is an excellent next-best option. Many starter guides will guide you through transitioning flour types and adjusting feeding ratios as your starter gains strength and maturity.
It’s important to remember that whole grain flours, which contain the germ and bran, are more prone to becoming rancid if stored for extended periods at room temperature. Always ensure your flour is fresh and hasn’t spoiled before beginning your starter.
Q: What kind of flour should I feed my mature sourdough starter?
Once your sourdough starter is active and established, you have more flexibility in the types of flour you use for feeding. Each flour type will impart different characteristics and subtle flavor profiles to your starter and, consequently, your bread. All sourdough starters are unique and will behave slightly differently based on their diet.
As a general recommendation, once your starter is robust, feed it with the type of flour you plan to bake with most often. For instance, if you primarily bake whole grain bread, maintaining a whole wheat (or predominantly whole grain) starter makes sense. This ensures your starter is always primed for the specific flour composition of your recipes.
If you intend to bake with bread flour or unbleached all-purpose flour, you might want to slowly transition your starter to these types over time. You can find more detailed guidance on transitioning to different flour types in the maintenance section below.
Q: Can I create a gluten-free sourdough starter?
Yes, absolutely! Creating a gluten-free sourdough starter is entirely possible, offering a wonderful option for those with gluten sensitivities. However, it’s important to note that gluten-free starters behave quite differently from traditional wheat-based starters and often require a distinct approach to baking. The absence of gluten means the dough will have a different structure and handling characteristics.
There are various gluten-free flour options you can experiment with, such as brown rice flour, millet flour, or sorghum flour. Since I am not personally experienced with gluten-free sourdough baking, I highly recommend exploring dedicated resources like Vanilla and Bean and King Arthur Baking Company if you’re interested in pursuing this path. They offer excellent, in-depth guides for gluten-free sourdough success.
Q: Can I use packaged yeast to jumpstart my sourdough starter?
No, definitely not! The very essence of a sourdough starter lies in its being a culture of wild yeast and lactic acid bacteria, naturally occurring in flour and the environment. Introducing commercial or dried yeast defeats the entire purpose of creating a natural leavening agent. Commercial yeast will dominate the culture, preventing the wild yeast and beneficial bacteria from establishing themselves, which are crucial for sourdough’s unique flavor, texture, and digestibility.
Q: What exactly is a 100% hydration starter, and what does it mean?
In the context of sourdough, “hydration” refers to the amount of water (or other liquids) relative to the total weight (in grams) of flour used. A 100% hydration sourdough starter is one that is fed and maintained with equal parts flour and water by weight. For example, if you feed your starter 50 grams of flour, you would also add 50 grams of water.
This 1:1 ratio of water to flour by weight results in a consistency that is often described as a thick batter or a very wet dough. Most sourdough bread recipes are designed for and specifically call for a 100% hydration starter, making it the most common and versatile type to maintain. It provides a good balance for activity and makes it easy to adjust recipes.

Sourdough Starter Maintenance Questions
Q: Can I switch or transition flour types for my starter over time?
If your sourdough starter is still very young and developing, I generally advise against frequently switching flour types or even brands. Frequent changes can disrupt its activity and make it challenging to establish a consistent and predictable feeding schedule, potentially slowing down its maturation process.
However, once your starter is active, mature, and reliably peaking after feedings, you absolutely can change its flour type as desired or needed. To minimize stress on the culture, I recommend transitioning the flours slowly over the course of about a week. For example, gradually increase the new flour percentage with each feeding until it completely replaces the old one. Remember that different flours absorb water differently and have varying nutrient compositions, so you may need to adjust your feeding schedule (frequency or ratio) accordingly.
Q: How do I scale my starter up or down for baking or other reasons?
Scaling your starter is straightforward and simply involves adjusting the quantities of starter, flour, and water in your next feeding while maintaining your established feeding ratio. This allows you to produce more starter for a larger bake or reduce it to conserve flour when not baking frequently. Here’s an example:
Current Starter Feeding: 20 grams starter: 100 grams flour: 100 grams water (a 1:5:5 ratio by weight)
Scaled Down Starter (for maintenance): 5 grams starter: 25 grams flour: 25 grams water (still a 1:5:5 ratio)
Scaled Up Starter (for baking): 40 grams starter: 200 grams flour: 200 grams water (maintaining the 1:5:5 ratio)
By keeping the ratio consistent, you ensure the health and activity of your starter are preserved, regardless of its total volume.
Q: Can I preserve my sourdough starter in case something happens? What’s the best way to share it?
It’s always a good idea to have a backup of your precious sourdough starter! For long-term storage and as an emergency safeguard, I highly recommend keeping dried sourdough starter on hand. The process involves spreading a thin layer of active starter onto parchment paper and allowing it to completely dry, then crumbling and storing it in an airtight container.
This dried form is incredibly stable, can last for years, and can be easily rehydrated to bring your starter back to life if your active starter ever becomes compromised. It’s also the perfect, most convenient way to gift a piece of your starter to friends and family, allowing them to embark on their own sourdough adventures.
Q: Can I refrigerate my starter if I don’t bake frequently?
Yes, refrigerating a healthy, active sourdough starter is an excellent strategy if you don’t bake often or if you’re planning to be away. Cold temperatures significantly slow down the metabolic activity of yeast and bacteria, naturally extending the time your starter can go between feedings. This essentially puts your starter into a “hibernation” mode.
While refrigeration is a fantastic short-term solution, I don’t recommend continuous, long-term refrigeration (e.g., months without feeding), as it can gradually alter the delicate balance of wild yeast and lactic acid bacteria, potentially leading to inconsistent results or a less vigorous starter. However, for breaks of a few days to a week or two, it’s ideal!
Before refrigerating your sourdough starter, perform a regular feeding – discard a portion, then add fresh flour and water. Allow the newly fed mixture to sit at room temperature for approximately 1 hour to kickstart activity before transferring it to the fridge. This ensures it has fresh food before going to sleep.
When you’re ready to resume regular feedings or bake, remove your starter from the refrigerator and let it sit at room temperature (ideally between 74°F-78°F) until it shows signs of activity, such as bubbles and some rise. Once it has warmed up, continue with its regular feeding schedule, observing its activity closely. Depending on how long it was refrigerated, a “waking up” refrigerated sourdough starter may require an additional 2 to 3 regular feedings at room temperature before it fully resumes its normal activity levels and is strong enough to reliably leaven sourdough bread or sourdough pizza.
Q: What do you mean by feeding ratio? Which feeding ratio should I use?
A feeding ratio is a critical concept in sourdough maintenance, indicating the proportional amounts of existing sourdough starter, fresh flour, and fresh water added during each feeding. These ratios are always expressed by weight (grams). Here are a few common examples to illustrate:
- 1:1:1 ratio = equal amounts of sourdough starter, total flour, and total water by weight. [E.g., 20 grams sourdough starter: 20 grams flour: 20 grams water]. This creates a high ratio of fresh food to existing starter, which can speed up activity.
- 1:2:2 ratio = [E.g., 20 grams sourdough starter: 40 grams flour: 40 grams water]. This provides more food relative to the starter, often extending the time between feedings.
- 1:5:5 ratio = [E.g., 20 grams sourdough starter: 100 grams flour: 100 grams water]. This higher ratio gives the starter a substantial meal, typically extending the time it takes to peak and allowing for less frequent feedings.
*Most sourdough starter guides begin with a 1:1:1 ratio, especially for new starters, as it encourages rapid initial development. As your starter matures and becomes more active (meaning a higher concentration of wild yeast and lactic acid bacteria), you will typically adjust your feeding ratio to a higher proportion (e.g., 1:2:2 or 1:5:5). This change accounts for the increased activity level, providing enough “food” to prevent it from eating through its meal too quickly and becoming sluggish.
Once your starter is active and on a reliable feeding schedule, you can adapt your feeding ratio as needed to fine-tune your baking timelines, adjust for ambient temperatures, or experiment with different flavor profiles.
Sourdough Starter Baking Questions
Q: How do I know when my starter is truly ready for bread baking?
Knowing when your sourdough starter is ready for baking is crucial for successful leavening. Before you even consider baking, your starter should exhibit predictable and consistent rising behavior, and it should be on a reliable, regular feeding schedule. If your starter is struggling to rise significantly between feedings or taking an exceptionally long time to reach its peak activity, it is most likely not strong enough to leaven bread effectively.
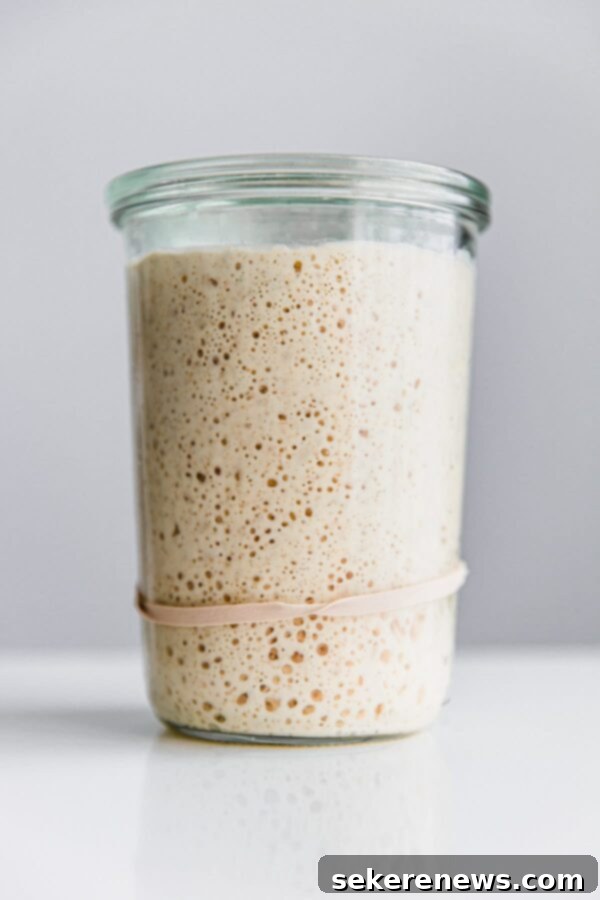
While behavior can vary slightly based on the type of flour you’re using, a healthy, active starter ready for baking should at least double, and often triple or quadruple, in volume at its peak activity. It should also consistently pass the float test (where a small spoonful of starter floats in water, indicating sufficient gas production).
My current feeding and starter activity: My two-year-old starter, consistently fed with King Arthur unbleached bread flour using a 1:5:5 ratio, reliably peaks (reaches its maximum height) in about 10-12 hours when maintained at a temperature of approximately 75°F (24°C). This consistency is what you’re aiming for.
Q: Do I have to use my starter precisely at peak activity? Can it be used early or late?
While using your starter at its peak activity is often recommended for consistent results, you absolutely can experiment with using it at different stages to influence the flavor and texture of your bread. Once your starter is mature and active, you have the flexibility to play with these elements:
- Younger Starters (before peak): Starters used slightly before their peak activity will generally contribute a more delicate, sweeter flavor to your loaf. They have a higher concentration of active yeast and less developed acidity.
- Peaked or Slightly Fallen Starters (after peak): Starters that have peaked and just begun to fall (meaning they’ve started to recede back down the jar) are higher in acetic acid. This will contribute a more pronounced sourness or tanginess to your bread, which many sourdough enthusiasts love.
I personally prefer to use my sourdough starter right at its peak activity or when it is just beginning to fall, as this has consistently yielded the best rise and flavor balance for my loaves. Remember, altering these variables (the stage of your starter) will directly impact your dough’s bulk fermentation times and overall proofing dynamics, so be prepared to adjust accordingly.

Sourdough Starter Troubleshooting
Q: My starter is developing mold. How do I know if my sourdough starter is bad?
This is a critical issue that requires immediate action. If you observe any signs of mold in your sourdough starter – whether it’s pink, orange, green, black, or even fuzzy white spots that aren’t clearly bubbles or flour dust – you must discard it immediately. There is no safe way to salvage or fix a moldy starter, as mold can produce harmful toxins. It’s best to start fresh to ensure your safety.
Before beginning a new starter, thoroughly clean all your equipment. Also, inspect your flours (especially whole grain flours) to ensure they aren’t rancid or spoiled, as this can be a source of contamination.
Q: My starter isn’t showing any signs of activity after several days. Did I kill my sourdough starter?
Patience is arguably the most important ingredient when starting sourdough. It’s common for new starters to seem sluggish or inactive for extended periods. First, try placing your starter in a warmer area of your home; an ideal temperature range for initial activity is typically between 76°F-80°F (24°C-27°C). Warmth encourages yeast and bacterial growth.
Use your nose as a more reliable guide in the early stages than visual cues. A healthy developing starter will often emit a yeasty, slightly sweet, or even fruity aroma before it visibly bubbles. Remember that recipes and guides offer timelines as general guidelines, not strict deadlines. If your starter eventually peaks in activity, give it a feeding. If it remains sluggish, simply wait and give it more time. Many guides suggest your starter will be active and ready for baking within less than a week, but this is often a best-case scenario and is not the common experience. Many starters take a full 2 weeks or even longer to become consistently active and strong enough for reliable bread leavening.
Q: My starter was really active on day 2 and 3, and then there was zero activity. What is happening?
This is an extremely common and perfectly normal phase in the development of a new sourdough starter. Many beginners observe a surge in activity (often vigorous bubbling) during the first few days, only to see it completely die down shortly thereafter. This initial burst of activity is typically caused by a different type of bacteria that thrives early in the fermentation process, not primarily by the wild yeast and lactic acid bacteria you’re trying to cultivate for sourdough. It is not an indication that your starter is dead.
Simply stay the course. Your starter will pick up activity again with time as the desired wild yeast and lactic acid bacteria establish themselves, increase in population, and become more stable. Continue with your regular feeding schedule and maintain a warm environment.
Q: My starter is active, but is barely rising between feedings. What do I do?
If your starter shows some bubbling but isn’t significantly increasing in volume (e.g., doubling or tripling), it indicates that while it’s alive, it hasn’t yet developed the strength necessary for effective leavening. Stay patient, and continue with your regular feeding schedule. Consistency is key to building strength. If you’re currently using a smaller ratio of existing starter in your feedings (e.g., a 1:5:5 ratio), consider temporarily increasing it to a 1:2:2 or even 1:1:1 ratio for a few feedings. This provides the wild yeast with more of its established culture, potentially boosting its vigor.
Crucially, if your starter is not doubling or growing substantially in volume between feedings, it is not strong enough to reliably leaven dough. While you can certainly attempt to bake with it, you will most likely not achieve proper fermentation, leading to dense bread with a poor rise. Continue to feed and strengthen it until you see consistent, significant expansion.
Q: Why isn’t my starter passing the float test?
The float test is a popular indicator of a starter’s readiness, and while not absolutely foolproof, it is generally reliable for 100% hydration sourdough starters (those fed with equal portions of flour and water by weight). If your starter fails the float test (a small piece sinks in water), it usually points to one of two main issues:
- Your sourdough starter is too young or not strong enough for bread baking. It hasn’t developed enough gas production to be buoyant. Continue feeding it regularly and wait for more consistent, vigorous activity.
- The starter is strong and active, but not quite at its peak. It might have just passed its peak or isn’t quite there yet. Allow the starter to sit at room temperature for another 30 minutes to an hour and re-test. Timing is everything for the float test.
Always consider the float test in conjunction with visual cues (doubling/tripling) and a pleasant, tangy aroma.
Q: My ambient kitchen temperature is very cold. What can I do?
Wild yeast, like most microorganisms, thrives in warmer temperatures. If your kitchen is particularly cold, your sourdough starter will take considerably longer to develop in its initial stages, require more time to reach its peak activity between feedings, and your bulk fermentation time for bread baking will be significantly extended. This isn’t a deal-breaker, but it’s an important environmental factor to be aware of and manage.
Here are a few strategies to combat a cold environment:
- Oven with Light On: You can try storing your starter in a turned-off oven with just the oven light on. The light generates a gentle, consistent warmth. However, please use an ambient thermometer inside the oven to monitor the temperature, as some oven lights can make the interior surprisingly hot, which could harm your starter.
- Warm Water Bath: Place your starter jar in a larger bowl filled with warm (not hot!) water. You can also place your starter container in a microwave next to a warm bowl of water, closing the door to trap the heat.
- Dedicated Proofing Box: If you’re serious about sourdough baking and frequently struggle with temperature regulation, I highly recommend investing in a bread proofing box. These devices offer precise temperature control, creating the perfect environment for your starter and dough. (I personally own and love the Brod & Taylor folding proofer!)
If you found this guide helpful, be sure to explore my other sourdough bread baking resources for more tips and recipes:
- Sourdough Bread Baking Troubleshooting Guide
- Artisan Sourdough Bread Recipe + Step-By-Step YouTube Video
- Kalamata and Castelvetrano Sourdough Recipe
- Sourdough Pizza Dough
- Favorite Sourdough Bread Tools and Resources
- How to Dry Sourdough Starter
- How to Store, Freeze, and Refresh Bread
